To begin cleaning your window screens, assemble your equipment. Professional results depend on having the right tools on hand. You will need a pair of buckets, a high-quality squeegee fitted with a sharp, flexible rubber blade, a strip applicator, several clean microfiber cloths, a soft-bristled brush, a garden hose with an adjustable spray nozzle, and your preferred cleaning solution. A simple yet highly effective solution can be made by mixing a gallon of cool water with just a few drops of dish soap in one bucket. The aim is for a slightly soapy mixture, not a foam; excessive soap will leave a residue on the glass that proves difficult to remove and subsequently attracts more dirt. The second bucket should contain only clean water for rinsing your tools. For interior work, a spray bottle filled with the same solution is more practical. For stubborn stains like mineral deposits, you might also require distilled white vinegar or a pad of fine #0000 grade steel wool.
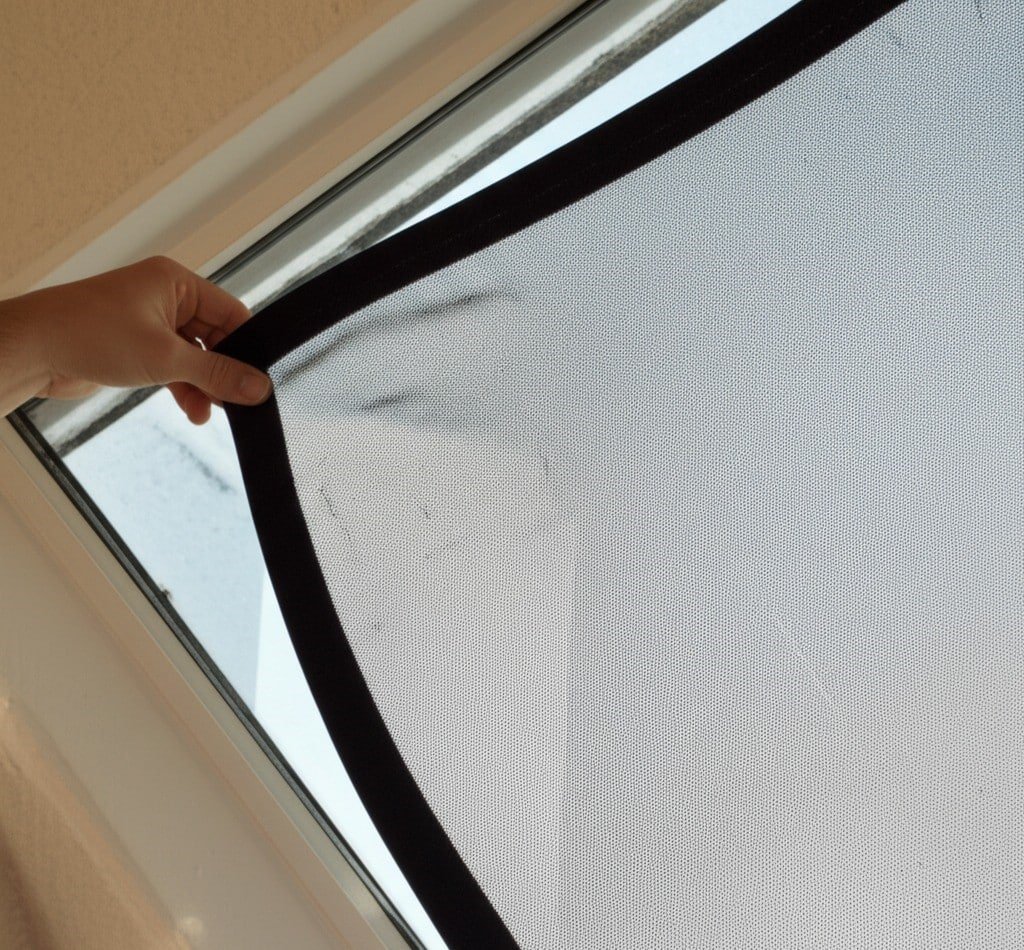
1.Remove The Screen
The most crucial first step, one that is fundamental to a lasting clean, is to address the window screens. Cleaning the glass first is a futile effort, as reinstalling dirty window screens will instantly coat your pristine windows with a fresh layer of dust and grime. Begin by carefully removing all the window screens from their frames. Take note of their fastening mechanisms; some utilize plunger bolts, while others have tension springs or clips. It is a good practice to label each of the window screens with a small piece of masking tape indicating its specific location (e.g., “Dining Room, Right”) to prevent confusion during reinstallation, as sizes can vary subtly.
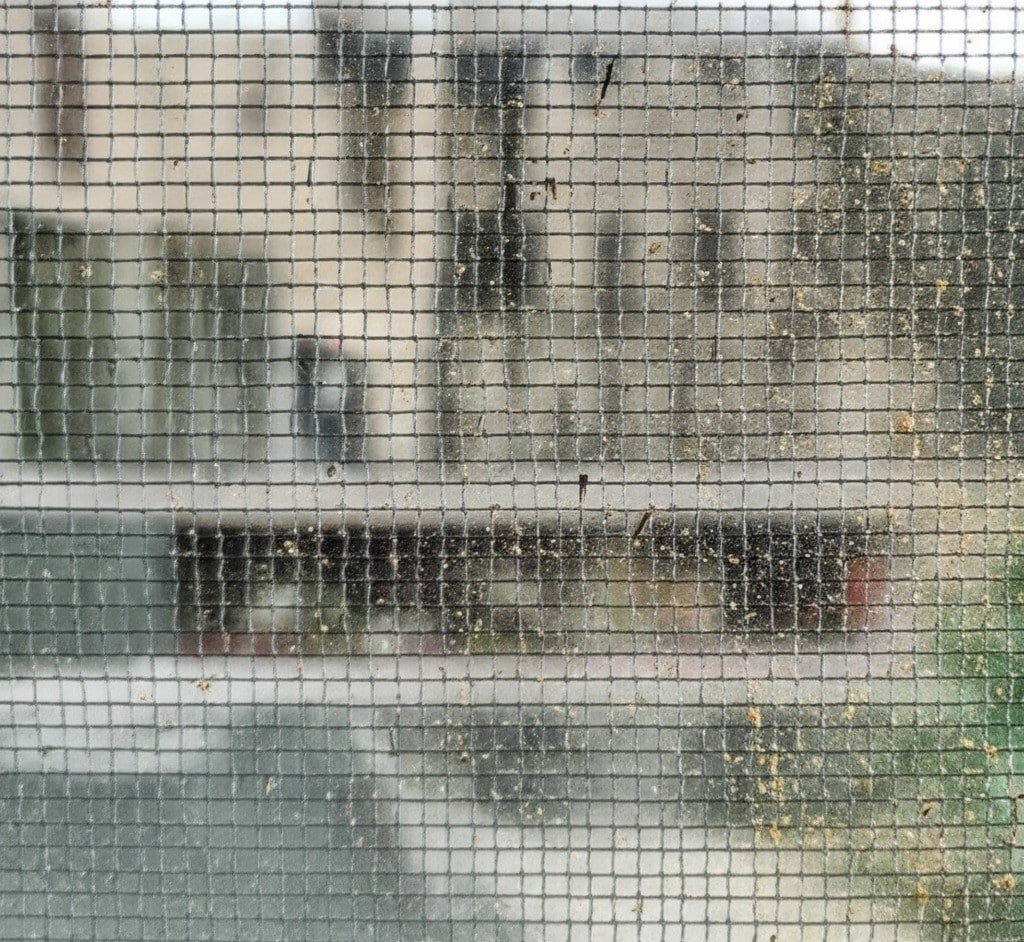
For window screens that have only a light coating of dust and loose debris, a dry cleaning method is often sufficient. Lay the screen on a flat, protected surface like a drop cloth or lean it securely against a wall. Use a soft-bristled brush or the brush attachment of your vacuum cleaner to gently go over the entire surface. This action will dislodge loose particles from the mesh of the window screens without the need for water. This is the fastest way to refresh window screens that are not heavily soiled.
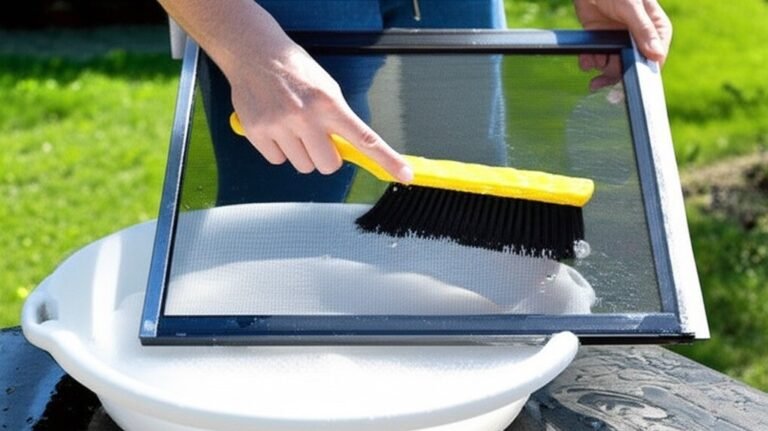
For window screens burdened with caked-on dirt, pollen, or greasy buildup, a wet cleaning is unavoidable. Move the window screens to a suitable outdoor location like a driveway or lawn. Start with a gentle pre-rinse using the garden hose on a low-pressure setting. A powerful jet of water can easily stretch, tear, or otherwise damage the delicate mesh material or even dent the frames of the window screens. In a bucket, mix a solution of warm water and a small amount of mild dish soap. Submerge a soft-bristled brush in this soapy water and gently scrub both sides of the screen. Use light, consistent pressure and work in systematic, overlapping motions. Pay close attention to the frames surrounding the mesh, as these channels are notorious for trapping dirt. After you have thoroughly scrubbed the window screens, rinse them completely with the hose. It is vital to wash away all soap residue, as any lingering film will act as a magnet for new dirt. To check, run a clean finger across the mesh; it should not feel slippery.
2.Dry Completely
Once cleaned, the window screens must be dried completely. Lean them against a wall, fence, or outdoor furniture in a location that gets good air circulation and, ideally, some sun. Do not rush this step. Allowing the window screens to air dry thoroughly is critical. Reinstalling damp or wet window screens can trap moisture within the window frame and track, creating an ideal environment for mold and mildew to grow, which can cause damage and potential health issues. The time it takes for your window screens to dry is the perfect opportunity to clean the rest of the window assembly.
With the window screens set aside to dry, direct your attention to the window tracks, sills, and frames. This often-neglected area makes a significant impact on the final look and functionality of your windows. Open the window fully to expose the tracks. Use a vacuum cleaner with a crevice tool attachment to suction out all the loose dirt, cobwebs, dead insects, and other accumulated debris. For stubborn, compacted dirt, use a stiff, dry brush or a putty knife to loosen it from the corners and channels before vacuuming. Following the dry removal, perform a wet cleaning. Dip a small, firm brush, like an old toothbrush, into your cleaning solution and scrub the tracks meticulously. Use a microfiber cloth to wipe out the loosened grime and suds. To reach into tight corners, you can wrap the cloth around the tip of a flathead screwdriver. Wipe down the entire window frame and sill, both inside and out, with a damp cloth, and then dry everything thoroughly with a clean, dry cloth.

3.Cleaning The Windows
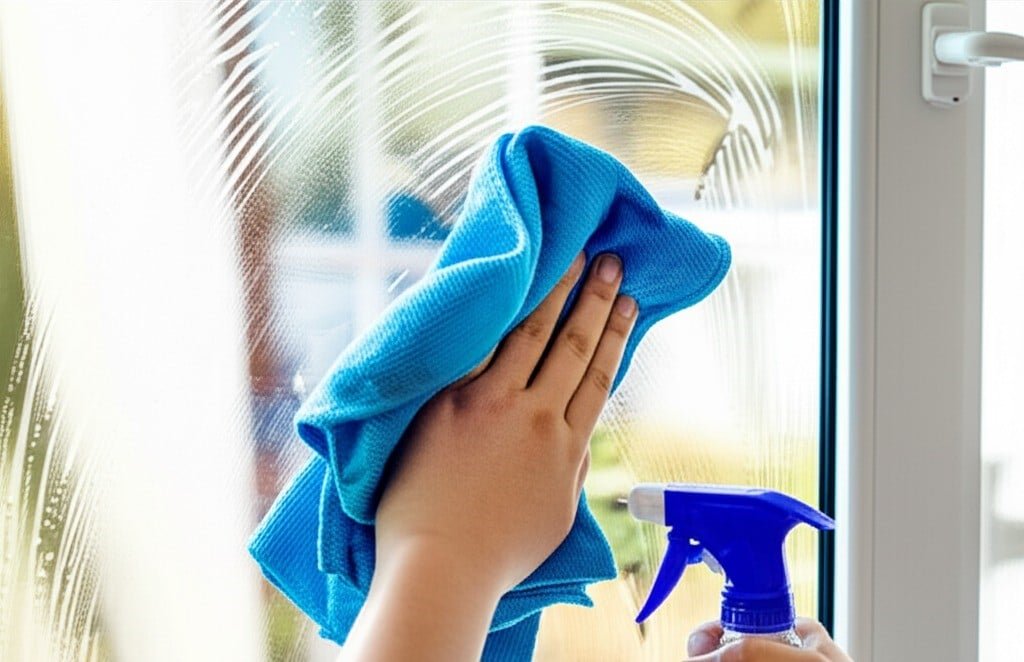
Now, you can proceed to clean the exterior glass. If the windows are exceptionally dirty, a quick rinse with the hose will remove the outermost layer of grit, preventing you from scratching the glass with your applicator. Submerge your strip applicator in the soapy water, wring out the excess, and wash the entire glass surface. Be methodical, working from edge to edge to ensure the entire pane is wet and scrubbed, loosening all the dirt.
The squeegee is your tool for a streak-free finish. Before your first pull, use a microfiber cloth to wipe a narrow, one-inch vertical strip down one side of the pane. This “dry edge” allows the squeegee to start on a dry surface, preventing it from skipping. Place the squeegee at the top of the window, overlapping onto this dry strip. Angle the blade at about 30 degrees to the glass, apply light, even pressure, and pull it straight down in one continuous, smooth motion. After every single pull, wipe the rubber blade clean with a cloth. This is not optional; a dirty blade will drag a line of grime across the glass on your next pass. For the next stroke, overlap the previous one by about an inch and a half to ensure no lines are left behind. Continue this pattern across the entire window. After squeegeeing, use a clean, dry microfiber cloth to wipe any remaining water from the edges and sill.
For the interior glass, the technique remains the same, but the setup requires more care to protect your home. Place a towel or drop cloth on the windowsill and the floor below to catch any drips. Use a spray bottle with your cleaning solution instead of an open bucket to better control the amount of water. Lightly mist the windowpane, then use your squeegee with the same top-to-bottom, overlapping technique, wiping the blade after each pass. Use a dedicated dry microfiber cloth to immediately wipe up any drips and to detail the edges for a perfect finish.
4.Maintenance
Once the glass is sparkling and the frames and tracks are completely dry, you can retrieve your clean, dry window screens. Carefully reinstall them, making sure each one goes back to its original, labeled window and is securely fastened. The final inspection will reveal a comprehensive clean—not just clear glass, but spotless frames, clean tracks, and pristine window screens that allow for an unobstructed, beautiful view. Proper maintenance of your window screens not only improves aesthetics but also extends their lifespan. Seeing the world through windows that have been so thoroughly cleaned, from the tracks to the glass to the freshly washed window screens, provides a deep sense of satisfaction. The clarity you get from clean glass and clean window screens is truly unmatched.

The path to immaculate windows involves more than just spraying glass; it’s a detailed process that addresses every component, from the window screens to the tracks. By cleaning the window screens first, mastering a squeegee technique, and ensuring every part is spotless and dry, you achieve a professional-level clean that transforms your view. For homeowners in the Greater Toronto Area who value this comprehensive result but lack the time, Toronto Shine Cleaning provides expert services that cover every detail, ensuring your windows and window screens are perfectly cleaned for maximum clarity and curb appeal.