The Golden Rules for Maintaining Laminate Flooring in High Traffic Areas
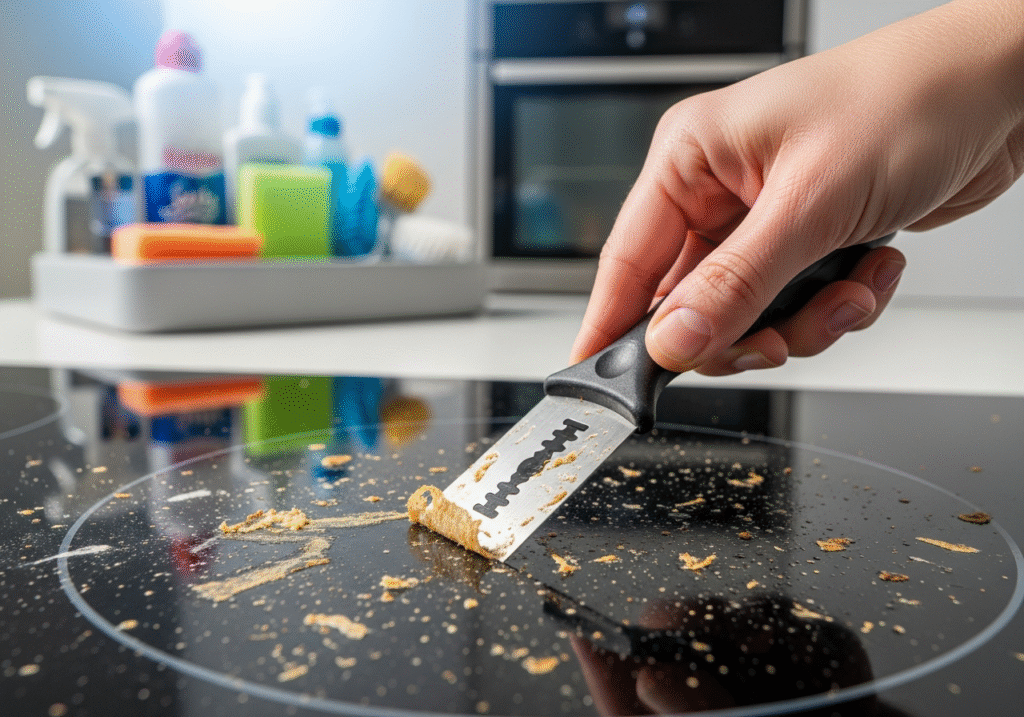
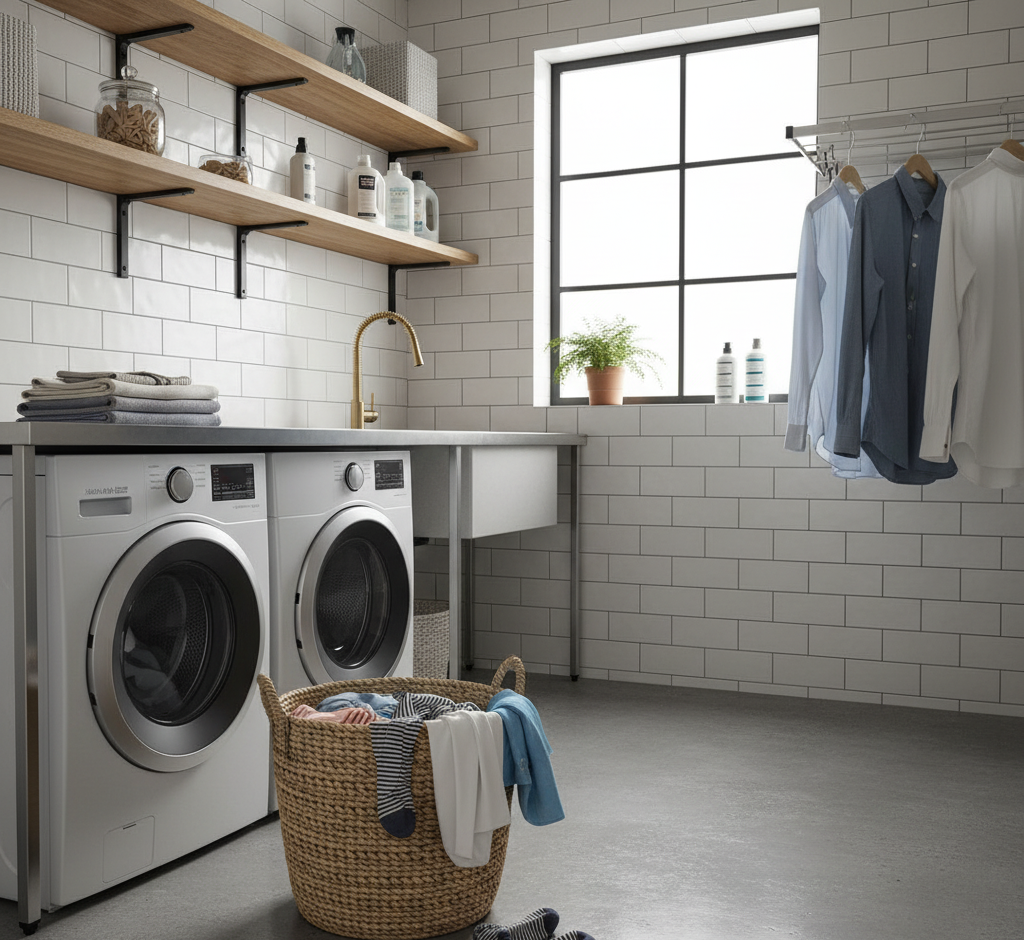
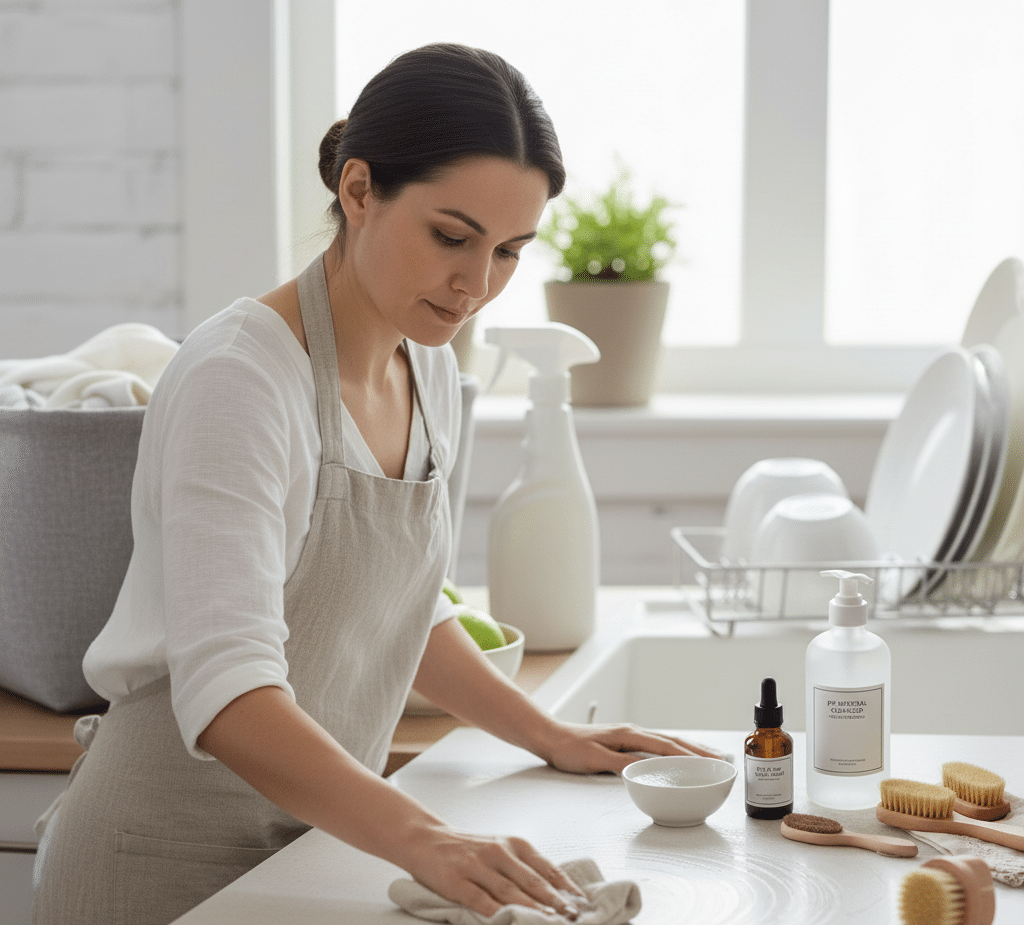
Laminate flooring has established itself as a staple in modern interior design, offering the aesthetic warmth of hardwood or the cool elegance of stone without the exorbitant cost or the demanding maintenance schedules associated with natural materials. However, the perception that laminate is an indestructible, “install-it-and-forget-it” surface is a misconception that leads to premature wear, dulling, and irreversible damage. To maintain the integrity of these floors, one must understand that laminate is not wood, nor is it tile; it is a composite synthetic product with its own specific set of physical properties and vulnerabilities, particularly regarding moisture and abrasion. What is Laminate Flooring Like? To understand how to clean and care for laminate, one must first understand what it is. A laminate plank is essentially a sandwich of four distinct layers fused together under high heat and pressure. The bottom layer is the backing, responsible for balancing the board and preventing warping. The core, which makes up the bulk of the plank, is typically made of High-Density Fiberboard (HDF). This core is durable and dense, giving the floor its stability, but it is also composed of wood fibers that act like a sponge if exposed to water. Above the core sits the design layer, which is simply a high-resolution photograph of wood grain, stone, or ceramic. At the end, the top layer is the wear layer, a clear, tough coating usually reinforced with aluminum oxide. This top layer is what you walk on and clean; it is incredibly resistant to scratches and fading, but it is not invincible, and once it is compromised, the delicate photographic layer beneath is easily destroyed. Humidity Control The primary rule of laminate maintenance is moisture control. Because the core is made of fiberboard, water is the arch-enemy of this flooring type. If liquid is allowed to sit on the surface, it eventually seeps into the microscopic seams between the planks. Once moisture reaches the HDF core, the fibers absorb it and swell. This swelling manifests as “peaking” or “bubbling” along the edges of the boards. Unlike solid wood, which can sometimes be sanded down and refinished after water damage, swollen laminate will not shrink back to its original shape when it dries. The damage is permanent, and the only solution is to replace the affected planks, which can be difficult if the specific batch or color is no longer manufactured. Therefore, the mop and bucket approach used for vinyl or tile is entirely inappropriate here. Routine cleaning should always begin with dry methods to remove loose debris. Dust, sand, and dirt particles act like sandpaper under the soles of shoes. Over time, walking on a dusty floor creates micro-scratches in the clear wear layer. While these scratches may not be immediately visible, they eventually dull the finish, creating a cloudy appearance that cannot be buffed out. Regular sweeping with a soft-bristle broom or vacuuming is essential. When using a vacuum, it is critical to turn off the beater bar—the rotating brush roll designed to agitate carpets. The stiff bristles of a beater bar can scratch the laminate surface, so one should use the “hard floor” setting or a specialized suction-only attachment. Wet or Damp When it comes to wet cleaning, the term “wet” should be used loosely; “damp” is the correct terminology. A microfiber mop is the most effective tool for this task. Traditional string mops hold too much water and are difficult to wring out sufficiently, increasing the risk of saturating the floor. Microfiber, by contrast, traps dirt effectively with minimal moisture. The best practice is to spray the cleaning solution onto the microfiber pad itself rather than directly onto the floor. This ensures an even application and prevents liquid from pooling in the seams. If one must spray the floor directly, it should be a fine mist that is wiped up immediately. The goal is for the floor to dry within a minute or two of mopping. If the floor remains wet for longer, too much liquid is being used. The choice of cleaning solution is just as important as the method. A common mistake is treating laminate like real wood by using oil soaps, waxes, or polishes. These products are designed to penetrate the pores of natural timber to nourish and seal it. Laminate, however, is a non-porous plastic resin. Oil-based products cannot penetrate the surface; instead, they sit on top, forming a greasy film that attracts dirt and leaves streaks. Over time, this buildup creates a haze that makes the floor look dirty even when it is clean. Similarly, abrasive cleaners or scouring powders should never be used, as they will immediately dull the wear layer. For most homes, a simple solution of water and a small amount of pH-neutral cleaner formulated specifically for laminate is best. Some homeowners advocate for a vinegar and water solution, but this should be approached with caution; while vinegar is a good degreaser, its acidity can dull the protective wear layer over time if the concentration is too high. Steam Steam mops, despite their popularity for sanitizing, are generally not recommended for laminate flooring. The mechanism of a steam mop involves forcing hot vapor onto the floor surface. This combination of heat and pressure can force moisture deep into the locking mechanism of the planks, causing the core to swell and the adhesive layers to delaminate. While some manufacturers claim their sealants make their floors steam-mop friendly, it is a risk that often voids the warranty. The heat can also cause the wear layer to separate from the design layer, leading to peeling. It is safer to stick to cool or lukewarm water and manual mopping. Preventative measures are arguably more effective than any cleaning regimen. Since the wear layer is hard but brittle, it can be chipped by sharp impacts. High heels, dropped kitchen utensils, or pet claws can puncture the surface. Keeping pet nails trimmed is a simple way to extend the life of the floor. Furthermore, furniture legs are a
The Golden Rules for Maintaining Laminate Flooring in High Traffic Areas Read More »