Deep Cleaning of Your Patio and Deck: A Small-Space Guide to Spring Preparation
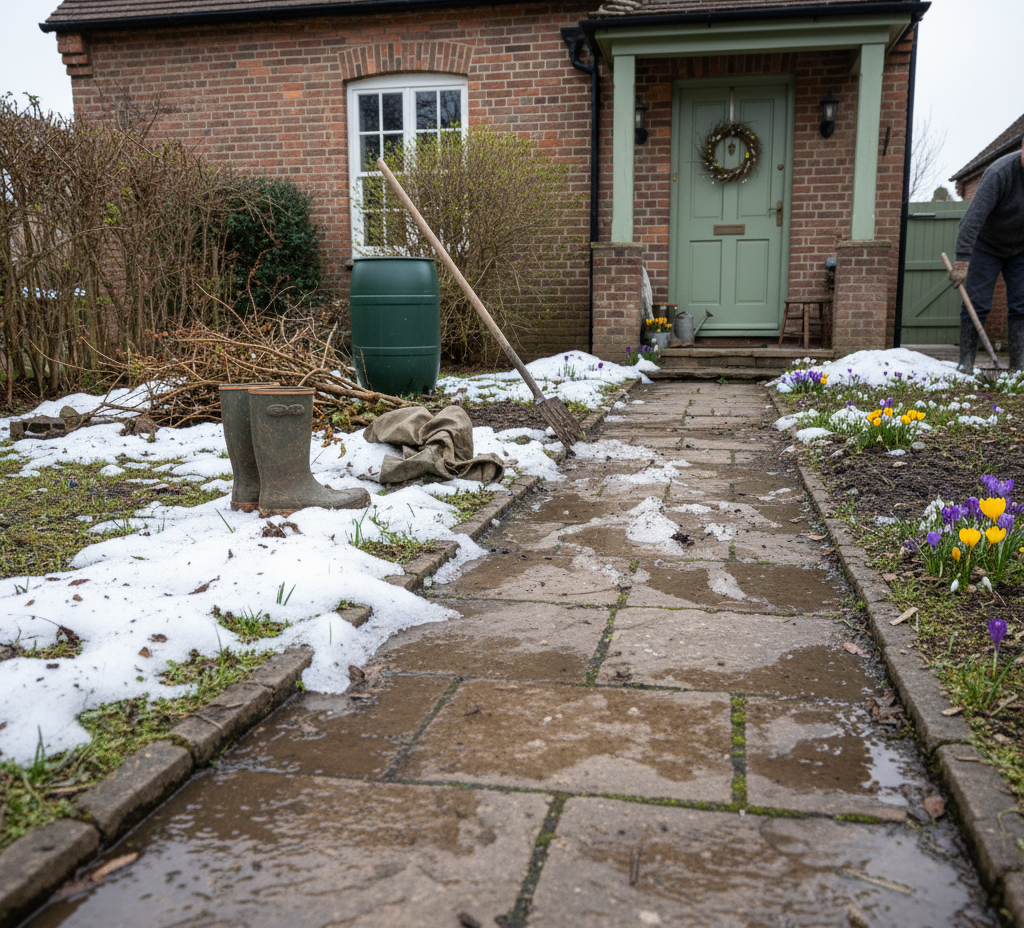
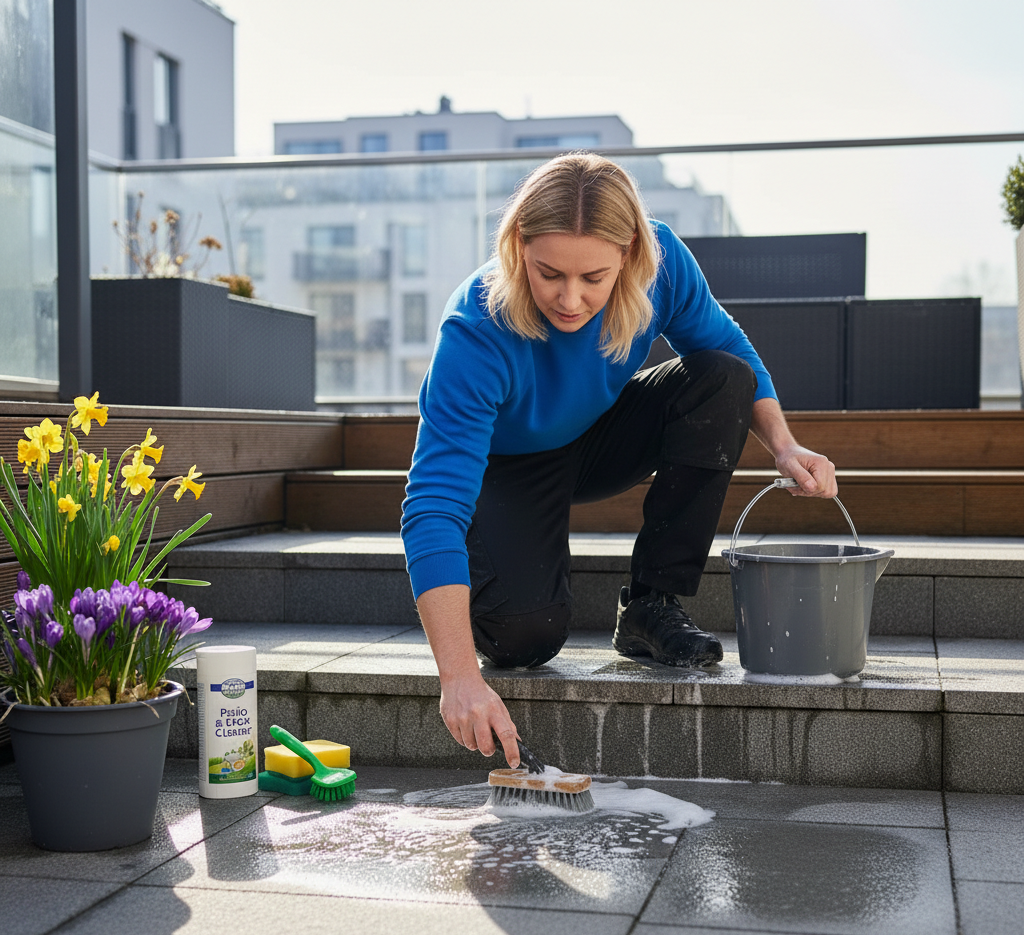
Pre-season cleaning of a communal space such as a patio and outdoor decks is a revitalization ritual. As the last vestiges of winter begin to recede, yielding to the longer days and milder temperatures of early spring, there is a collective, almost primal urge to reconnect with the outdoors. We want to throw open the doors, step onto the patio, and feel the first genuinely warm sun on our faces. However, the space we step into is often a grim tableau of winter’s aftermath. The deck is coated in a grey film of grime, the patio furniture is veiled in a layer of pollen and dust, and the corners are filled with the desiccated leaves and debris of autumn past. The transition from a winter-battered outdoor area to a welcoming spring sanctuary does not happen on its own. It requires a strategic, pre-season clean-up designed to reverse the effects of months of neglect and prepare the foundation for the season of leisure ahead. Complete Cleaning The first order of business in reclaiming your outdoor space is a thorough and uncompromising sweep. Over the winter, even a covered patio or balcony accumulates a surprising amount of debris. Wind blows leaves, twigs, and dirt into corners where they decompose into a dense, muddy sludge. The bristles of a stiff, outdoor broom are required to dislodge this compacted organic matter. This is not just an aesthetic task; leaving rotting leaves against the foundation of the house or the base of wooden deck posts traps moisture and invites insects like carpenter ants to investigate. For decks with gaps between the boards, using a putty knife or a painter’s tool to clear out the debris is essential for promoting airflow and preventing rot from setting in underneath. Once the loose debris is gone, the real work of washing begins. The surfaces of your patio and deck have been subjected to months of precipitation and freeze-thaw cycles, leaving them stained and discolored. The cleaning method must be tailored to the specific material underfoot. For wooden decks, a gentle approach is paramount. The temptation is often to blast the wood with a high-pressure power washer, but this is a common and catastrophic error. The intense force of a power washer can splinter the wood, raise the grain, and strip away the protective sealant, leaving the raw timber exposed to the elements. Instead, a commercial deck cleaner—often an oxygenated bleach formula that kills mildew without the harshness of chlorine—should be applied with a pump sprayer. After allowing the cleaner to dwell and lift the grime, a light scrub with a deck brush and a gentle rinse with a garden hose is all that is needed to restore the color of the wood without causing structural damage. Concrete, Stone Pavers and Balconies Concrete patios, stone pavers, and balconies present a different challenge. These surfaces are porous and can harbor green algae or black mold in shaded, damp areas. For these, a power washer can be an effective tool, provided it is used with a fan-tip nozzle to avoid etching the surface. A solution of water and vinegar can help to kill the biological growth, but for stubborn stains, a specialized masonry cleaner might be required. Pay close attention to the grout or sand lines between pavers; blasting them too aggressively can wash away the jointing material, leading to wobbly stones. Furniture The second phase of the pre-season reset involves the furniture. Patio chairs, tables, and loungers have likely been sitting under a cover or stacked in a corner, accumulating a layer of dust and hosting spider webs. Dragging this furniture out into the sun and giving it a thorough cleaning is essential before it is used. For plastic or resin furniture, a bucket of warm soapy water and a sponge is usually sufficient to remove the winter grime. For metal furniture, particularly wrought iron, this is the time to inspect for rust. If you find spots where the paint has chipped and oxidation has begun, sand them down lightly and apply a coat of rust-inhibiting spray paint. Catching rust early prevents it from spreading and eating through the metal. Cushions and outdoor fabrics should be removed, and if they are machine-washable, laundered to remove mildew and stale odors. If not, a spray-down with a fabric cleaner and a scrub with a soft brush, followed by air-drying in the sun, will refresh them for the season. The barbecue grill, the centerpiece of many outdoor gatherings, requires a deep clean after its winter hibernation. If it was not cleaned properly in the fall, you will likely open the lid to find a grim scene of rancid grease and possibly mold. The grates must be removed and scoured with a grill brush, and the grease trap at the bottom of the unit needs to be emptied and cleaned to prevent a dangerous flare-up during the first cookout of the season. Wiping down the exterior of the grill removes the layer of dust and pollen, restoring its shine and making the entire patio area feel more intentional and cared for. Window At the end, consider the vertical elements of your outdoor space. The glass of the patio doors is likely streaked with water spots and dirt from winter storms. Cleaning both the interior and exterior of this glass is the final touch that visually connects your clean indoor space with your newly revitalized outdoor one. Check the window and door tracks for the same debris that collected on the deck, vacuuming them out to ensure a smooth glide. Wipe down railings, inspect planters for cracks caused by freezing soil, and prepare the space for the new life of spring. The pre-season clean is a ritual of reclamation. It is a physical act that signals the end of indoor confinement and the beginning of outdoor living. It is a laborious but deeply satisfying process that transforms a neglected patch of ground into a functional and beautiful extension of the home. However, the sheer
Deep Cleaning of Your Patio and Deck: A Small-Space Guide to Spring Preparation Read More »