Final Touch: How to Curate the Perfect Atmosphere for New Year’s Eve
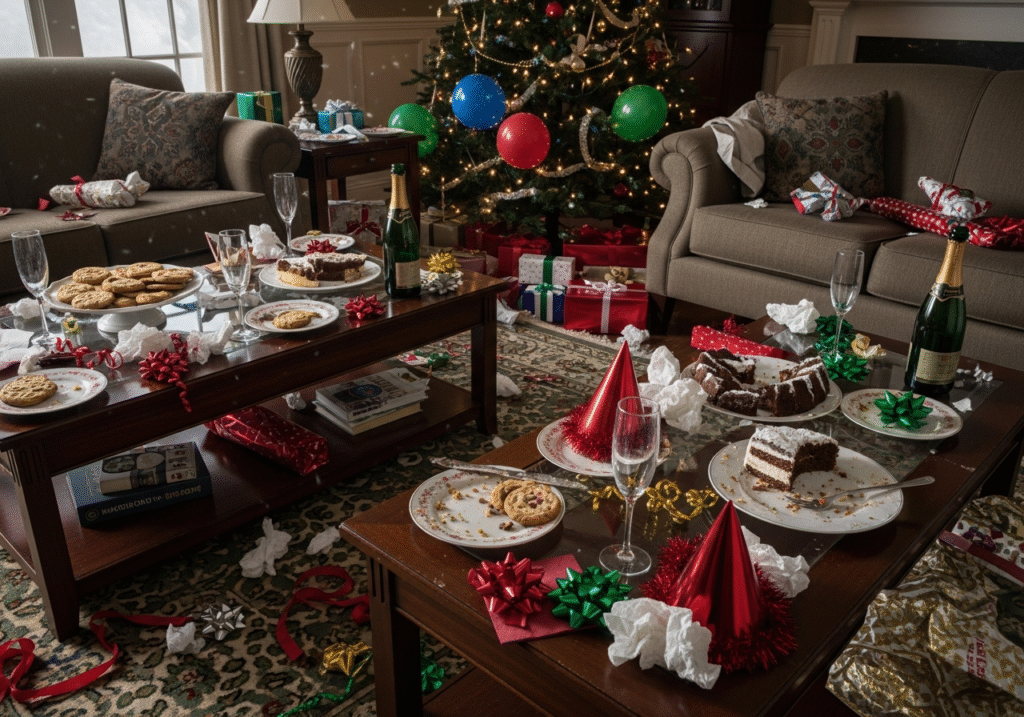
The heavy lifting is finally done. The floors have been scrubbed, the carpets vacuumed, and the refrigerator purged of its expired condiments to make way for platters of food. You have likely spent the last week in a state of high-functioning anxiety, managing a checklist of chores that seemed to grow longer with every item you crossed off. Now, however, you have reached the final countdown. The guests will be arriving in a matter of hours. This is the transition point where you must shift your mindset from that of a cleaner to that of a host. The “final touches” are not about deep sanitation; they are about staging, atmosphere, and logistics. It is the subtle art of curation that transforms a house from a sterile box into a warm, inviting sanctuary ready for celebration. These last-minute adjustments are what guests actually notice, influencing how they feel the moment they step across the threshold. Lighting The most immediate and transformative change you can make in the final hour is the lighting. Lighting is the makeup of the home; it can hide flaws, soften edges, and create intimacy. The harsh glare of overhead recessed lighting or a central chandelier is the enemy of a party atmosphere. It makes guests feel exposed and highlights every speck of dust you might have missed. Walk through your home and turn off the “big lights.” Instead, rely on floor lamps, table lamps, and sconces to create pools of warm, amber light. This lowers the visual center of gravity in the room, encouraging people to sit and relax. If you have dimmer switches, use them aggressively. If you lack sufficient lamp light, candles are your best friend. A few well-placed votives on the mantle or the entryway table create a flickering movement that feels alive and festive. However, ensure these are placed safely away from where coats might swing or elbows might knock them over. Smell Closely tied to lighting is the olfactory experience. The smell of a home is the first thing a guest registers, often before they even take off their coat. You want to avoid the chemical scent of the cleaning products you just used. A house that smells like bleach and lemon pine-sol screams “I just panic-cleaned,” which is not the vibe of effortless hospitality you want to project. Conversely, you must be careful with artificial air fresheners. A heavy, cloying “Vanilla Cookie” candle can be headache-inducing and compete with the aroma of the food you are serving. The best approach for the final touch is a natural, subtle scent. A simmer pot on the back of the stove is an old real estate trick for a reason. Simmering water with a cinnamon stick, a few cloves, and orange peels creates a warm, spicy humidity that permeates the house without smelling synthetic. It smells like the season itself. Entryway The entryway is the bottleneck of the evening, the zone of highest friction. In the final sweep, look at this space through the eyes of a guest who is carrying a bottle of wine, a gift, and a heavy winter coat. Is there actually room for them? A common mistake is leaving the family’s own coats and shoes in the prime spots. Clear out the coat closet entirely. Move your family’s winter gear to a bedroom or the basement for the night. Leave the hangers empty and ready. If you expect a large crowd, a closet might not be enough. Setting up a temporary garment rack or clearing a bed in a nearby room for coats is a thoughtful logistical touch that prevents the dreaded “coat pile” from toppling over on the sofa. Check the floor mat. If it is soaked from your own preparations, swap it for a dry one or lay down a secondary runner. A wet sock is a terrible way to start a party. Bathroom The powder room—the guest bathroom—requires a specific level of detail because it is the one space where your guests will be alone, with time to look around. You have likely already scrubbed the toilet, but the final touches are about comfort. Check the hand towel situation. A single cloth towel will be damp and germ-ridden after the third guest uses it. Consider a stack of single-use paper guest towels, or have a basket of fresh cloth towels ready to be swapped out halfway through the night. Ensure the hand soap dispenser is full; nothing kills the mood like a guest having to water down the dregs of the soap bottle. Check the toilet paper supply. Do not force your guest to root through your vanity cabinets in a panic. A spare roll should be visible and accessible, perhaps in a basket on the tank or a designated holder. Finally, wipe the faucet and the mirror one last time with a microfiber cloth to remove any water spots. That gleam of chrome suggests a level of cleanliness that reassures the guest. Kitchen In the kitchen, the goal of the final touch is to defend your workspace. The kitchen is a magnet; guests will inevitably gravitate toward the island or the counters where you are trying to plate food. To manage this, you must clear the decks. Remove any appliance that is not essential for the party. The toaster, the blender, and the coffee maker (unless coffee is being served) should be stowed away to maximize surface area. Empty the dishwasher and the trash can completely before the first doorbell rings. You will need an empty dishwasher to hide dirty prep dishes quickly as the party starts, and you will need a completely empty trash bin to accommodate the disposable plates and napkins of the evening. If the trash is already half-full of your prep waste, it will overflow within an hour. Set up a “drinks station” away from the main cooking area. By placing the wine, beer, and water glasses on a sideboard or a table in the living room, you physically draw the
Final Touch: How to Curate the Perfect Atmosphere for New Year’s Eve Read More »