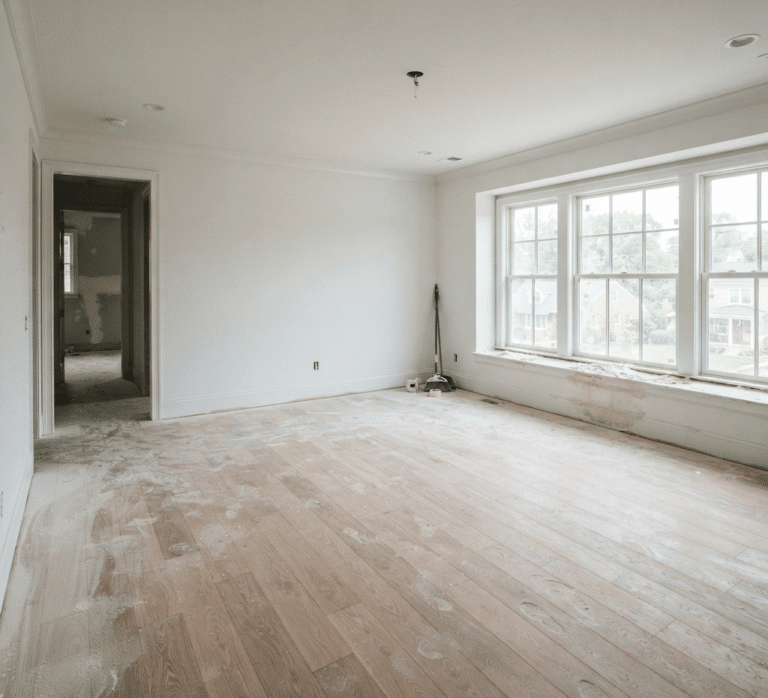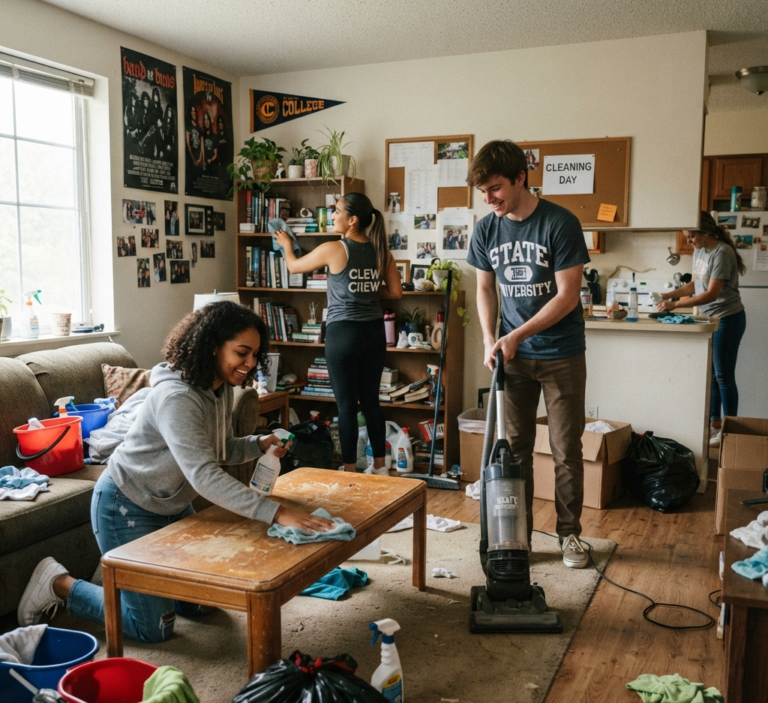










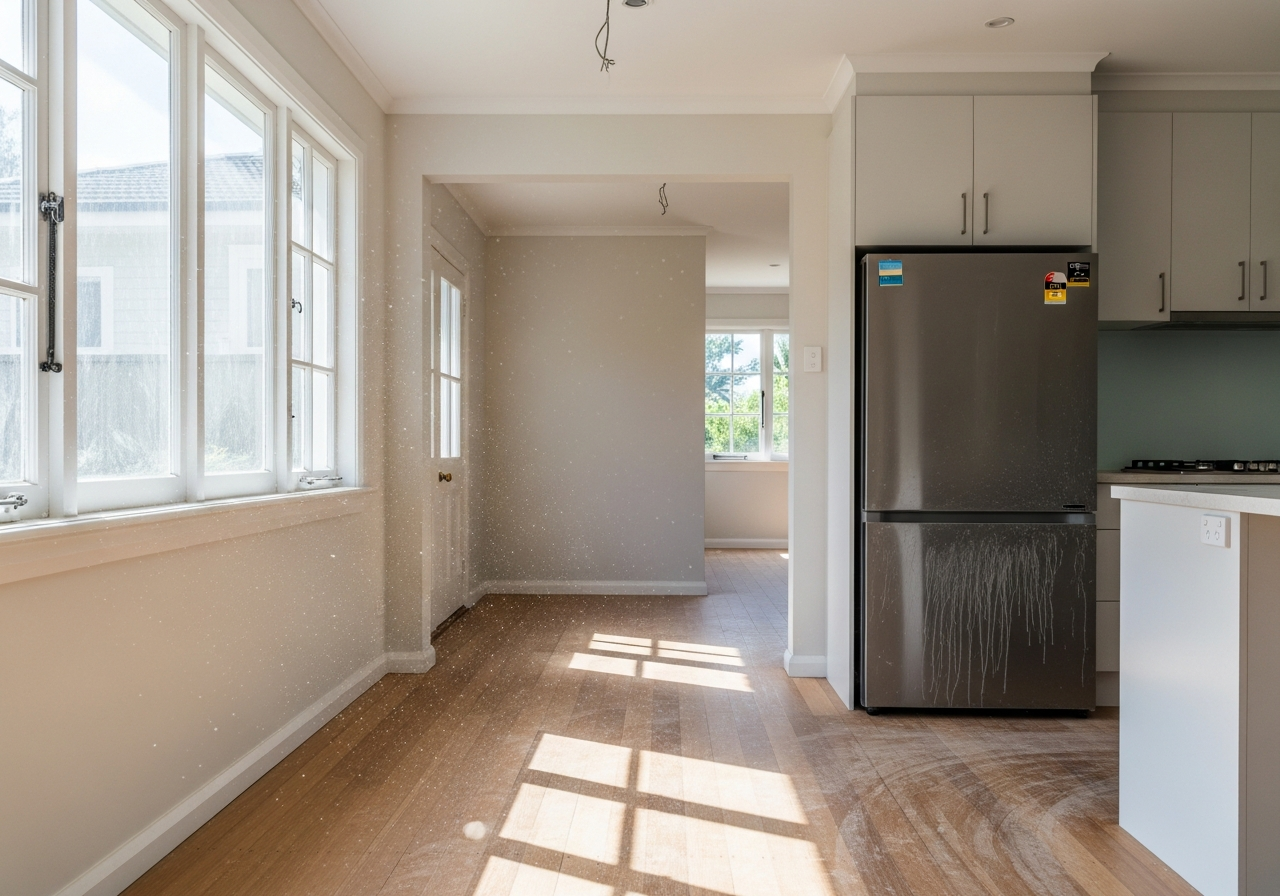
The final day of a home renovation is a moment of immense satisfaction. The noise of saws and sanders fades away, the contractors pack up their tools, and you are left with a newly transformed space. Yet, between this moment and the pure enjoyment of your new kitchen, bathroom, or living area, lies a formidable task: the post-renovation cleanup. This is not your average weekend tidying. Construction leaves behind a specific and pervasive kind of mess, dominated by an enemy that is both insidious and relentless: fine dust. This dust, a mixture of drywall, wood, and other building materials, settles on every conceivable surface, works its way into the tiniest crevices, and hangs suspended in the air, creating a gritty film that can take days, or even weeks, to fully conquer without a proper strategy.
1.Protection
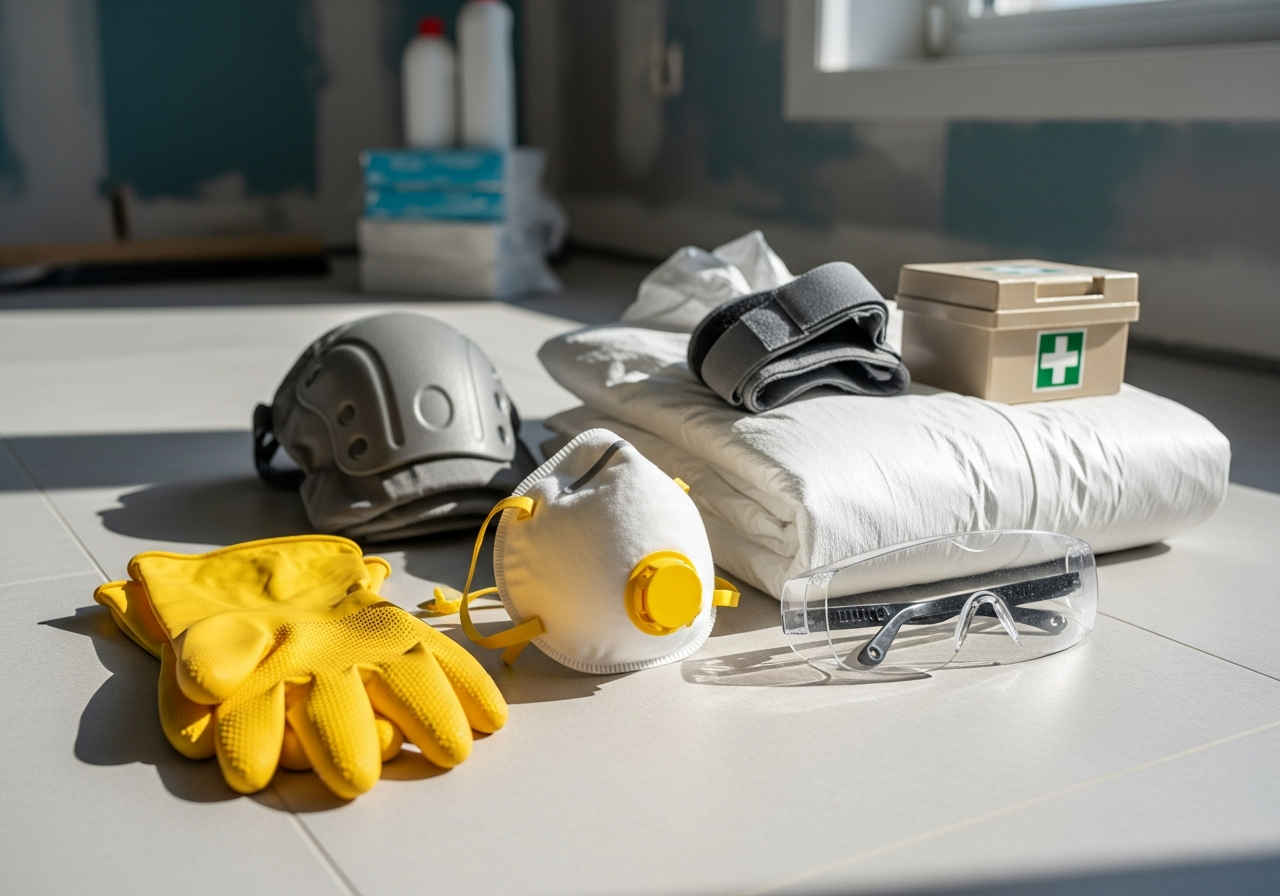
Before any cleaning begins, safety and preparation are paramount. The fine particulate matter created during a renovation can be a serious irritant to your respiratory system. It is essential to wear a high-quality mask, preferably an N95-rated respirator, to protect your lungs. Goggles will shield your eyes from falling debris, and gloves will protect your hands from grimy surfaces and cleaning agents. You must also assemble the right arsenal of tools. This job requires more than a simple sponge and a bottle of spray cleaner. A heavy-duty shop vacuum is invaluable for the initial removal of larger debris, while a high-quality home vacuum equipped with a HEPA filter is absolutely critical for capturing the finest dust particles that a standard vacuum would simply recirculate back into the air. You will need a large supply of microfiber cloths, as their static charge is incredibly effective at trapping dust rather than just pushing it around. A microfiber mop for floors and walls, a set of buckets, an extendable duster for high areas, and a gentle, all-purpose cleaner will complete your toolkit.
The guiding principle of any effective post-renovation clean is a strict top-to-bottom, dry-to-wet methodology. Reversing this order will only create a frustrating, muddy mess and multiply your workload. The first phase is a dry removal of all surface dust and debris. Begin by carefully removing any remaining plastic sheeting or drop cloths, folding them inwards to contain the dust, and disposing of them. Open the windows to ventilate the space as much as possible. Then, with your shop vacuum, perform an initial pass to remove the most obvious accumulations of dirt: sawdust piles, drywall chunks, and any other construction remnants.
2.Fine Dust
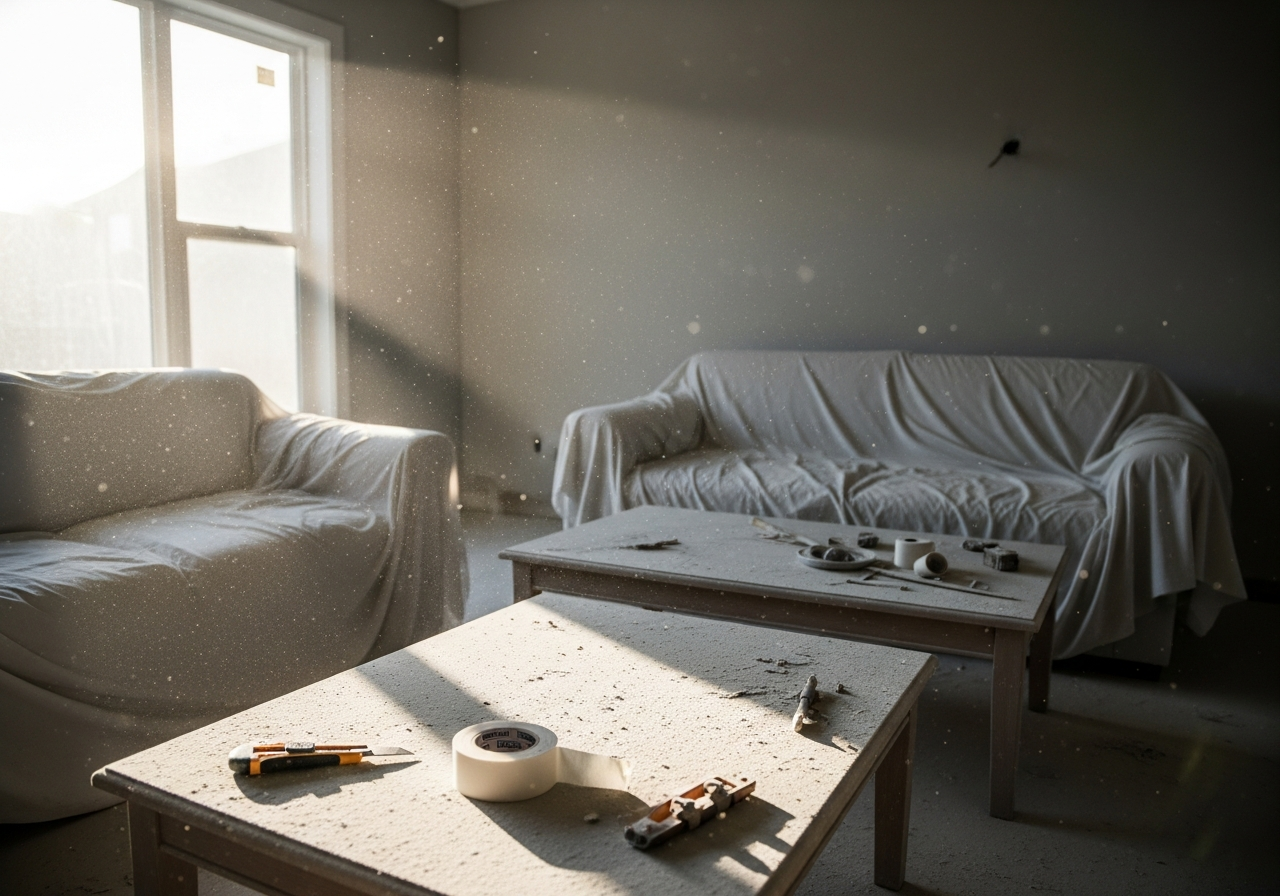
With the larger debris gone, the systematic battle against fine dust begins. Start at the highest point in the room. Use an extendable duster or the brush attachment on your HEPA vacuum to clean the ceilings, paying close attention to corners and edges. Move on to ceiling fans, light fixtures, and the tops of any tall cabinets or wall moldings. From there, work your way down the walls. A dry microfiber mop is an excellent tool for this, as it can cover a large surface area and effectively trap the dust clinging to the vertical surfaces. Do not forget to address the details as you descend. Every door frame, window frame, and picture rail is a ledge that has collected a thick layer of grit. Use a dry microfiber cloth to wipe these down thoroughly. Clean the windows themselves, including the sills and the tracks, which are notorious for accumulating a dense mixture of dirt.
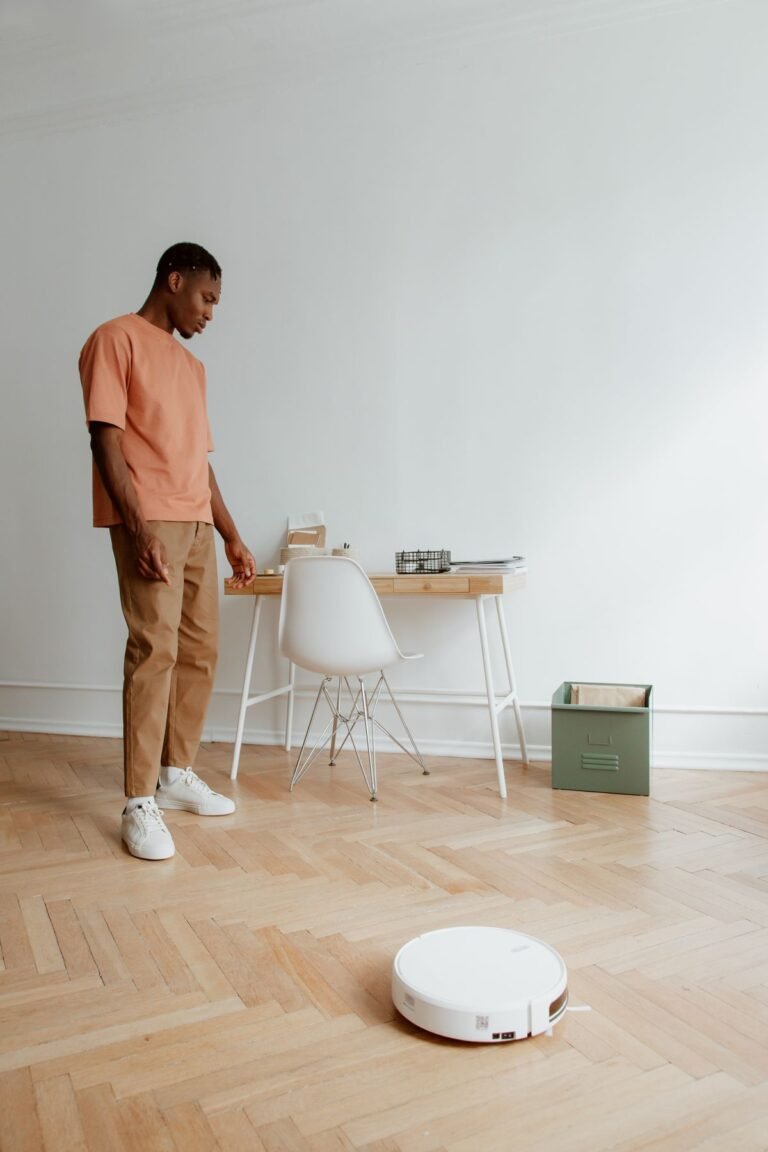
Once the higher elevations are complete, turn your attention to all horizontal surfaces. Clean the insides and outsides of all cabinets, cupboards, and drawers. Even if they were sealed, fine dust has a way of infiltrating everything. Vacuum them out first with a brush attachment, then wipe them down. Dust every countertop, shelf, and piece of furniture that remained in the room. After all the elevated surfaces have been dusted, the final step of the dry phase is a meticulous vacuuming of the entire floor. Use the HEPA filter vacuum and move slowly, making multiple passes to ensure you capture everything that has been knocked down from above. Use the crevice tool to get deep into the corners and along the baseboards. If you have carpets, this slow, thorough vacuuming is especially critical to pull the embedded drywall dust from the fibers.
3.Microfiber
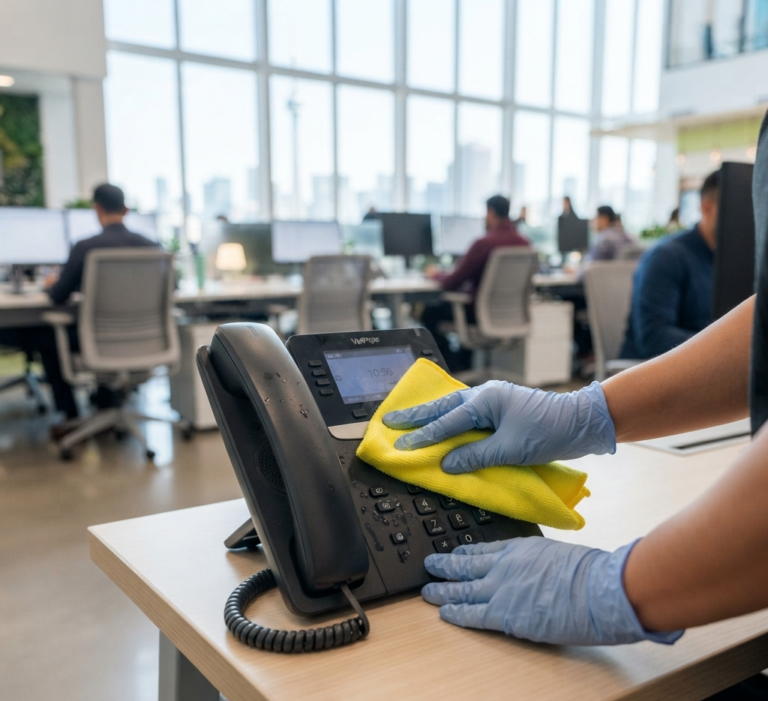
Only when you are confident that the vast majority of the loose, dry dust has been removed should you introduce any moisture. This wet-cleaning phase is what will remove the final film and restore the true shine to your new space. Following the same top-to-bottom principle, you can now begin to wipe down surfaces. Start with the walls, using a microfiber mop head or cloth that is only slightly damp, not soaking wet. Wring it out thoroughly to prevent streaks or water damage. Next, wipe down all the baseboards, trim, and doors with a damp cloth. This is often a shocking step, as the amount of grime that comes off these seemingly clean surfaces can be remarkable. Move on to wiping down all the countertops, cabinets, and other fixtures with a clean, damp microfiber cloth and a suitable gentle cleaner. For a new kitchen or bathroom, this is when you will want to polish the new faucets, sinks, and appliances to remove smudges and water spots. The final step is to mop the hard floors. You will likely need to change your mop water multiple times, as it will quickly become cloudy with the residual dust. Mop the floor, let it dry, and inspect it; it is not uncommon to need a second or even a third pass to achieve a truly clean finish.
4.HVAC System
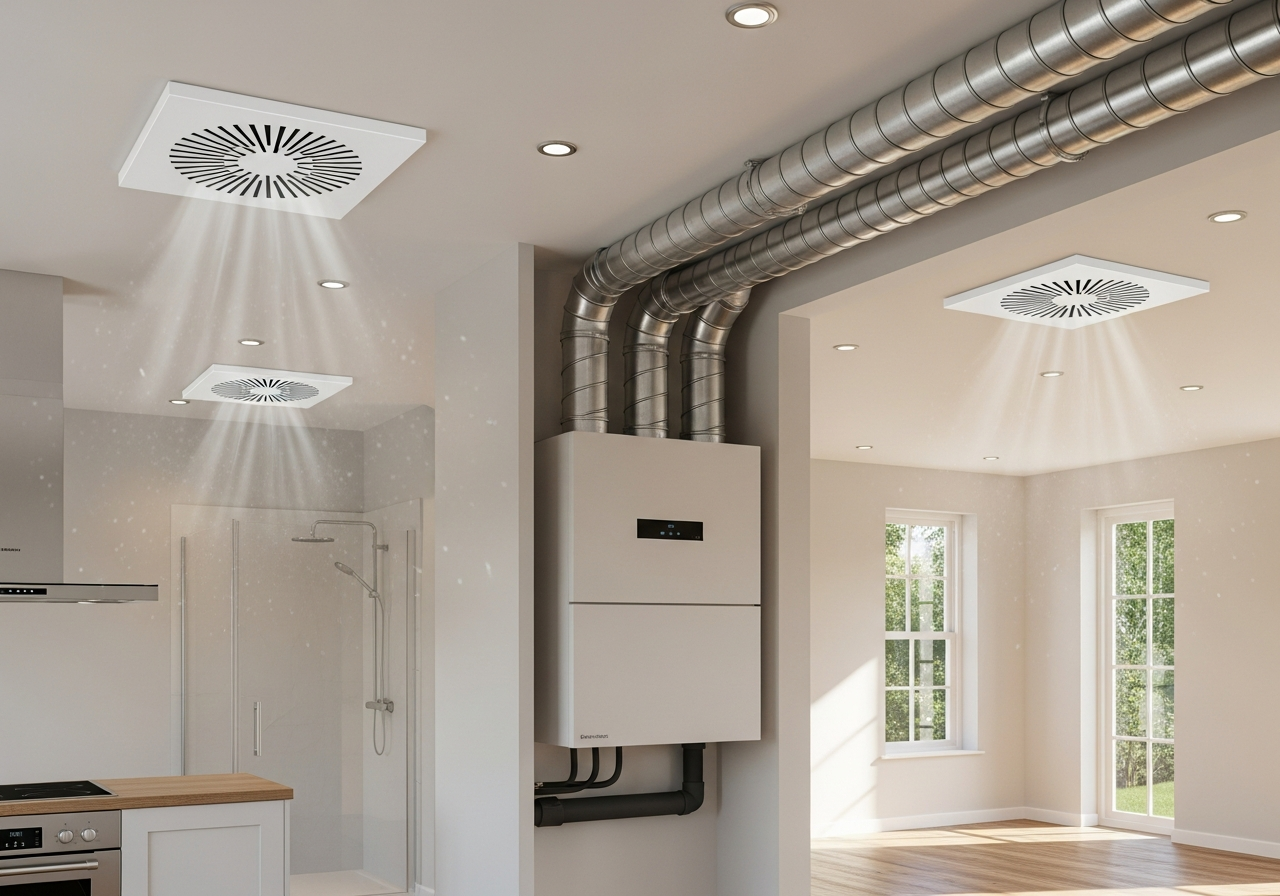
The cleaning does not stop at the visible surfaces. One of the most critical and often overlooked steps is to address your HVAC system. Throughout the renovation, your air vents have been breathing in dust. It is essential that you change your furnace filter immediately after your cleaning is complete. A new, clean filter will prevent the system from blowing the collected construction dust right back into your freshly cleaned rooms. You should also take the time to vacuum out all the individual vent registers. This final action helps ensure the long-term air quality of your home.
5.Light Cleaning
Be prepared for the dust to resettle. Even after the most exhaustive cleaning, the finest particles that have become airborne will slowly settle over the next 24 to 48 hours. It is completely normal to see a light dusting appear on surfaces a day or two later. Plan for a final, lighter round of dusting and vacuuming after a couple of days have passed to capture these last remnants. This final touch-up is what truly completes the process, leaving you with a space that is not just aesthetically pleasing but deeply and thoroughly clean, ready for you to furnish, decorate, and finally enjoy.
This meticulous, multi-phase process required for a true post-renovation clean is a significant undertaking, demanding time, energy, and specialized attention to detail. For a professional result without the exhaustive labor, Toronto Shine Cleaning offers comprehensive post-renovation cleaning services. We handle the entire top-to-bottom, dry-to-wet process, eliminating the pervasive construction dust from every surface, vent, and crevice, so you can skip the hardest part and move straight to enjoying your beautiful new space.