Get a Perfect Spring Clean Without Sacrificing Your Weekends
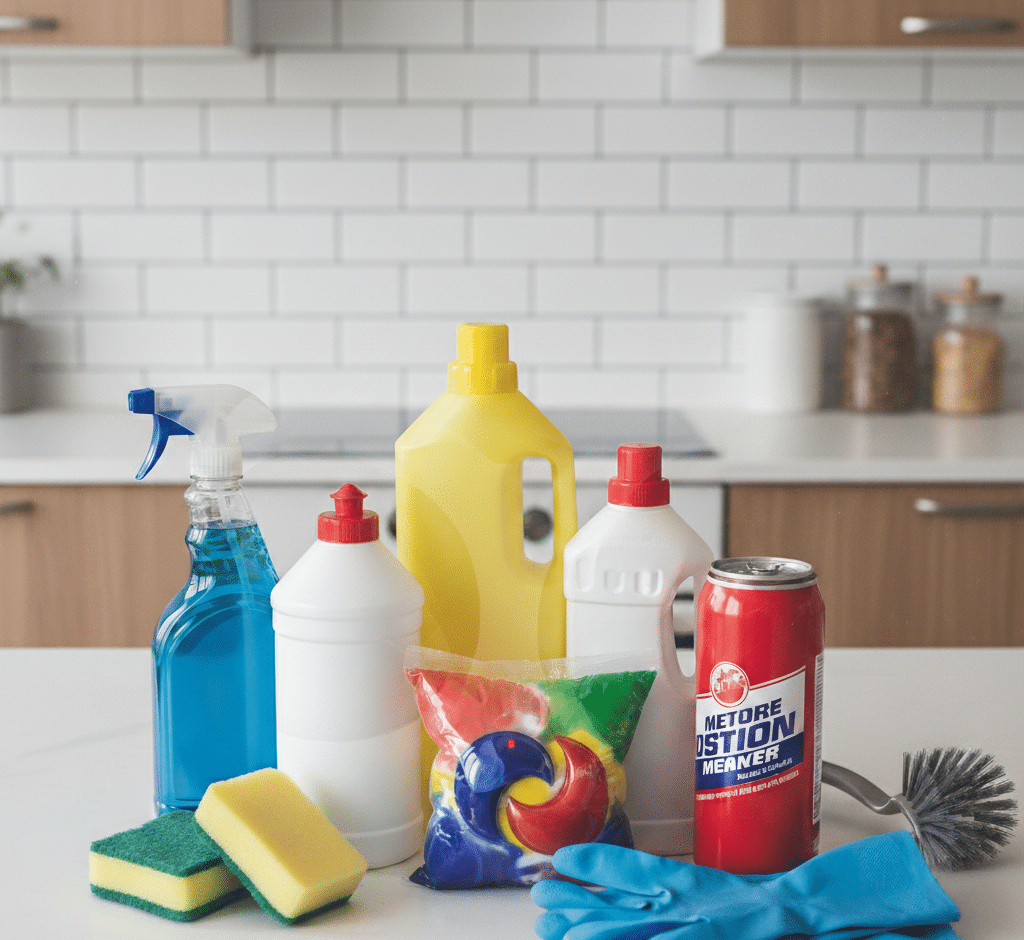
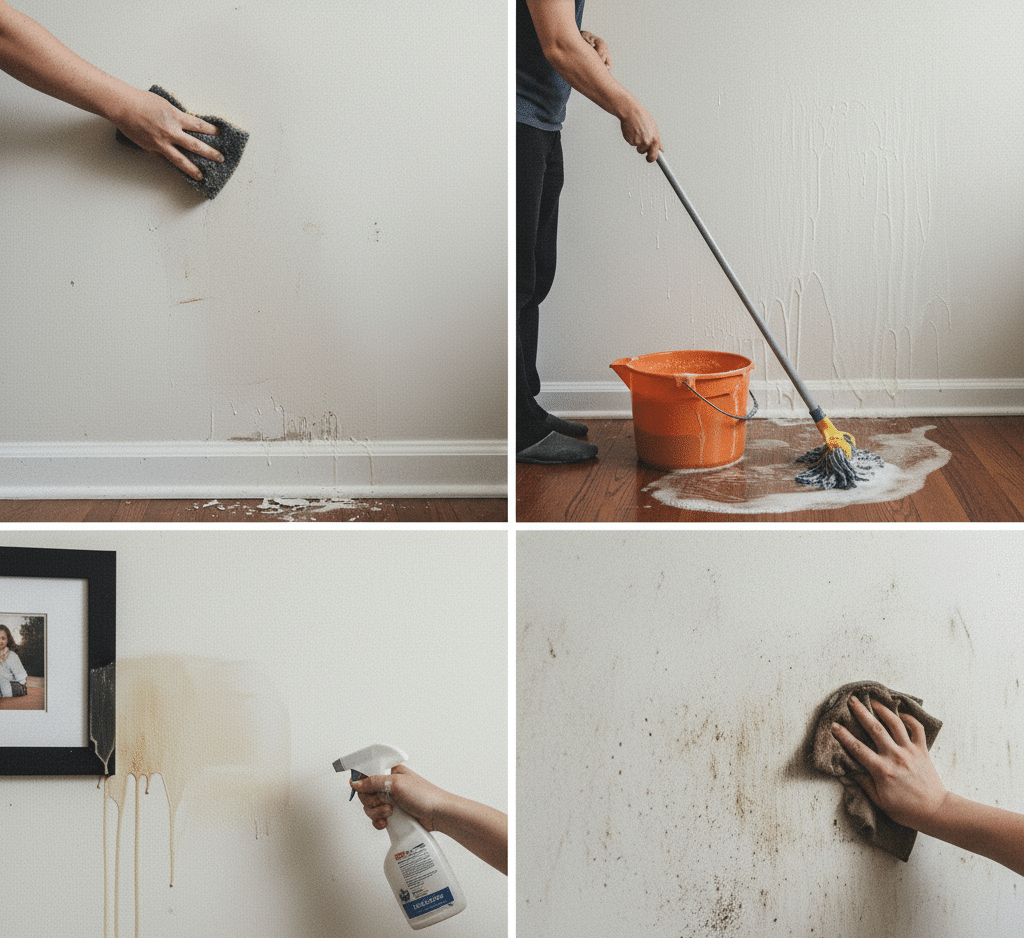
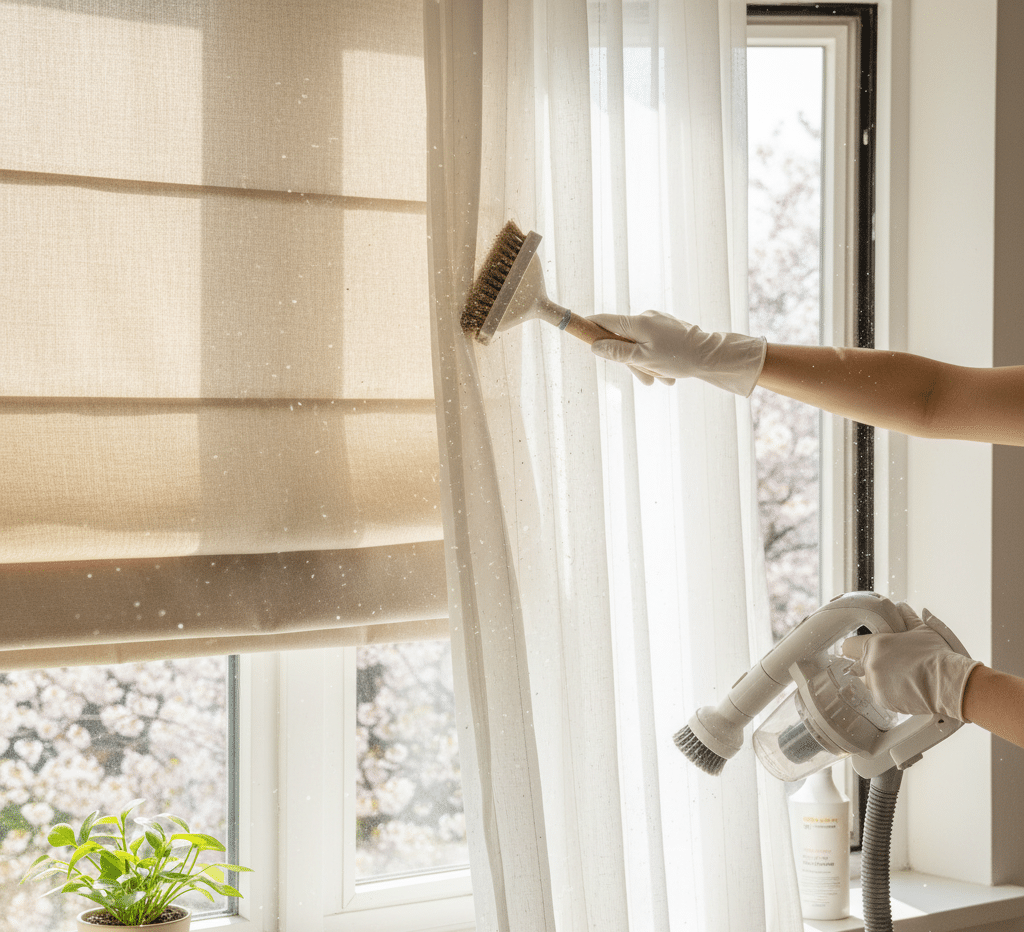
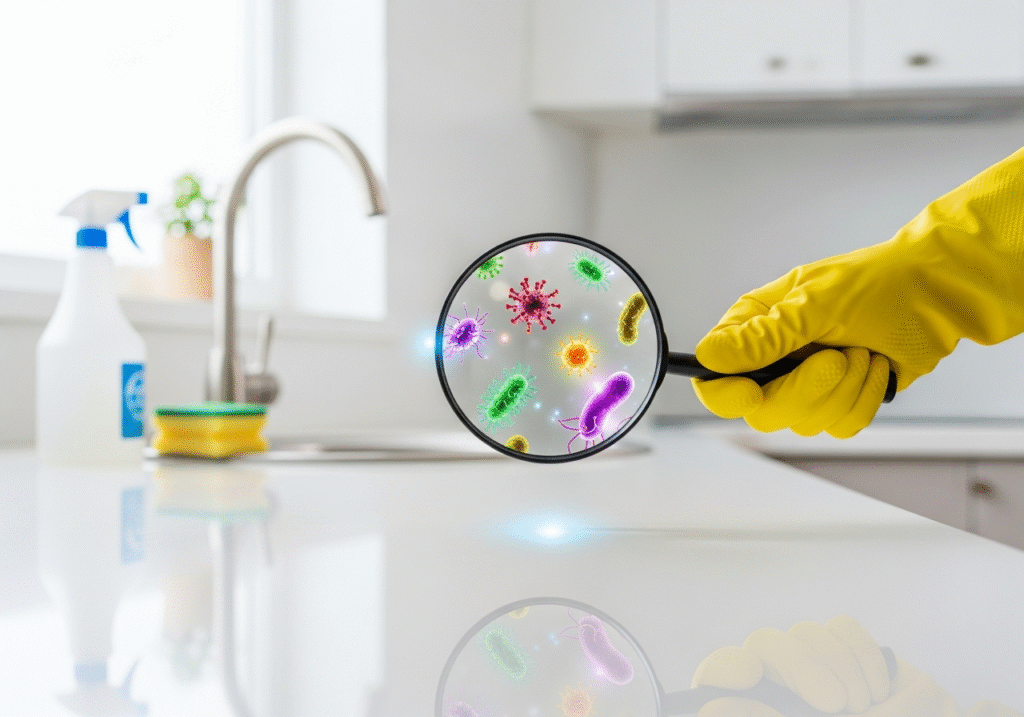
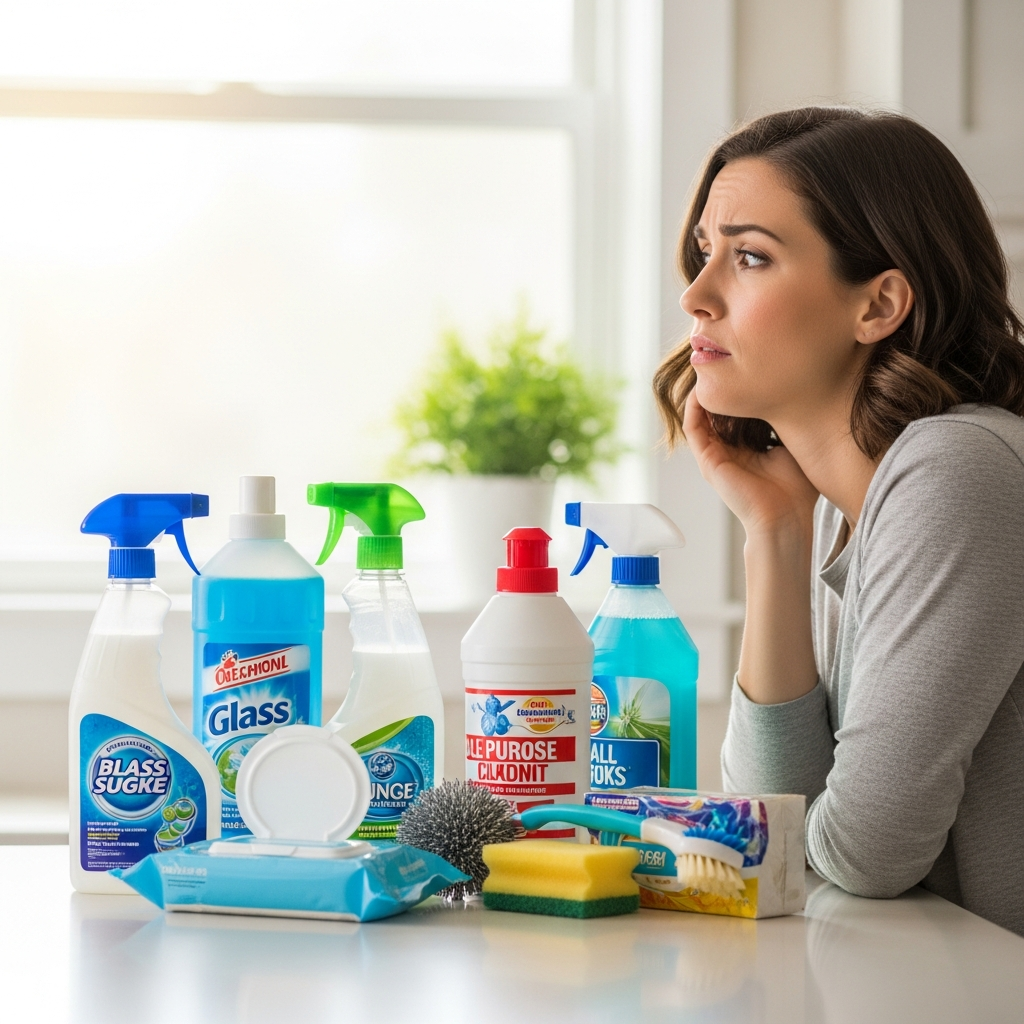
The arrival of April represents a powerful and welcome change for spring. The days grow longer, the sun feels warmer, and a deep, instinctual urge to refresh our homes takes hold. We want to throw open the windows, clear away the dust and stagnant gloom of a long winter, and create a space that feels as bright and new as the season itself. Yet, for many, this wholesome ambition is met with a daunting and often paralyzing reality. The sheer scale of a proper spring clean is immense. The very sunlight that we have craved for months now acts as an unforgiving inspector, illuminating a winter’s worth of dust on every surface, a grimy film on the inside of every window, and the chalky, abrasive residue of road salt on our floors and entranceways. The task feels monumental, a mountain of chores that threatens to consume the very weekends we had hoped to spend enjoying the first beautiful days of the year. Fresh Start This is where the idea of a “fresh start” becomes more than just a pleasant concept; it becomes a practical and intelligent strategy. A professional cleaning service is not an all-or-nothing proposition; it is a powerful tool to kick-start your season, to reclaim your time, and to achieve a level of foundational cleanliness that makes all subsequent maintenance feel effortless. By delegating the most physically demanding, time-consuming, and least enjoyable tasks to a team of experts, you transform an overwhelming project into a manageable and even enjoyable one. It is about tackling the deep, foundational grime of winter head-on, creating a truly clean slate from which you can easily maintain and perfect your home throughout the spring and summer. 1.The Interior The interior of a home after a long, sealed-up winter requires a far more intensive approach than a simple surface wipe. A professional deep clean is the essential first step, addressing the unseen buildup that contributes to stale air and a general sense of dinginess. This process is methodical, starting from the top and working down, going beyond the routine to target the high and low zones of neglect. It is the meticulous process of wiping down every single baseboard, removing the scuffs and dust that have accumulated out of sight. It is reaching the tops of tall kitchen cabinets and bookcases to remove the sticky, greasy film of dust that has settled there, preventing it from circulating into the air you breathe. It is the careful washing of light fixtures and ceiling fan blades, which have become magnets for airborne dust over the months. This foundational clean removes the deep-seated layer of winter, providing a baseline of pristine that is simply not achievable when you are forced to clean around clutter and everyday life. The home does not just look clean; it feels lighter, fresher, and healthier. 2.Windows With the interior deeply cleaned and reset, the focus can turn to the most impactful spring-specific services, starting with the windows. Dirty windows, coated in a winter’s film of dust, grime, and moisture streaks, can make an otherwise clean room feel dull and gloomy. A professional window washing service goes far beyond a simple spray and wipe with a paper towel, a method that often results in frustrating streaks. It is a detailed process that addresses not just the glass but the entire window unit. Using professional-grade tools like squeegees and specialized solutions, every pane of glass is left perfectly clear and streak-free. This allows the maximum amount of precious spring sunlight to flood into your home, instantly making every room feel brighter, larger, and more vibrant. This service also includes a thorough cleaning of the window sills and the often-forgotten window tracks, clearing out the accumulated dirt, condensation grime, and dead insects that have been trapped all winter. The difference is not subtle; it is a brilliant transformation that signals the true arrival of spring and dramatically enhances your view of the budding world outside. 3.Floors The floors, particularly those with carpets and area rugs, have also endured a harsh season. They have acted as a giant filter, trapping road salt, sand, melting snow, and a host of allergens tracked in on boots and paws. A standard vacuum, even a powerful one, can only remove the surface-level debris. A professional carpet cleaning service is a restorative process, using specialized equipment to deep clean the fibers from the base up. High-temperature water extraction penetrates deep into the carpet pile, dissolving and extracting the embedded grit that wears down and damages carpet fibers over time. This process lifts stubborn stains, eliminates the trapped allergens and dust mites that can impact your home’s air quality, and neutralizes any lingering odors. Reviving your carpets is a foundational step in freshening your home, removing the last vestiges of winter underfoot and restoring a sense of softness, vibrant color, and true cleanliness to your living spaces. Outdoor Area The fresh start extends beyond the walls of your home to your outdoor living areas, which are often the most dramatic showcase of winter’s toll. Your deck, patio, and walkways have been subjected to the full force of a Canadian winter, leaving them stained with salt residue, caked with grime and mud, and often showing the first signs of green mildew or algae growth. A professional power washing service is the most effective and visually satisfying way to reclaim these spaces. The high-pressure water scours away the accumulated winter dirt from wood, concrete, and stone, instantly stripping away the dull, grimy layer to reveal the clean, bright surface beneath. It is a deeply satisfying transformation that prepares your outdoor areas for the season of barbecues and relaxation, creating a clean, welcoming environment for you, your family, and your guests. It is the definitive way to wash away the last of winter. Make The Most of Your Days By strategically employing a professional service to handle this heavy lifting, you are making a direct investment in your own time and well-being. Instead of
Get a Perfect Spring Clean Without Sacrificing Your Weekends Read More »