5 Common Mistakes That Render Your Enzyme Cleaner Useless
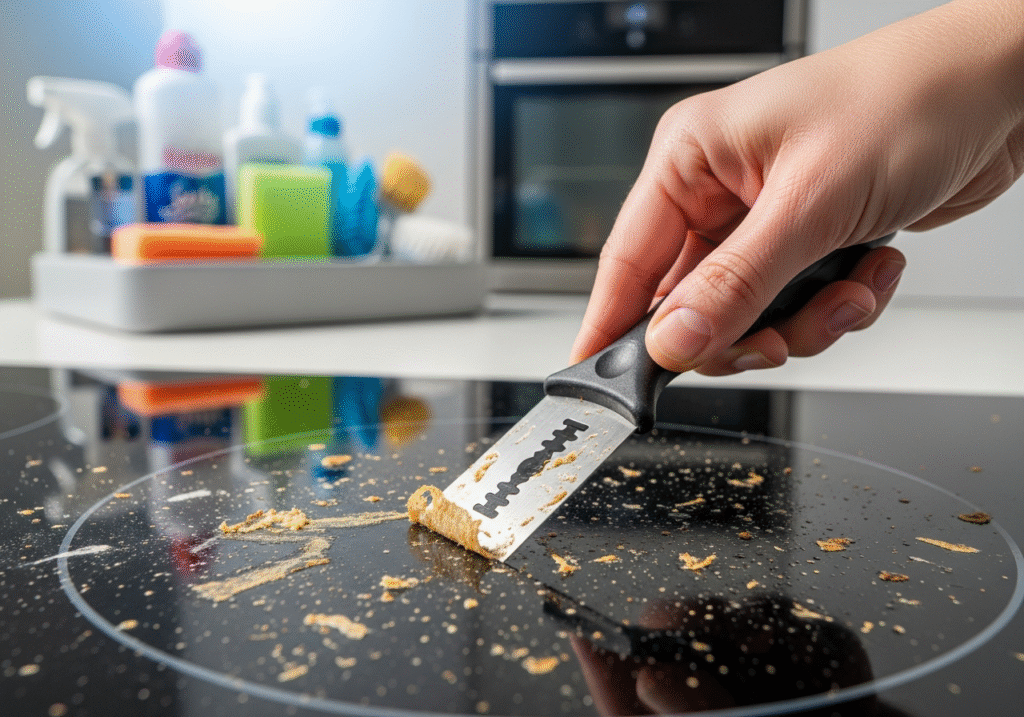
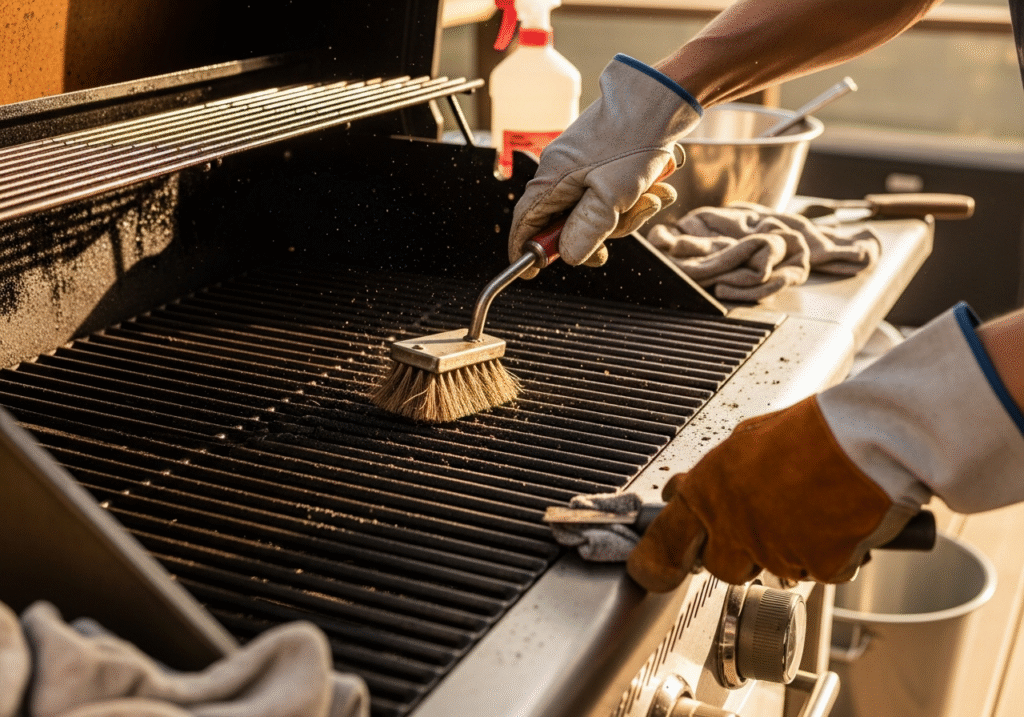
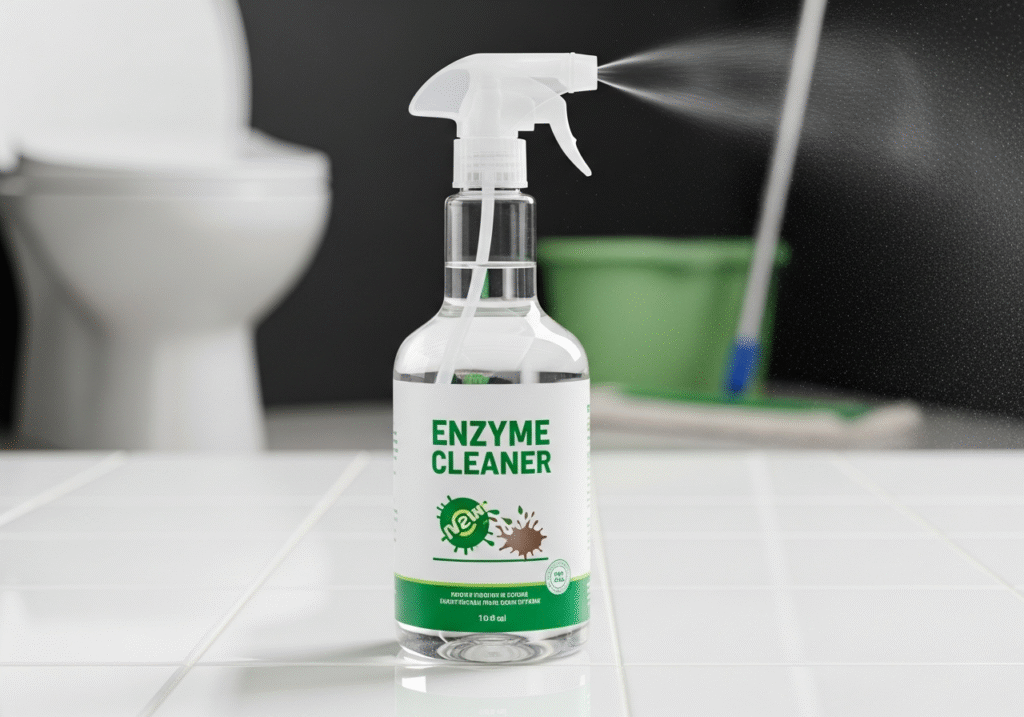
In the world of cleaning, there is a constant arms race between the mess and the method. For decades, the dominant strategy has been chemical warfare: using harsh solvents, high-alkaline degreasers, and corrosive bleaches to burn, dissolve, or bleach stains into submission. While these methods are effective for many surface-level issues, they often fail when it comes to the most persistent and unpleasant biological messes. The smell of pet urine that returns on a humid day, the grime in the grout lines that never seems to whiten, or the lingering odor in a drain are all symptoms of organic matter that standard chemicals cannot remove. The solution to these problems is not found in a stronger acid or a harsher solvent, but in biology. Enzyme cleaners represent a fundamental shift in how we approach hygiene, utilizing the power of nature to digest dirt rather than simply wiping it away. How Does it Work? To understand why enzyme cleaners are unique, one must understand what they are composed of. These cleaners are bio-enzymatic formulations. They contain beneficial bacteria along with enzymes. The bacteria are the workers, and the enzymes are the tools they produce. When you spray an enzyme cleaner on a stain, the bacteria remain dormant until they hit a food source—the stain. Once activated, they produce enzymes to break down complex molecules into smaller, simpler pieces. For example, a protease enzyme breaks down proteins (like blood or meat), a lipase enzyme breaks down fats and oils (grease), and an amylase enzyme breaks down starches. The bacteria then consume these broken-down particles, converting them into carbon dioxide and water. Essentially, the cleaner literally eats the stain until it is gone. Animal Urine The most famous and arguably most critical application for enzyme cleaners is in the realm of pet ownership. Anyone who has house-trained a puppy or cared for an aging cat knows the nightmare of urine stains. Urine is composed of urea, urochrome, and uric acid. Standard detergents and water can wash away the urea and urochrome, which removes the sticky texture and the yellow color. However, uric acid forms crystals that are nonsoluble in water and bond tightly to surfaces like carpet fibers, wood, and concrete. Traditional cleaners might mask the smell temporarily with perfume, but they leave the uric acid crystals behind. When the humidity rises or the area gets wet again, these crystals re-hydrate and release strong ammonia gas, bringing the smell back. This signals to the pet that this spot is a “bathroom,” encouraging repeat offenses. Enzyme cleaners specifically formulated with uricase are the only way to break down these crystals permanently. The enzymes digest the uric acid structure, eliminating the source of the odor completely rather than just covering it up. Beyond pet messes, enzyme cleaners are the secret weapon for bathrooms. The pink or orange slime that accumulates in shower corners and around drains is a biofilm—a colony of bacteria that feeds on soap scum and body oils. Because grout is porous, this biofilm can root itself deep into the cement, making it reachable only by scrubbing until your knuckles are raw. Enzyme cleaners work differently. When applied to grout and allowed to sit, the enzymes seep into the pores. They break down the protein and fat structures of the soap scum and body oils that bind the dirt to the tile. Over time, this biological action loosens the grime so it can be easily rinsed away. It is a slower process than using bleach, but it is far more effective at removing the root cause of the discoloration without damaging the grout sealant or etching the tile. Grease The kitchen is another arena where enzymes shine, particularly in the battle against grease. Grease traps and kitchen drains are notoriously difficult to maintain because fat hardens as it cools, coating pipes and causing slow drainage. Chemical drain openers rely on heat and caustic reactions to burn a hole through the clog, which can damage old plumbing and is dangerous to handle. Enzyme drain maintainers are a safer, preventative alternative. When poured down the drain, the lipase enzymes coat the inside of the pipe and slowly digest the organic buildup. They turn the hard grease into water-soluble liquid that flushes away. While they won’t clear a solid hair clog instantly like a snake would, regular use keeps the pipes flowing freely and eliminates the rotting food smell that often rises from the sink. Laundry is perhaps the most undervalued use case for these biological cleaners. Many organic stains—blood, sweat, grass, and baby formula—are protein-based. Hot water and standard detergent can actually “cook” these proteins, setting the stain into the fabric permanently. Cold water and an enzyme soak are the antidote. The enzymes locate the protein strands woven into the fabric and snip the chemical bonds holding them to the cloth. This is why many high-end laundry detergents now boast “bio-active” ingredients. For athletic wear that retains the smell of sweat even after washing, an enzyme soak is often the only way to remove the body oils trapped in the tight synthetic weave of modern performance fabrics. Dwell Time However, the effectiveness of enzyme cleaners comes with a specific set of rules that differs from traditional cleaning. The most important variable is time. In the cleaning industry, this is known as “dwell time.” Unlike a spray-and-wipe glass cleaner, enzymes need time to eat. If you spray a urine stain and wipe it up ten seconds later, you have accomplished nothing. The bacteria need hours, sometimes even days, to fully digest a deep stain. For a carpet stain, the instruction is often to saturate the area—soaking it all the way down to the pad—and then cover it with a damp towel to keep the area moist. Enzymes stop working if they dry out. The bacteria need a moist environment to survive and reproduce. By keeping the stain wet and covered, you allow the colony to expand and consume the waste until the food source is
5 Common Mistakes That Render Your Enzyme Cleaner Useless Read More »