Why Your Shower Glass is Always Hazy (And How to Fix It)
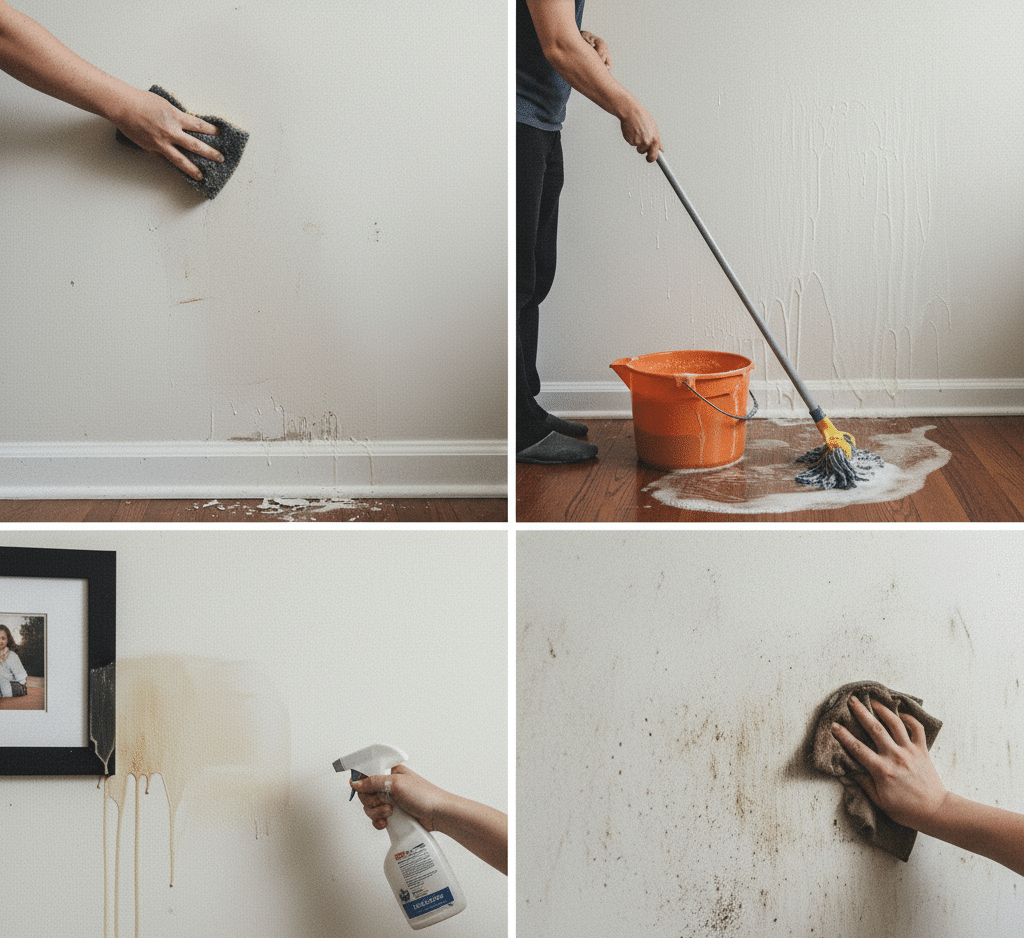
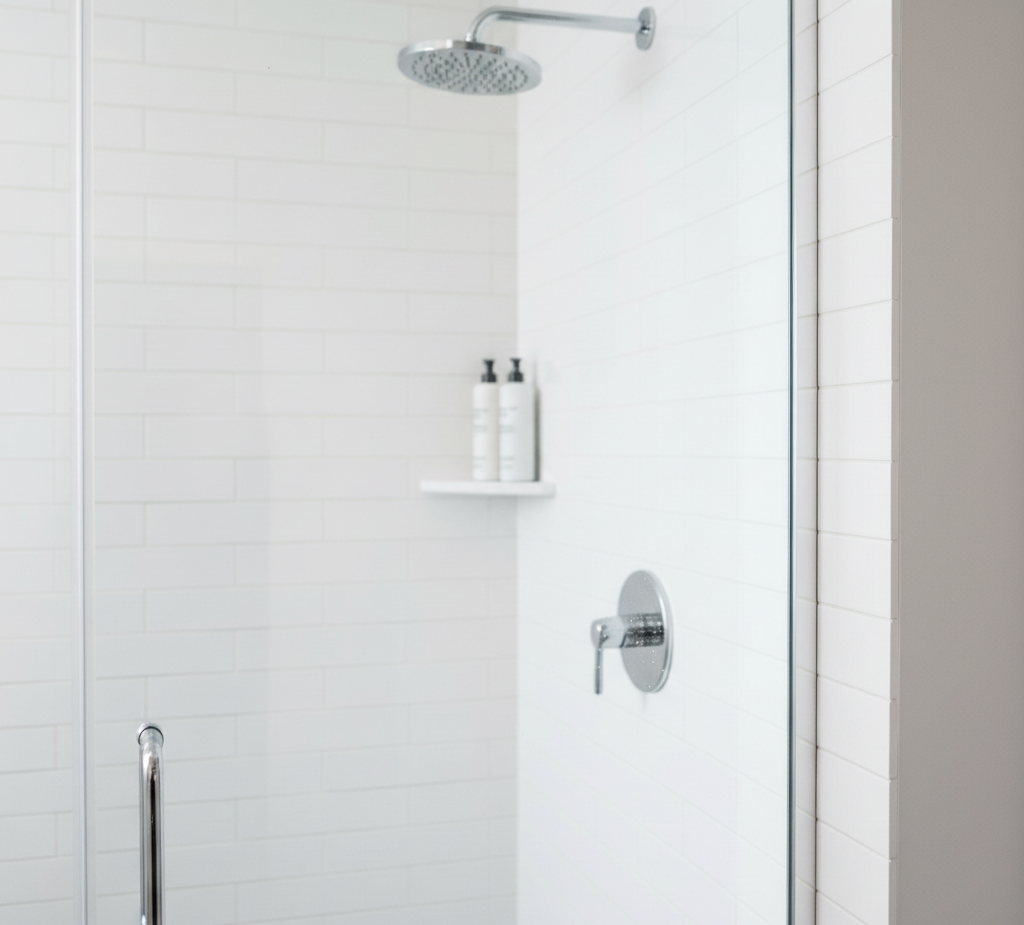
An impeccable shower glass is the centerpiece of a modern bathroom, providing a feeling of spaciousness and cleanliness similar to that of a spa. However, this beautiful feature quickly becomes the focal point for one of the most stubborn and frustrating cleaning challenges in any home. Within weeks of regular use, a cloudy, streaky film begins to build up, obscuring the glass with a milky haze and stubborn white spots. This is not ordinary dirt; it is a resilient combination of hard water minerals and soap scum, a congealed mess that resists standard glass cleaners and requires a specific, methodical approach to conquer. Hard Water The root of the problem lies in the chemistry of your water and soap. Hard water is rich in dissolved minerals, primarily calcium and magnesium. When water droplets evaporate on the glass, these minerals are left behind, forming a chalky, crystalline deposit. Simultaneously, the fatty acids present in most bar soaps and body washes react with these same minerals to create soap scum, a waxy, insoluble substance. This duo forms a tough, layered film that adheres tightly to the glass surface, becoming more difficult to remove with each shower. Prevention 1. Squeegee The most effective strategy for dealing with this persistent issue is, without question, prevention. The goal is to remove the water and soap residue before it has a chance to dry and set. This is accomplished with a simple, 30-second daily ritual: the squeegee. Keeping a good-quality squeegee hanging in your shower and making it a habit for the last person out to quickly wipe down the glass walls is a transformative act. Starting from the top, pull the squeegee down in overlapping vertical strokes. This physically removes the vast majority of the water droplets and soap residue. For an extra layer of protection, you can follow the squeegee with a quick wipe using a clean microfiber cloth to absorb any remaining moisture. This daily maintenance is the single most effective way to keep your shower glass perpetually clean and dramatically reduce the need for intensive deep cleaning. 2. Vinegar When a preventative routine is not enough and you are faced with a light to moderate buildup, the next line of defense is a simple, non-toxic, and incredibly effective cleaning solution made from white vinegar. The mild acetic acid in vinegar is a powerhouse when it comes to dissolving the alkaline mineral deposits from hard water. To create your cleaner, mix equal parts of plain white vinegar and warm water in a spray bottle. For an extra boost of grease-cutting power, you can add a few drops of a high-quality dish soap, which will help to break down the waxy soap scum component. 3. Hot Water Before you begin, it is helpful to run the shower on hot for a few minutes to steam up the bathroom. The warmth and humidity will help to soften the buildup on the glass, making it more receptive to the cleaner. Generously spray your vinegar solution all over the entire surface of the glass, ensuring it is completely saturated. Now, the most crucial step is to let it sit. Do not immediately start scrubbing. The acid needs time to work its magic, to chemically dissolve the mineral deposits. Allow the solution to dwell on the surface for at least fifteen to thirty minutes. 4. Sponge After the waiting period, it is time for some gentle agitation. Using a non-scratch sponge or a soft microfiber cloth, scrub the glass in a circular motion. You should feel the gritty deposits beginning to break down. For areas with particularly thick buildup, you may need to apply more of the solution and scrub a bit more vigorously. Once you are satisfied that the film has been loosened, rinse the glass thoroughly with warm water, using your shower head or a cup to wash away all the vinegar and dislodged grime. The final, critical step to a perfect finish is drying. Use a clean, dry microfiber cloth to buff the glass completely dry. This removes any lingering water droplets and prevents new spots from forming, leaving you with a streak-free shine. 5. Baking Soda For glass that has been neglected for some time and is suffering from a thick, opaque layer of soap scum and hard water stains, a more powerful, abrasive approach is required. This is where baking soda becomes your best friend. Baking soda is a gentle but effective abrasive that provides the physical scrubbing power needed to break through heavy buildup without scratching the glass. The most effective method is to create a thick paste by mixing baking soda with a small amount of water. Using a non-scratch scrub sponge, apply this paste to the glass and begin to scrub in firm, circular motions. You will feel the paste grinding away at the stubborn deposits. Let’s Get to Work! To supercharge this process, you can combine the power of baking soda and vinegar. Apply the baking soda paste first, then spray it with your vinegar solution. The mixture will begin to fizz and bubble, a chemical reaction that helps to lift and dissolve the grime from deep within the buildup. Continue to scrub the entire surface thoroughly. This method requires more elbow grease than the simple spray-and-wait technique, but it is remarkably effective for cutting through years of neglect. Once again, the process must conclude with a meticulous rinse and a complete, streak-free dry. While these DIY methods are incredibly effective, there are also commercial cleaners specifically formulated for this task. Look for products that are designed to remove calcium, lime, and rust. These often contain mild acids and are very effective, but it is important to ensure your bathroom is well-ventilated when using them, as they can produce strong fumes. As you clean the glass panels, do not forget the often-overlooked metal frame and tracks. These areas are magnets for grime and can even develop mold or mildew. Vacuum out any loose debris from the tracks first.
Why Your Shower Glass is Always Hazy (And How to Fix It) Read More »