Dealing with dirty shower walls is a common household challenge. Over time, these surfaces accumulate a variety of residues, from soap scum and hard water minerals to mold and mildew, diminishing the overall cleanliness and appeal of your bathroom. Understanding what causes these issues and how to address them effectively can transform your shower from a source of frustration into a sparkling clean space.
1.Mold and Mildew
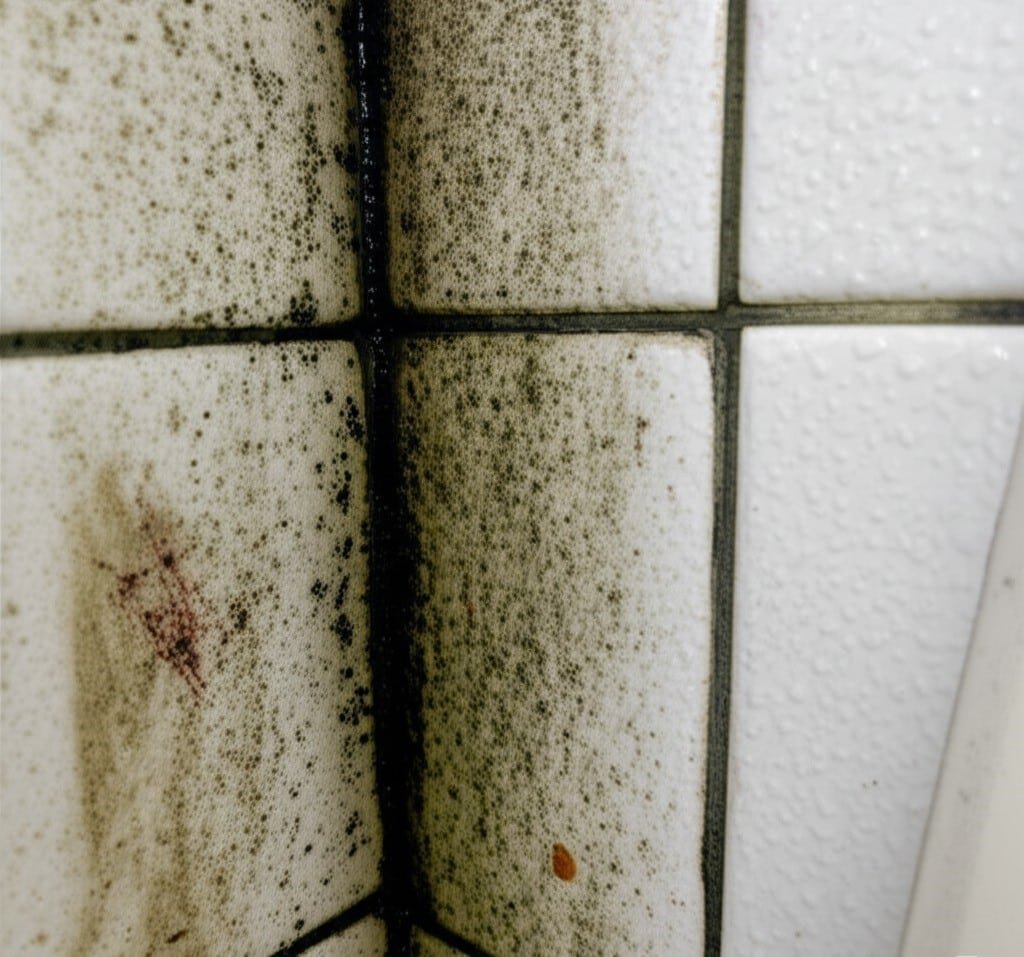
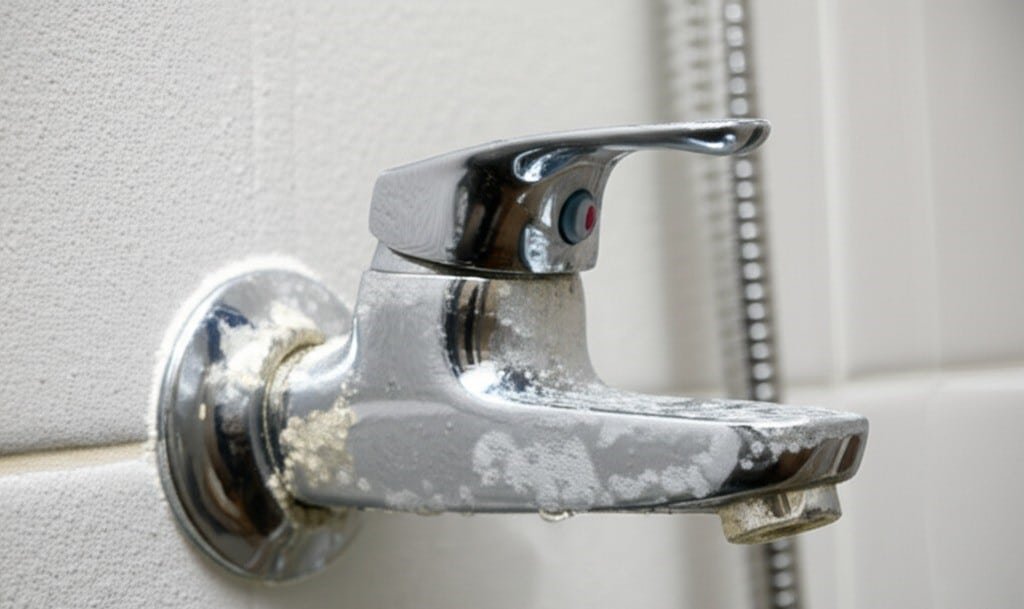
The main culprits for dirty shower walls are soap scum, hard water stains, and biological growths like mold and mildew. Soap scum is a reaction between the fatty acids in bar soap and minerals in tap water, such as calcium and magnesium. This reaction forms an insoluble, sticky, and often grayish or whitish film that adheres tightly to shower surfaces. If left untreated, layers of soap scum can build up on shower walls, becoming increasingly difficult to remove. Hard water stains, on the other hand, are mineral deposits left behind as water evaporates. They usually appear as chalky white spots or a cloudy film, particularly noticeable on darker tiles or glass. Calcium carbonate and magnesium carbonate are the main components of these deposits. Mold and mildew are fungi that thrive in warm, humid environments with poor air circulation, making showers an ideal breeding ground for them. Mold usually appears as a superficial, powdery growth, while mildew can penetrate deeper and present as black, green, or even pink spots, often in grout lines or corners. These spots are not only unsightly, but can also cause health problems for some people.
Before beginning the cleaning process, proper preparation is essential for both effectiveness and safety. Start by clearing the shower area of all items. Remove shampoo bottles, conditioner, body wash, loofahs, razors, and any other accessories. This gives you unobstructed access to all wall surfaces. Next, gather your cleaning supplies. You will need a suitable cleaning solution, which could be a homemade mixture or a commercial product, contained in a spray bottle if it’s a liquid. Arm yourself with appropriate tools for scrubbing, such as non-abrasive sponges, soft cloths, microfiber towels, or scrub brushes with varying bristle stiffness depending on your wall material. An old toothbrush or a specialized grout brush is invaluable for cleaning grout lines. For rinsing, your showerhead will suffice, or you can use a bucket of water. Protecting yourself is also crucial. Wear waterproof gloves to shield your hands from cleaning agents and grime. Consider safety glasses to protect your eyes from splashes, especially when using spray cleaners or dealing with strong chemicals. Ensure good ventilation in the bathroom by turning on the exhaust fan, opening a window, or both. This helps to dissipate fumes from cleaning products and aids in drying.
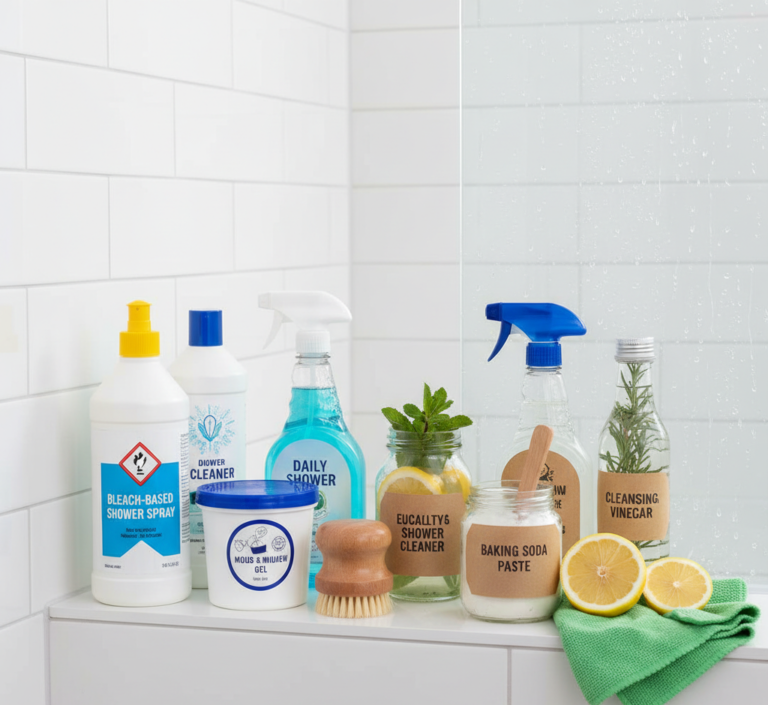
Choosing the right cleaner depends on the type of grime you are tackling and the material of your shower walls. For general cleaning and tackling soap scum and mild hard water stains, a solution of equal parts white vinegar and warm water is often effective. The acetic acid in vinegar helps to dissolve soap scum and mineral deposits. For more scrubbing power, particularly on tougher soap scum, a paste made from baking soda and a small amount of water can be used as a mild abrasive. Another popular homemade option involves mixing white vinegar with a squirt of liquid dish soap; the dish soap helps to cut through grease and allows the vinegar to cling better to vertical surfaces. For mold and mildew, hydrogen peroxide can be sprayed directly onto affected areas and allowed to sit.
2.Specific Products For Shower Walls
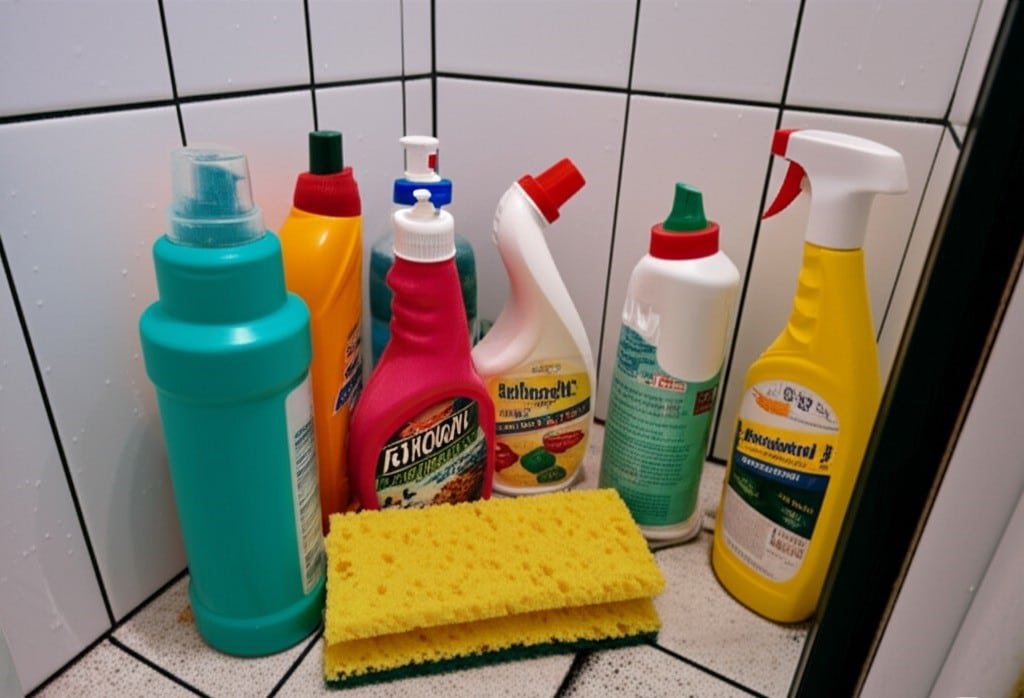
If you opt for commercial cleaners, many products are available, formulated specifically for bathrooms. There are cleaners designed to target soap scum, others for hard water stains, and some that focus on killing mold and mildew. All-purpose bathroom cleaners can also be effective for regular maintenance. Always read the product label carefully, paying attention to the instructions for use, recommended dwell times, and any safety warnings. It is particularly important to check if a commercial cleaner is safe for your specific shower wall material.
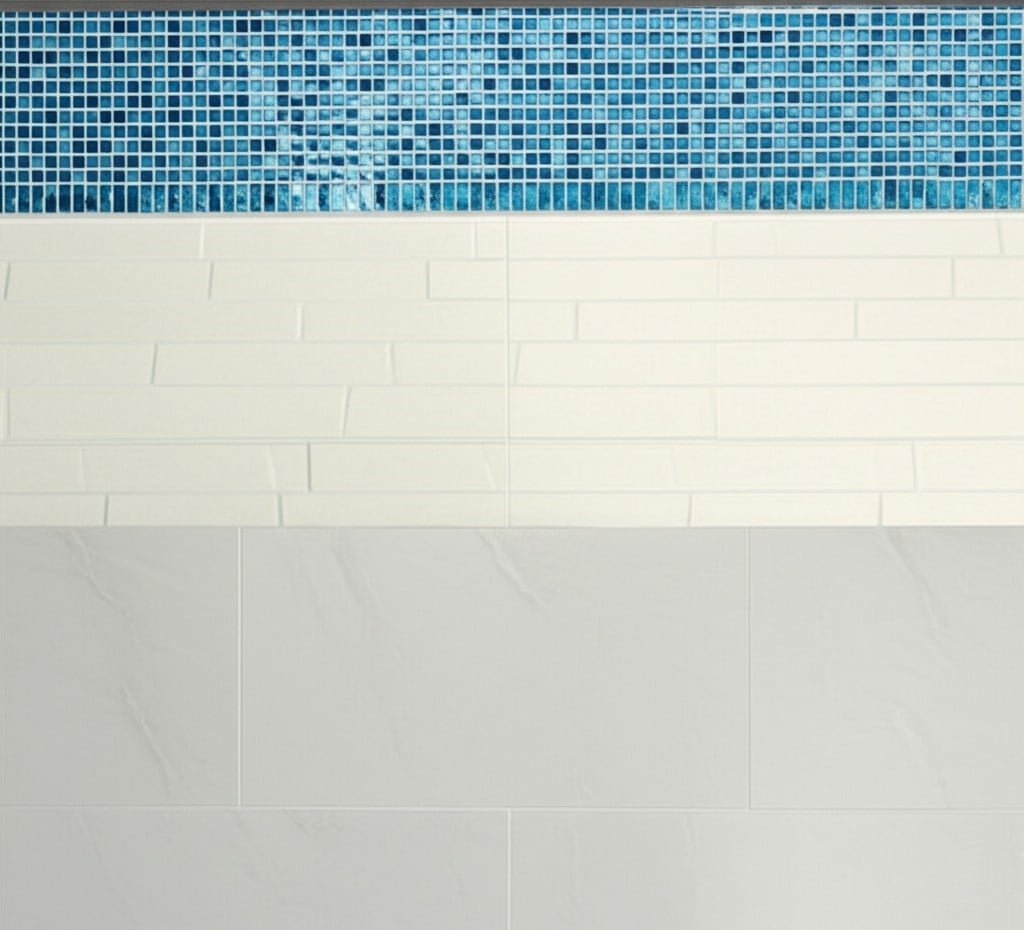
The material of your shower walls determines the types of cleaning products and tools you can safely use. Ceramic and porcelain tiles are generally very durable and can withstand most cleaning agents and vigorous scrubbing. However, the grout between tiles is porous and can stain or corrode if repeatedly treated with harsh or acidic cleaners. Fiberglass and acrylic shower surrounds are more sensitive; they can be scratched by abrasive cleaners or harsh cleaning tools, such as steel wool or stiff-bristled brushes. For these surfaces, opt for non-abrasive cleaners and soft sponges or cloths. Natural stone tiles, such as marble, granite, limestone or travertine, require special care. These materials are often porous and can be corroded or damaged by acidic cleaners, such as vinegar or lemon juice, as well as harsh alkaline cleaners, such as bleach. For natural stone, it is best to use pH-neutral cleaners that are specifically designed for stone surfaces. Always test any new cleaning product on a small, inconspicuous area first to ensure it won’t damage or discolor the material on your shower walls.
3.Timing The Time
Once prepared and with your chosen cleaner ready, you can begin the cleaning process. Start by wetting the shower walls with warm water using the showerhead or a cup. This initial rinse helps to loosen surface dirt and allows the cleaner to adhere more effectively. Next, apply your cleaning solution. If using a spray, apply it generously to all wall surfaces, starting from the top and working your way down. This method prevents streaks and ensures that dirty solution doesn’t run over already cleaned areas. Allow the cleaner to dwell on the walls for the recommended time – this is a critical step. For mild cleaning, 5-10 minutes might be sufficient, but for heavy soap scum or mildew, you may need to let the cleaner sit for 15-30 minutes, or even longer for some commercial products. Dwell time allows the active ingredients in the cleaner to break down the grime, making it easier to scrub away.
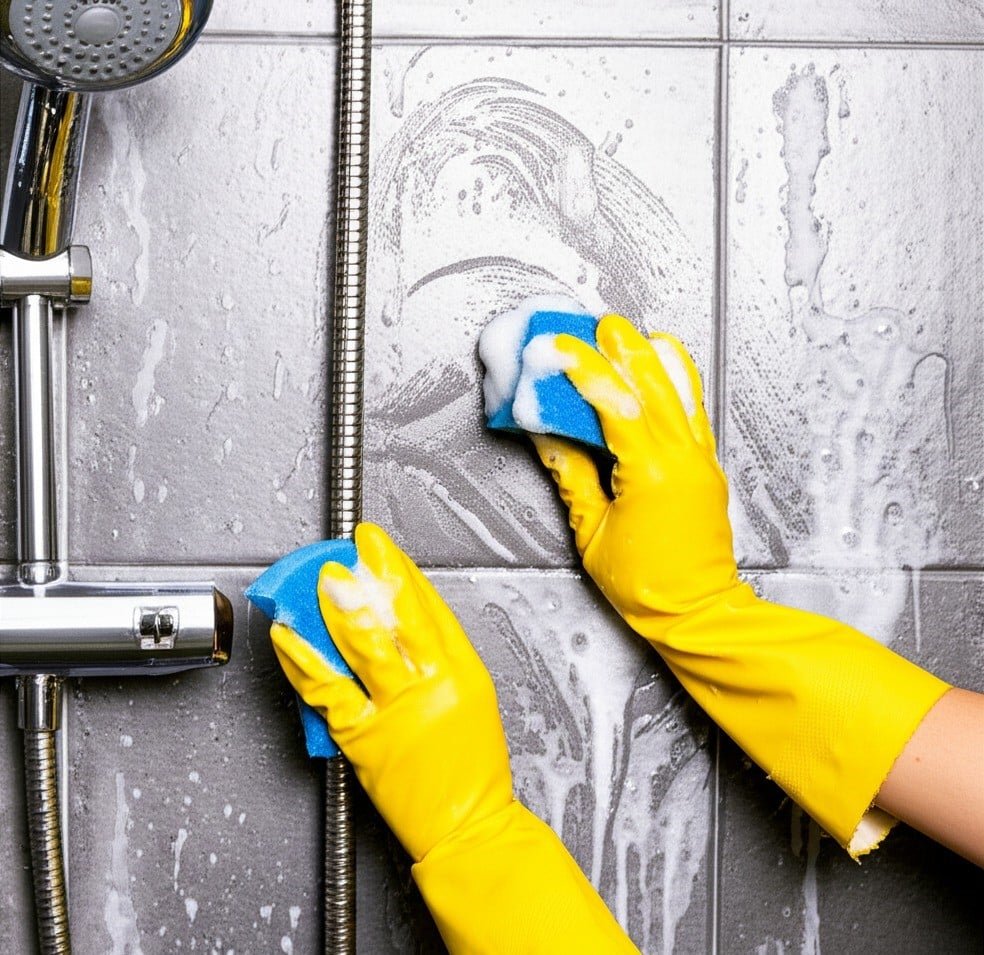
After the cleaner has had sufficient time to work, it’s time to scrub. The tool you use should be appropriate for your wall material. For most tile surfaces, a moderately stiff scrub brush or a non-scratch scouring pad works well. For more delicate surfaces like fiberglass or acrylic, use a soft sponge or microfiber cloth. Scrub the walls systematically, again working from top to bottom. Apply firm, consistent pressure. For stubborn areas, you might need to scrub more vigorously or reapply the cleaner and let it sit for a longer period. Pay special attention to corners, crevices, and the areas around fixtures where grime tends to accumulate.
4.Hard Water
Grout lines often require specific attention as they are prone to discoloration, mold, and mildew. An old toothbrush or a dedicated grout brush dipped in your cleaning solution or a baking soda paste can be very effective for scrubbing grout. For particularly stained or mildewed grout, a solution containing hydrogen peroxide or a specialized grout cleaner might be necessary. Be patient and thorough when cleaning grout, as it can be time-consuming but makes a significant difference to the overall appearance.
Once you have thoroughly scrubbed all surfaces, the next step is to rinse the walls completely. Use your showerhead to spray down the walls with warm water, again starting from the top and working downwards. Ensure all traces of the cleaning solution and loosened grime are washed away. Lingering cleaning residue can attract more dirt or leave a dull film.
After rinsing, drying the shower walls is an important final step to prevent water spots and discourage mildew growth. The most effective way to do this is by using a squeegee. Starting at the top of each wall, draw the squeegee downwards in overlapping strokes, wiping the blade with a clean cloth after each pass. Alternatively, you can wipe the walls dry with a clean, absorbent microfiber towel. Good ventilation, by keeping the exhaust fan running or a window open, will also help the shower dry more quickly.
Sometimes, despite regular cleaning efforts, you may encounter particularly stubborn problems. For very tough soap scum buildup that doesn’t respond to initial cleaning, you might need to reapply a stronger cleaner, perhaps a commercial soap scum remover, and allow it to sit for an extended period before scrubbing again. Gentle scraping with a plastic scraper (never metal on delicate surfaces) can sometimes help lift thick layers, but do this with extreme caution to avoid damaging the wall. For severe hard water stains, especially on glass or robust tile, a commercial cleaner specifically formulated for calcium, lime, and rust (CLR) might be required. Always use such strong chemical cleaners with excellent ventilation and follow the manufacturer’s instructions precisely.
5.Maintaining Clean Shower Walls
When dealing with persistent mold or mildew, ensure you are killing the spores, not just removing the surface discoloration. While vinegar and hydrogen peroxide are good first-line defenses, a diluted bleach solution (e.g., one part bleach to ten parts water) can be used on bleach-safe surfaces like ceramic tile and grout if other methods fail. Never mix bleach with ammonia or acidic cleaners like vinegar, as this can create dangerous toxic gases. Apply the bleach solution, let it sit for about 10-15 minutes, scrub if necessary, and then rinse thoroughly. Ventilation is absolutely critical when using bleach. If mold is extensive or keeps returning despite your best efforts, there might be an underlying moisture problem or inadequate ventilation that needs addressing.
Maintaining clean shower walls is much easier than tackling heavy buildup. Incorporate a few simple habits into your routine. Squeegeeing the walls and shower door after every shower is one of the most effective ways to prevent soap scum and hard water spots from forming. It takes only a minute or two but makes a huge difference. Consider using a daily shower spray. These products are lightly misted onto wet surfaces after showering and help to prevent grime buildup, reducing the frequency needed for deep cleaning. Ensure your bathroom has good ventilation. Run the exhaust fan during your shower and for at least 20-30 minutes afterward to help remove moisture-laden air. If you don’t have an exhaust fan, open a window. Finally, a quick weekly wipe-down with a mild cleaner or your preferred DIY solution can keep shower walls looking fresh and prevent minor spots from becoming major cleaning projects. Consistent, light maintenance is far less daunting than an occasional deep scrub.
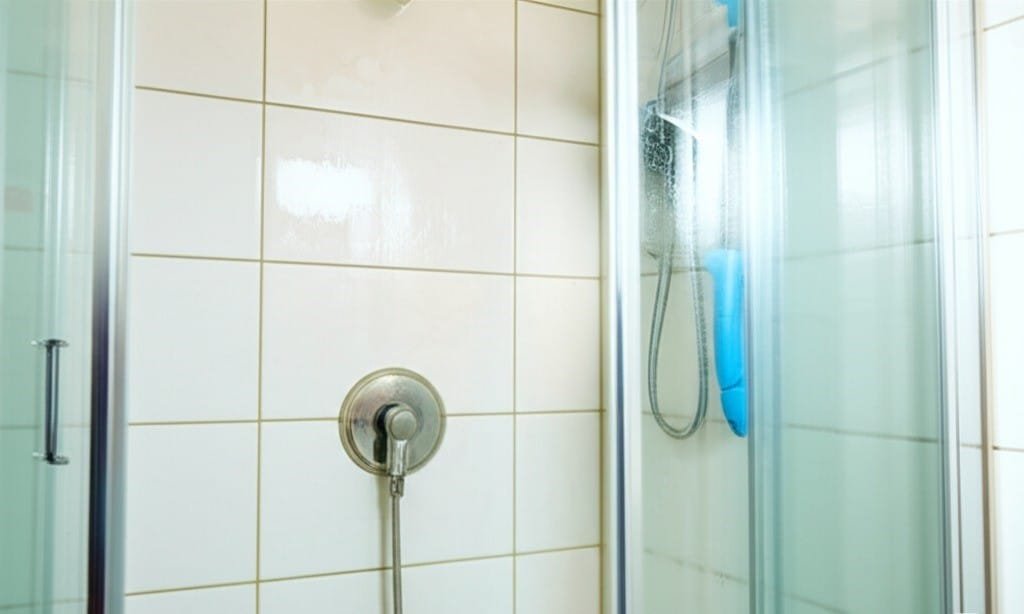
By understanding the types of dirt your shower walls accumulate, preparing correctly, choosing appropriate cleaners for your wall materials, and following a thorough cleaning process, you can effectively restore and maintain the cleanliness of your shower. Regular light maintenance will then ensure your shower walls remain sparkling, contributing to a healthier and more pleasant bathroom environment.
Keeping your shower walls pristine involves understanding the grime, using the right methods for cleaning different materials like tile, fiberglass, or stone, and consistent maintenance. From tackling soap scum and hard water to banishing mold, a systematic approach ensures a cleaner, healthier shower. If you’d prefer to leave this task to professionals, Toronto Shine Cleaning offers expert services to keep your entire bathroom, including those tricky shower walls, sparkling clean.


