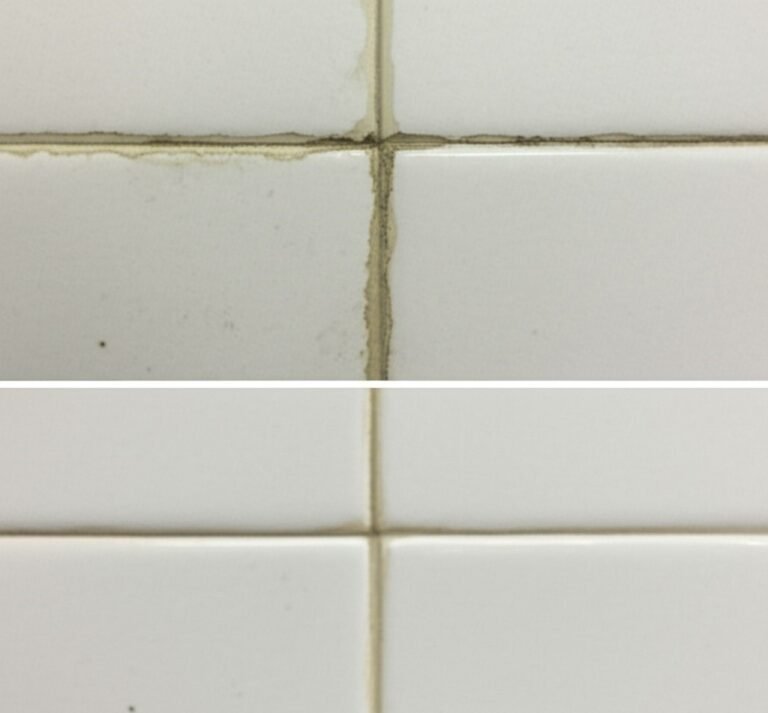
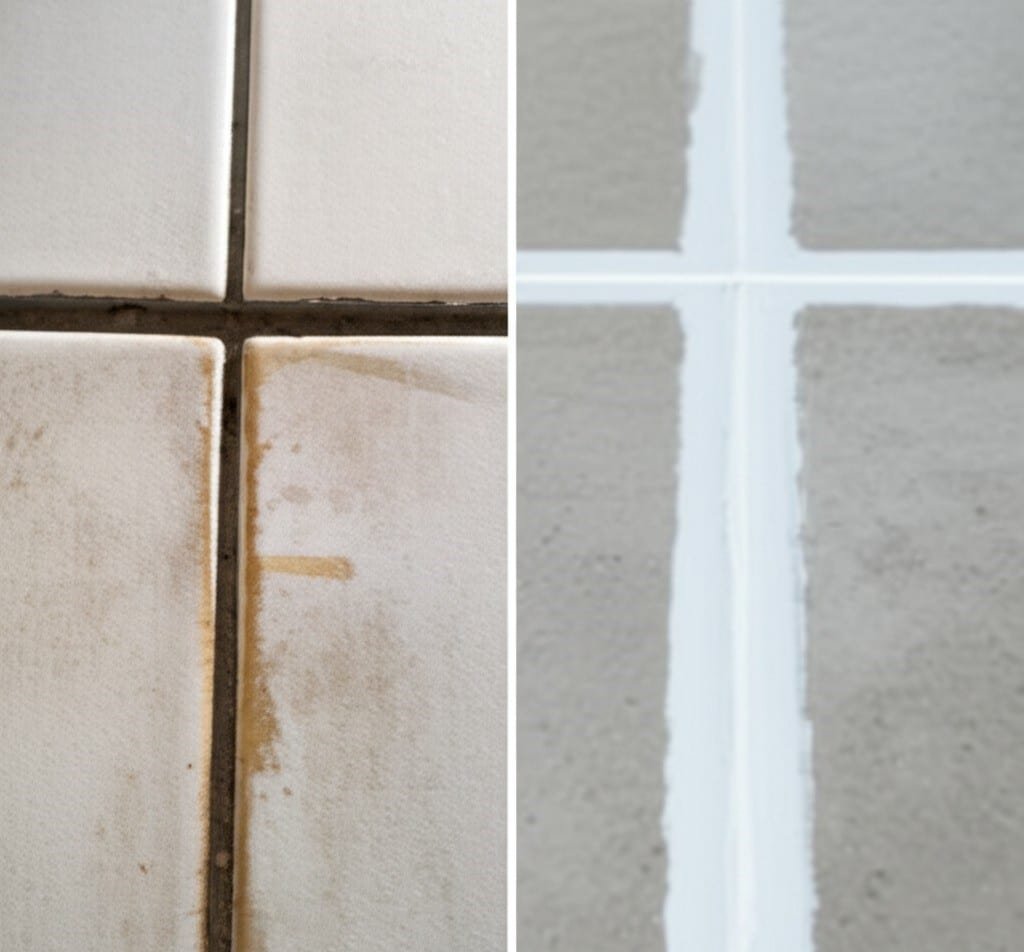
Grout lines, the fine cement-based filler between your tiles, are an essential component of any tiled surface. They lock tiles in place, account for minor size variations, and provide a finished look. However, their composition is their greatest weakness. Grout is inherently porous, meaning it is filled with microscopic holes. These pores act like tiny sponges, eagerly absorbing water, dirt, soap scum, oils, and anything else that comes into contact with them. Over time, this absorption leads to discoloration, staining, and the growth of mold and mildew, transforming what was once a crisp, clean grid into a network of grimy, unappealing lines. This not only detracts from the aesthetic of your bathroom, kitchen, or entryway but can also harbor bacteria and allergens.
The process of cleaning grout is more than just a surface-level wipe-down; it requires a systematic approach to penetrate these pores and lift the embedded grime. The effectiveness of any cleaning method depends on understanding the type of stain and the condition of the grout. Before beginning any intensive cleaning, a preparatory phase is critical for safety and success.
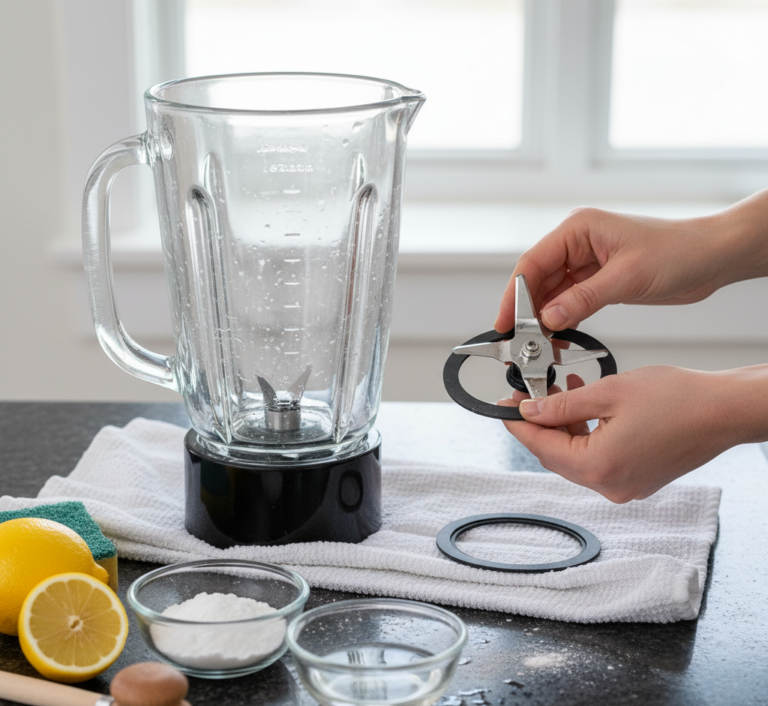
1.Ventilation
First, ensure adequate ventilation. Open windows and doors, and use a fan to circulate air, especially if you plan to use commercial cleaners or even vinegar, as the fumes can be irritating or harmful in a confined space. Protective gear is non-negotiable. Wear waterproof gloves to protect your skin from detergents and prolonged water exposure, and safety glasses or goggles to shield your eyes from accidental splashes.

2.Warm Water and a pH-neutral Cleaner
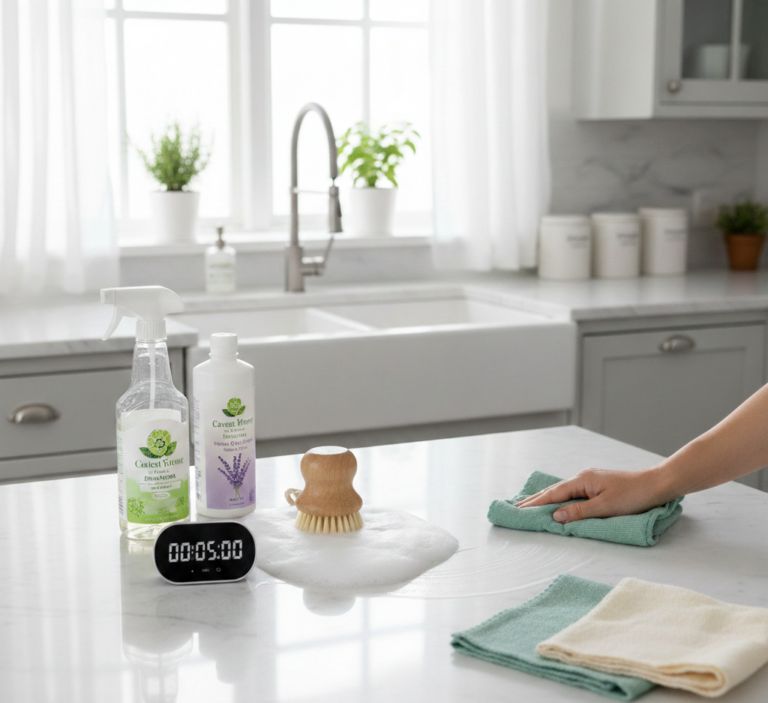
The next step in preparation is to clean the tile surface itself. Applying a grout cleaner to dirty tiles is counterproductive, as you will simply be pushing surface dirt into the grout lines. Sweep or vacuum the floor to remove loose debris, then mop with a simple solution of warm water and a pH-neutral cleaner. For walls, wipe them down with a damp cloth. This initial cleaning removes the top layer of grime and allows you to focus your efforts directly on the grout.
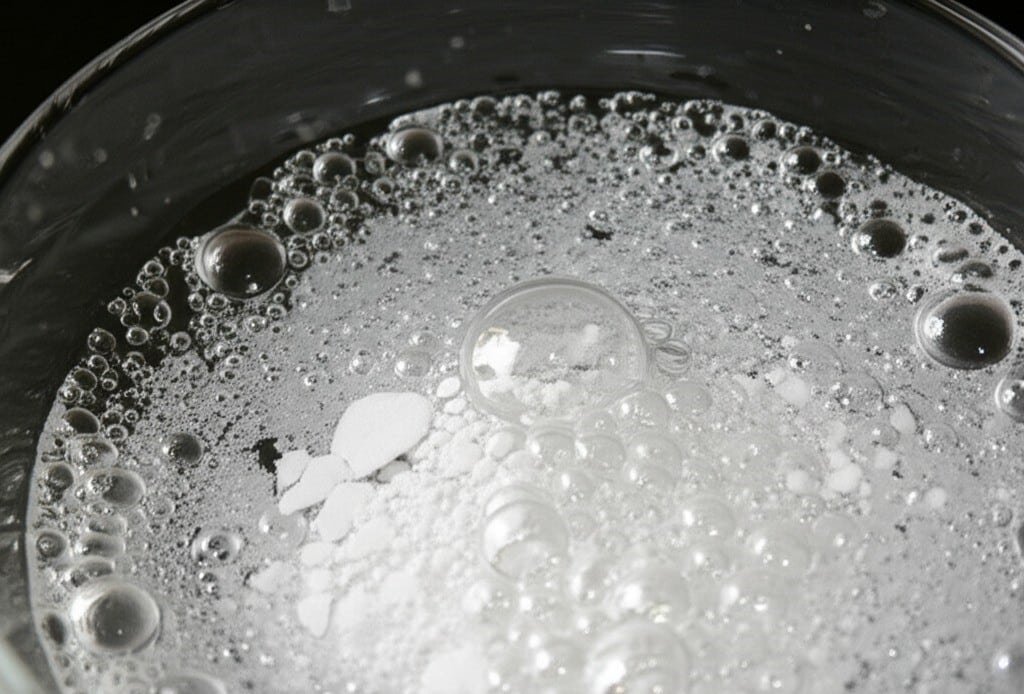
3.Baking Soda
For routine maintenance or light discoloration, the simplest methods are often sufficient. A paste made from baking soda and water is an excellent starting point. Baking soda is a mild abrasive that gently scrubs away surface stains without scratching the tiles or damaging the grout. Create a thick paste, apply it directly to the grout lines with your finger or a small spatula, and let it sit for 10-15 minutes. Then, use a stiff-bristled grout brush—not a wire brush, which is too harsh and will erode the grout—to scrub the lines in a circular motion. This agitation helps lift the grime from the pores. Once scrubbed, rinse the area thoroughly with clean water and wipe it dry with a microfiber cloth.
4.Mixture
To increase the cleaning power for more stubborn dirt and soap scum, a combination of baking soda and white vinegar can be used. After applying the baking soda paste, spray it with a solution of equal parts white vinegar and water. The two ingredients will react, creating a fizzing action that helps to dislodge dirt from deep within the grout. Let the mixture bubble for several minutes before scrubbing vigorously with your brush. It is important to note, however, that the acidic nature of vinegar can be detrimental to certain materials. If you have natural stone tiles like marble, travertine, or limestone, avoid vinegar entirely, as it can etch and dull the stone’s surface. Similarly, repeated use of acid on unsealed grout can slowly weaken it over time. Always test this solution in an inconspicuous area first.
5.Mold and Mildew
For stains caused by mold or mildew, or for whitening grout that has turned yellow or gray, hydrogen peroxide is a more effective agent. You can create a paste using baking soda and hydrogen peroxide instead of water. Apply this paste, let it sit for at least 15 minutes to allow the peroxide’s oxidizing properties to work on the stains, and then scrub. For an even stronger whitening effect, you can apply a 3% hydrogen peroxide solution directly to the grout lines, let it sit, scrub, and rinse. Unlike chlorine bleach, hydrogen peroxide is less harsh and does not produce toxic fumes, making it a safer alternative for deep cleaning.
6.Steam Cleaning
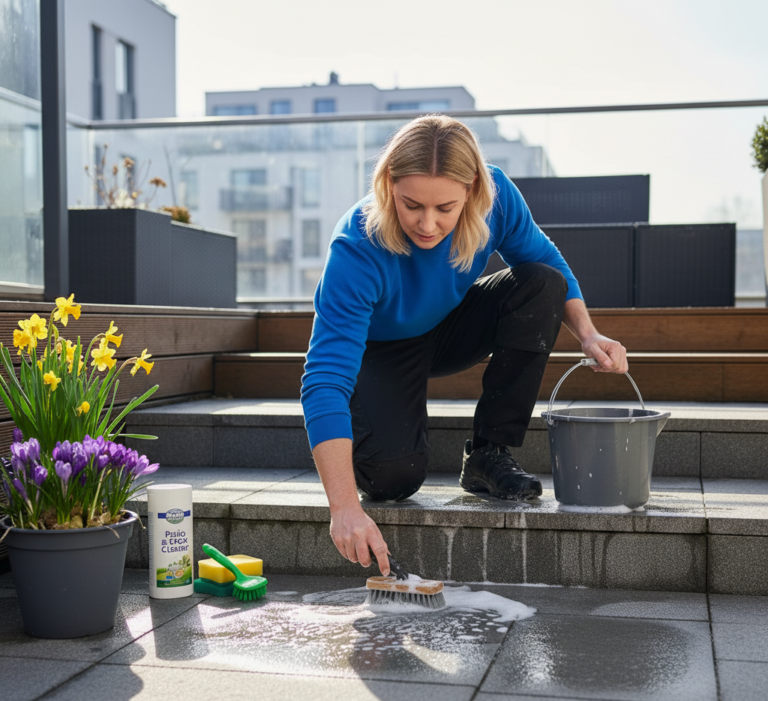
Another powerful, non-toxic method is steam cleaning. A handheld steam cleaner uses high-pressure, high-temperature steam to blast away dirt, kill mold, and sanitize surfaces without any chemicals. The heat loosens the embedded grime, and the pressure forces it out of the grout’s pores. Simply direct the steam nozzle along the grout lines, moving slowly to allow the steam to penetrate. Follow behind with a clean cloth to wipe away the loosened dirt and moisture. Steam is safe for most tile types, including ceramic, porcelain, and granite, but exercise caution on less durable surfaces and ensure your grout is in good condition, as the high pressure could dislodge loose or crumbling sections.
7.Alkaline Cleaners
When do-it-yourself solutions fall short, it may be time to consider commercial grout cleaners. These products are specifically formulated to tackle the unique challenges of grout. They generally fall into two categories: alkaline and acidic. Alkaline cleaners (with a high pH) are excellent at breaking down organic stains like grease, soap scum, and grime. They are typically safer for most tile and grout types. Follow the manufacturer’s instructions precisely, which usually involve applying the cleaner, letting it dwell for a specified time to break down the soil, and then scrubbing.
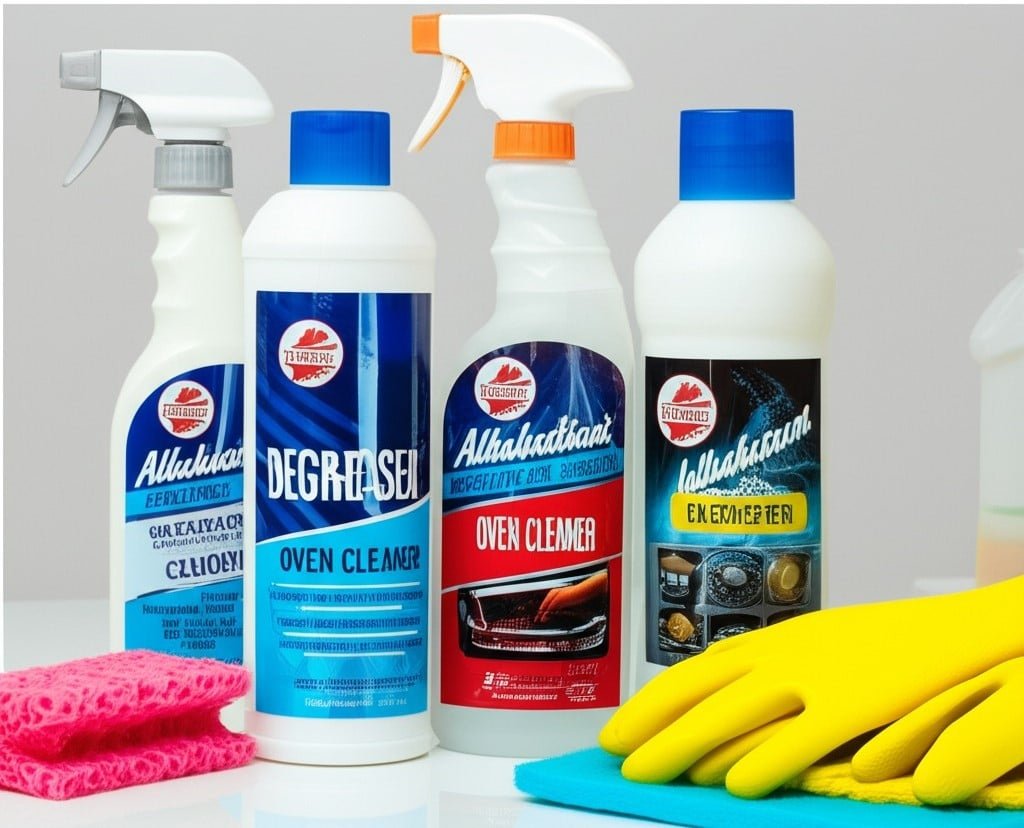
8.Acidic Cleaners
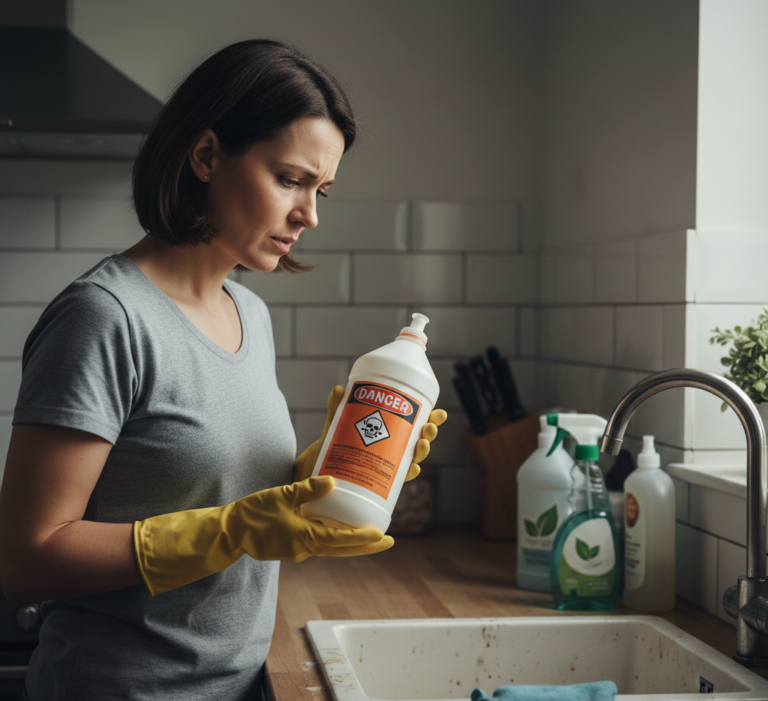
Acidic cleaners (with a low pH) are designed to remove mineral deposits, such as rust stains, efflorescence (a white, powdery mineral residue), and hard water stains. These are much more powerful and require extreme caution. They can severely damage natural stone, and their fumes are potent. Always wear full protective gear and ensure maximum ventilation when using an acidic cleaner. Never, under any circumstances, mix an acidic cleaner with an alkaline cleaner or one containing bleach, as this can create a dangerous chemical reaction and release toxic gas.
9.Bleach
A common mistake in the grout cleaning process is the use of chlorine bleach. While it can whiten grout temporarily, it is a harsh chemical that can erode the grout structure, making it more porous and susceptible to future staining. It can also strip the color from colored grout and damage the glaze on certain tiles. Furthermore, any bleach residue left behind can be reactivated by other cleaners, posing a safety risk long after the initial cleaning is done. Oxygenated bleach, which comes in a powder form and is activated by water, is a much safer and more effective alternative for whitening and stain removal.
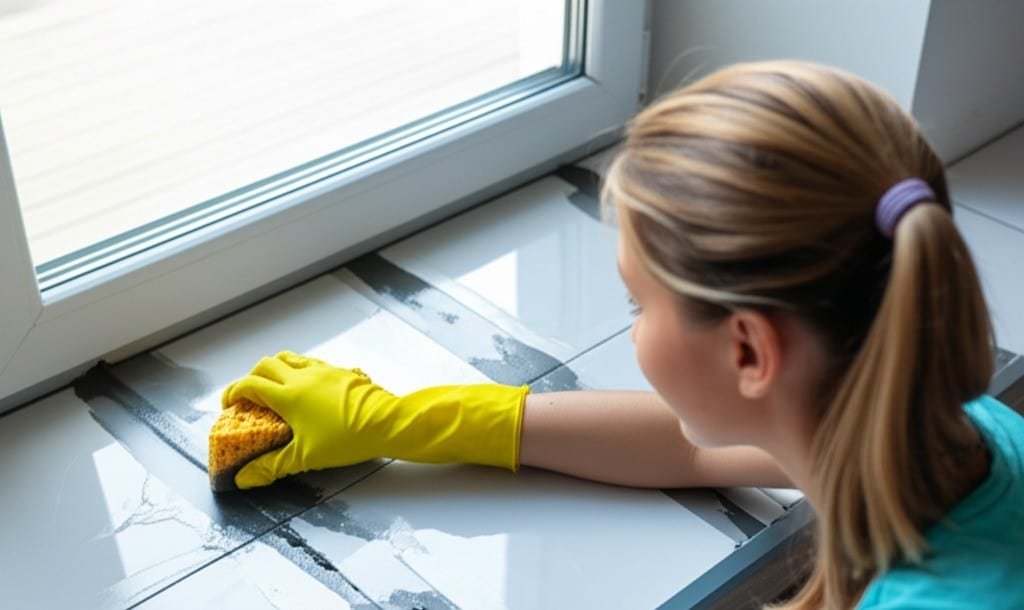
10.Rinse
After any cleaning method, rinsing is a step that cannot be skipped. Any cleaning residue left in the grout lines will become sticky as it dries, attracting dirt and dust far more quickly than before. Rinse the entire area thoroughly with a sponge and clean water, changing the water frequently to ensure you are fully removing the cleaner and the dislodged grime. Once rinsed, dry the surface completely with a clean towel or microfiber cloth.
11.Seal it
The single most important step to keeping grout clean long-term is to seal it. After you have invested the time and effort into deep cleaning your grout, protecting it is paramount. Grout sealer is a liquid product that penetrates the pores of the grout and creates a protective barrier. This barrier prevents moisture, dirt, and spills from soaking in, making future cleaning as simple as wiping the surface.
Before applying a sealer, the grout must be impeccably clean and completely dry. Any dirt or moisture trapped under the sealer will be locked in, creating a permanent blemish. Wait at least 24 hours after cleaning for the grout to dry fully. There are various types of sealers, but a penetrating sealer is generally the best choice for floor and wall grout. It soaks into the grout to provide protection from within. Application methods vary, but many come with a brush-tip applicator that allows you to trace the grout lines carefully. Apply the sealer according to the manufacturer’s directions, being careful to wipe any excess off the tile face before it dries. Typically, you will need to apply one or two coats. The sealer will need time to cure, usually 24 to 48 hours, during which the area should be kept dry and free of traffic.
Once cleaned and sealed, maintaining your grout is straightforward. For showers, use a squeegee on the tiles and glass after each use to remove excess water and soap. This drastically reduces the buildup of soap scum and mildew. Once a week, spray the tile with a pH-neutral daily shower cleaner. For floors, sweep regularly and mop with a gentle cleaner, paying attention to spills and addressing them immediately before they have a chance to stain. By integrating these simple habits, you can extend the life of your clean, sealed grout for years, preserving the beauty and hygiene of your tiled surfaces.
Revitalizing tile surfaces requires more than just scrubbing; it’s a process of deep cleaning stains, treating mold and mildew, and most importantly, applying a professional-grade sealer to prevent future discoloration. For a comprehensive solution that handles the intensive labor of deep cleaning and the critical step of sealing, Toronto Shine Cleaning ensures your grout is not only cleaned but protected, restoring its original crispness and making maintenance effortless.