Keeping your ceramic floors spotless doesn’t have to be a daunting task. With a little know-how and some basic tools, you can have your floors looking as good as new. Here’s a simple guide on how to clean ceramic floors in seven easy steps.
1. Gather Your Cleaning Supplies
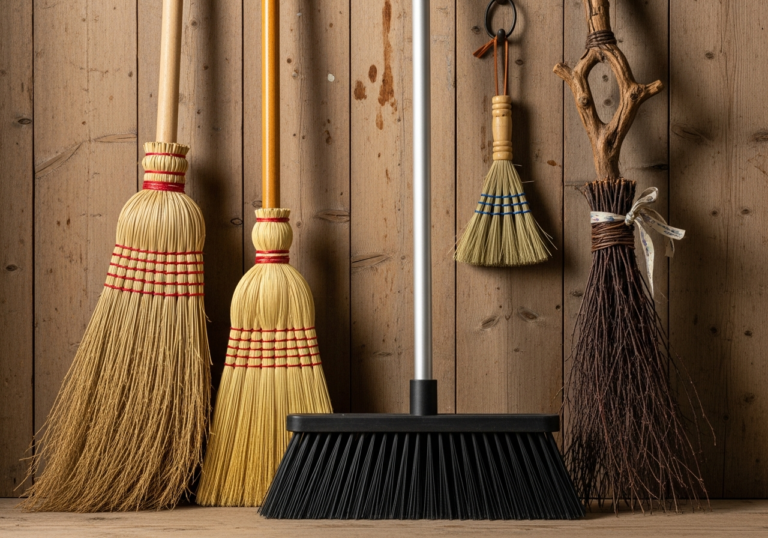
Before you start, make sure you have all the necessary cleaning supplies to make the process smooth and efficient. To clean ceramic floors effectively, you will need a few essential items. First, grab a broom or a vacuum to remove loose dirt and debris from the surface of your ceramic floor. This step is crucial as it helps prevent scratches when you start mopping.
Next, prepare a mop and a bucket, as these will be your primary tools for washing the floor. For the cleaning solution, choose a mild detergent or a cleaner specifically designed for ceramic floors. Harsh chemicals can damage the surface of your tiles and grout, so it’s best to avoid them. Fill your bucket with warm water and mix it with the cleaner according to the instructions on the product.
You will also need a microfiber cloth or towel for drying the floor after mopping. Microfiber is excellent for this task because it absorbs water quickly and leaves no streaks behind. In case you encounter any tough stains, have a scrub brush on hand. This will help you tackle stubborn spots without damaging the floor’s finish.
2. Sweep or Vacuum the Floor
To begin the cleaning process for your ceramic floor, it is essential to remove any loose dirt and debris. This initial step is crucial as it sets the foundation for a thorough and effective cleaning. Start by using a broom to sweep away dust, crumbs, and other particles that have accumulated on the surface. If you prefer, a vacuum cleaner can be used instead, which might be more efficient in capturing smaller particles and debris hidden in the grout lines.
Sweeping or vacuuming is not just a preliminary step; it plays a vital role in protecting your ceramic floor. By removing loose dirt and debris, you prevent these particles from scratching the surface when you move on to mopping. Scratches can dull the appearance of your ceramic tiles and even lead to long-term damage. Therefore, taking the time to ensure your floor is free from these abrasive particles is an investment in the longevity and beauty of your ceramic floor.
Additionally, regular sweeping or vacuuming of your ceramic floor helps maintain its cleanliness on a daily basis. This practice minimizes the buildup of dirt and makes your weekly or bi-weekly mopping sessions more manageable.
3. Prepare Your Cleaning Solution
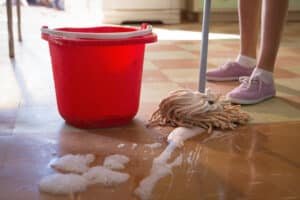
The next step in cleaning your ceramic floor is to prepare your cleaning solution. Start by filling a bucket with warm water. The warmth of the water helps to dissolve dirt and grime more effectively, ensuring a more thorough clean. Warm water is particularly effective at breaking down residues that might be stuck to the surface of your ceramic floor, making it easier to mop away.
To this, add a few drops of mild detergent or a cleaner specifically formulated for ceramic floors. It’s important to choose a cleaner that is gentle yet effective, as harsh chemicals can damage the surface of your tiles and grout. Over time, these strong chemicals can cause discoloration and wear down the protective sealant on your ceramic floor, making it look dull and worn. Opting for a product designed for ceramic floors will help maintain the natural shine and longevity of your tiles.
Once you’ve added the cleaner, mix the solution thoroughly until the detergent is well combined with the water. This ensures an even distribution of the cleaning agent throughout the water, allowing for a more consistent clean across your entire ceramic floor. A well-mixed solution will effectively lift away dirt and stains without leaving any residue behind.
4. Mop the Floor
Once your cleaning solution is ready, it’s time to start mopping your ceramic floor. Begin by dipping your mop into the bucket, ensuring it soaks up enough of the solution to be effective. However, you’ll want to wring out any excess water to prevent the floor from becoming too wet, which can make the cleaning process less efficient and potentially lead to streaking or water spots.
Start mopping your ceramic floor from one corner of the room and gradually work your way to the opposite corner. This systematic approach ensures that you cover the entire area without missing any spots. As you mop, use a figure-eight motion rather than a back-and-forth or circular motion. The figure-eight technique is particularly effective for ceramic floors because it helps to lift and trap dirt in the mop head rather than pushing it around. This motion also reduces the risk of spreading dirt and debris to clean areas, ensuring a more thorough clean.
Pay extra attention to high-traffic areas where dirt and grime are more likely to accumulate. If your ceramic floor has grout lines, be sure to pass over them carefully, as dirt can easily get trapped in these crevices. Periodically rinse and wring out your mop to ensure you’re not reapplying dirty water to the floor.
5. Spot Clean Stubborn Stains
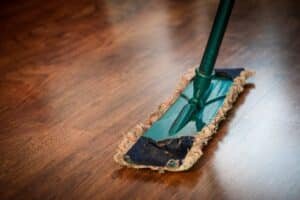
Even with regular cleaning, sometimes stubborn stains and sticky spots can appear on your ceramic floor. For these tougher areas, you’ll need to take a more targeted approach. Start by applying a little extra cleaner directly onto the stain. Using a scrub brush, gently work the cleaner into the stain, using small, circular motions. This method allows the cleaner to penetrate the stain and lift it from the surface of your ceramic floor.
It’s important to exercise caution while scrubbing. Applying too much pressure or using a brush with overly stiff bristles can damage the finish on your ceramic floor, potentially leading to scratches or a dull appearance. Instead, focus on being gentle but thorough, allowing the cleaning solution to do most of the work. If the stain is particularly persistent, you might need to let the cleaner sit for a few minutes before scrubbing to give it more time to break down the dirt.
After you’ve successfully lifted the stain, make sure to wipe away any remaining cleaner with a damp cloth. This step is crucial to prevent any residue from being left behind, which could attract more dirt or cause discoloration over time.
6. Rinse the Floor
After mopping your ceramic floor, it’s crucial to rinse away any remaining soap residue to ensure a truly clean and shiny surface. Start by emptying your bucket of the soapy water and thoroughly rinsing it out. Refill the bucket with clean, warm water, which will be used to rinse the floor. This step is vital because leftover detergent can leave a dull, sticky residue that attracts more dirt and makes your ceramic floor look less clean over time.
Begin mopping your ceramic floor again, this time using only the clean, warm water. Move systematically from one corner of the room to the other, ensuring you cover every area that was previously mopped with the cleaning solution. The warm water will help to lift and remove any soap residue, ensuring that your floor is left sparkling clean. It’s important to frequently rinse and wring out your mop during this process to avoid reintroducing soap back onto the floor.
Rinsing the floor not only prevents dulling residues but also helps maintain the natural shine and beauty of your ceramic tiles.
7. Dry the Floor
Once you have rinsed your ceramic floor thoroughly, the final step is to dry it properly. Using a microfiber cloth or towel, begin drying the floor immediately after rinsing. Microfiber is particularly effective because it absorbs water quickly and efficiently, leaving no streaks behind. This is crucial for preventing water spots, which can mar the pristine appearance of your ceramic floor.
As you dry, work your way systematically across the entire floor, ensuring that every section is completely dry. Pay special attention to the edges and corners where water might pool. This step not only enhances the cleanliness of your ceramic floor but also adds to its overall shine, making it look as good as new. Drying the floor thoroughly also helps to avoid any slip hazards that wet tiles can create.
If you have a floor protector, now is the perfect time to apply it. A floor protector can provide an extra layer of shine and safeguard your ceramic floor against future spills and stains. It creates a barrier that helps to maintain the floor’s luster and makes routine cleaning easier.

Clean Your Ceramic Floor With Us!
Keeping your ceramic floors clean and shiny is easy when you follow these seven simple steps. Regular maintenance not only enhances the appearance of your home but also extends the life of your flooring. A well-maintained ceramic floor can significantly improve the overall look of your home, making it more inviting and comfortable. By routinely sweeping or vacuuming, preparing the right cleaning solution, mopping effectively, spot cleaning stubborn stains, rinsing thoroughly, and drying the floor, you ensure your ceramic tiles remain in top condition.
Regularly caring for your ceramic floor prevents dirt and grime from building up, which can cause long-term damage and diminish the floor’s beauty. This consistent upkeep also helps to avoid the need for more intensive cleaning methods that can be time-consuming and costly. Moreover, maintaining your ceramic floor properly can save you money in the long run by reducing wear and tear, thus extending the lifespan of your tiles and grout.
For those times when your schedule is too hectic or you simply prefer professional assistance, consider reaching out to Toronto Shine Cleaning. Our expert team offers a range of services designed to keep your home pristine and your ceramic floors gleaming. From deep cleaning to regular maintenance, we have the skills and tools to ensure your floors look their best.


