Oh, those water-based stains! Whether it’s a splash of coffee on the couch, a finger-paint masterpiece on the wall, or just the remnants of a rainy day tracked across your floors, these seemingly harmless spills can be surprisingly stubborn to remove. But fear not! I’m here with seven effective, straightforward ways to tackle water-based stains on every surface around your home, keeping your space sparkling clean and stress-free.
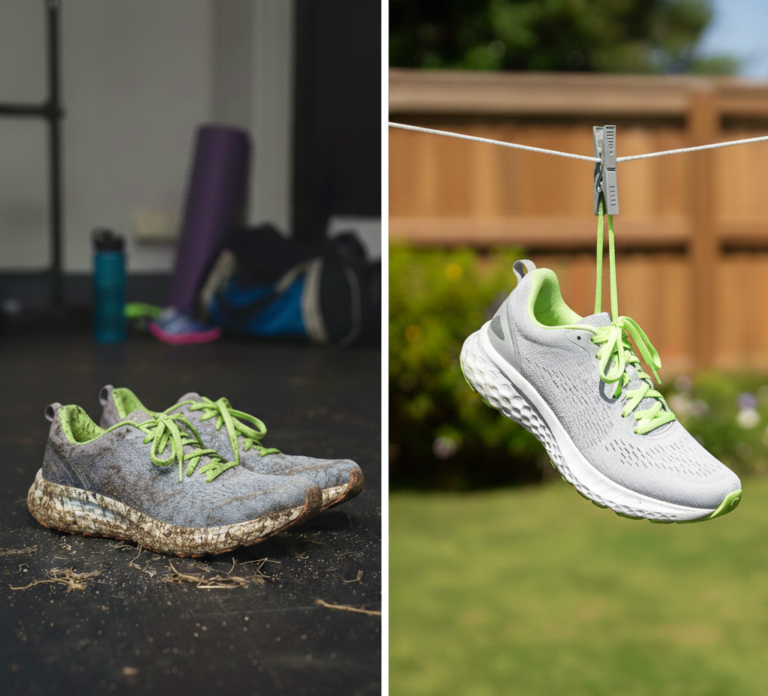
1. Fabric and Upholstery: Gentle Dabbing and Mild Detergent
When it comes to fabric and upholstery, water-based stains can feel like uninvited guests that just won’t leave. The trick lies in handling them swiftly and with care. Here’s a deeper dive into effectively dealing with these pesky stains, ensuring your fabrics remain pristine and welcoming.
After the initial blotting, which should be done as quickly as possible to prevent the liquid from seeping deeper into the fibers, prepare your cleaning solution. This mixture should be gentle: think about using a mild detergent that you’d trust with your favorite delicate garments. The water should be cool to lukewarm, as hot water can set the stain further into the fabric, making it harder to remove.
Now, dip a soft cloth into your prepared solution. It’s crucial that this cloth is colorfast to avoid transferring any dye onto the fabric or upholstery you’re cleaning. Wring out the cloth so it’s damp, not dripping, to avoid saturating the fabric with water which can lead to additional issues like mildew or water rings.
As you dab the stain, start from the outside and work your way in. This technique prevents the stain from spreading outward, making it larger and more noticeable. Patience is key here; the goal is to lift the stain, not rub it away aggressively. Rubbing not only risks spreading the stain but can also damage the fabric’s fibers, leading to pilling or a worn appearance.
Once you’ve treated the stain, it’s time to rinse. Using a clean cloth dipped in fresh cool water, gently dab the area to remove any soap residue. It’s important to remove all traces of the detergent to avoid attracting dirt and grime to the cleaned spot.
The final step is allowing the area to air dry completely. Avoid the temptation to speed up this process with a hair dryer or direct heat, as this can set the stain permanently or damage the fabric. If the fabric is safe for ironing, you might lightly iron the damp area (using an appropriate heat setting) with a clean cloth between the iron and the fabric to help remove any lingering moisture.
2. Carpets: Baking Soda and Vinegar Magic
After you’ve liberally sprinkled baking soda over the stain, giving it about 10 minutes to work its magic, it’s not just a waiting game. During this time, the baking soda is busy absorbing the stain, drawing it out of the carpet fibers. This process not only helps in stain removal but also deodorizes your carpet, tackling any unwanted smells that might be associated with the spill.
Moving on to the vinegar solution, the reason behind using equal parts white vinegar and water is twofold. Vinegar, being acidic, is a natural disinfectant that not only helps in lifting the stain but also kills off bacteria that might be lingering in the carpet. The water dilutes the vinegar, ensuring the carpet isn’t subjected to too high a concentration, which could potentially affect the carpet’s color or texture.
When you lightly spray the vinegar solution over the baking soda, the resulting fizzing action is a sign that the cleaning process is actively working. This reaction helps to lift the stain from the carpet fibers, making it easier to blot away. It’s crucial to wait until this fizzing action stops before moving on to the blotting stage. Blotting too early can push the baking soda deeper into the carpet, making it harder to vacuum later.
As you blot the treated area with a clean, dry cloth, you’ll notice the stain transferring onto the cloth. This step may require patience and gentle persistence, especially with more stubborn stains. The key here is to dab rather than rub to avoid working the stain deeper into the carpet.
Once you’re satisfied that you’ve lifted as much of the stain and moisture as possible, allow the area to dry thoroughly. This might take several hours, depending on the humidity and ventilation in the room. A dry, clean carpet not only looks better but also prevents the growth of mold and mildew, which can be health hazards.
The final vacuuming is not just about removing any leftover baking soda. It also helps to fluff up the carpet fibers, restoring your carpet’s texture and appearance to its pre-stain state. For larger or more stubborn stains, this process can be repeated. However, it’s important to note that some stains may require professional cleaning, especially if they’re on delicate or specialty carpets.

3. Hardwood Floors: Immediate Wipe and Special Cleaners
The first step, immediate wiping, cannot be overstated. Hardwood floors are particularly susceptible to water damage; even small amounts of liquid can seep into the cracks and crevices of the flooring, leading to warping, staining, or swelling of the wood. By quickly absorbing the spill with a soft, dry cloth, you minimize the risk of long-term damage. It’s important to blot rather than rub the spill to avoid spreading the moisture further into the wood grains.
For stains that have settled into the wood or are not fully removed by blotting alone, turning to a cleaner specifically formulated for hardwood floors is your next step. These cleaners are designed to effectively tackle stains without damaging the wood’s finish or integrity. It’s crucial to choose a product that matches the type of finish on your floor, whether it’s polyurethane, oil-sealed, or another treatment, as some cleaners may not be compatible with all finishes.
When applying the cleaner, the method of application is just as important as the product itself. Pouring the cleaner directly onto the floor can result in over-wetting, which, as mentioned earlier, poses a risk to the wood. Instead, apply the cleaner to a soft cloth or mop specifically designed for hardwood floors. This allows you to control the amount of moisture coming into contact with the floor, ensuring the wood is not soaked but still receives enough of the cleaning solution to tackle the stain.
Gently wiping the stain with the dampened cloth, you’ll want to follow the grain of the wood. This technique not only helps in effectively removing the stain but also preserves the natural pattern of the wood, preventing any unsightly marks that might arise from vigorous scrubbing. In cases where the stain persists, repeat the process, allowing the cleaner to sit on the stain for a few moments before wiping. Always follow the product’s instructions for the best results.
After treating the stain, it’s important to dry the area thoroughly. A second clean, dry cloth can be used to absorb any remaining moisture. This step ensures that no cleaner residue is left on the surface, which could potentially attract more dirt or, worse, contribute to water damage if left to sit.
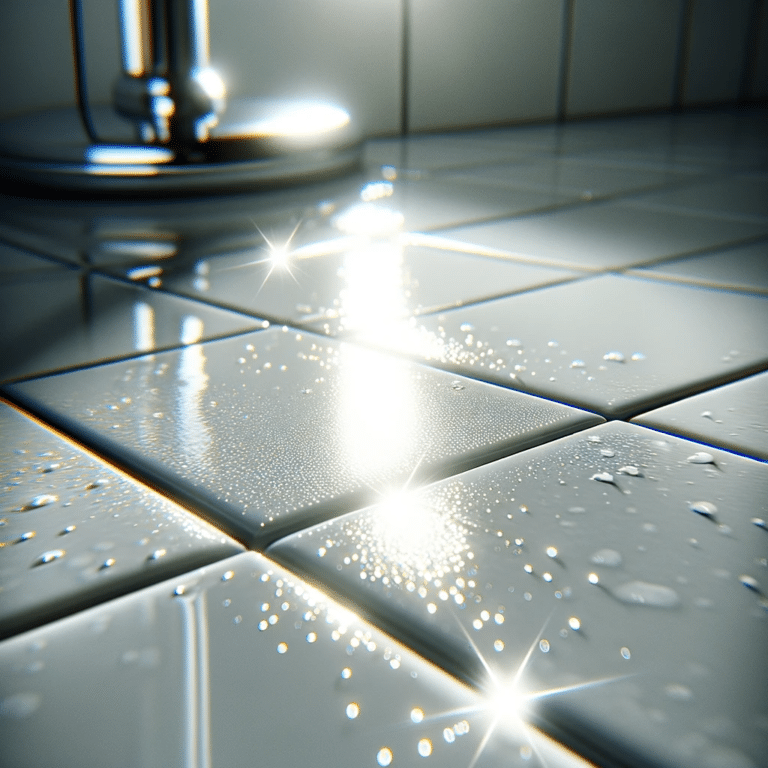
4. Tiles and Grout: Lemon Juice and Salt Scrub
The choice of lemon juice for this cleaning solution isn’t just about its fresh scent. Lemon juice, with its high acidity, acts as a natural bleaching agent, penetrating and lifting stains from the surfaces of tiles and the grout in between. This makes it particularly effective for common tile stains like food, soap scum, and mildew. The acidity of the lemon also has antibacterial properties, helping to sanitize the area as it cleans.
Salt, on the other hand, plays a crucial role as a gentle abrasive. When mixed with lemon juice to create a paste, it helps to physically break down the stain without damaging the tile’s surface. This is especially important for grout, which can be porous and susceptible to damage from harsher cleaning tools or chemicals.
When applying the paste to the stain, using a soft brush is key. A toothbrush or a soft scrub brush is ideal for this task, allowing you to target the stain directly without scratching the tile or wearing down the grout. The gentle scrubbing action, combined with the natural cleaning power of the lemon and salt, lifts the stain from the surface, revealing the clean tile beneath.
Letting the paste sit on the stain for 5-10 minutes gives the acidic and abrasive elements time to work on the stain. However, this time can be adjusted based on the severity of the stain. For lighter stains, a shorter time may suffice, while more stubborn stains might benefit from a few extra minutes.
After scrubbing, rinsing with warm water is the final step to remove any residue of the cleaning paste and the lifted stain. Warm water helps to dissolve the salt and lemon mixture more effectively than cold water, ensuring that no residue is left behind. This step might need to be repeated to ensure all traces of the cleaner are gone, leaving your tiles and grout looking clean and refreshed.

5. Walls: Sudsy Water and Eraser Sponge
Creating the cleaning solution with mild detergent and warm water is the first step. This mixture should be gentle enough to avoid stripping paint or wallpaper but effective enough to tackle the stains. The temperature of the water plays a role here; warm water helps to dissolve the detergent more thoroughly, enhancing its cleaning power without being harsh enough to affect the wall’s surface.
When using a soft cloth, it’s important to wring it out thoroughly so it’s damp rather than dripping wet. This minimizes the risk of water seeping under the paint or wallpaper, which could lead to bubbling or peeling. Gently rubbing the stain in a circular motion can help lift it without exerting undue pressure on the paint. It’s this gentle touch that often makes the difference between cleaning the wall and inadvertently damaging the finish.
For more stubborn stains, the melamine foam eraser sponge comes into play. This innovative cleaning tool is deceptively gentle despite its effectiveness. Before applying it to the wall, lightly dampen the sponge to activate its cleaning properties. Then, with very light pressure, rub the stained area. The unique structure of the melamine foam acts like ultra-fine sandpaper, getting under the dirt and lifting it away from the surface. However, its softness ensures that, when used correctly, it doesn’t damage the underlying paint.
It’s worth noting that while melamine foam erasers are incredibly effective, their abrasiveness can vary depending on the brand and the paint finish on your walls. It’s always a good idea to test the sponge on an inconspicuous area of the wall first to ensure it doesn’t dull or damage the finish.
After addressing the stains, it might be necessary to rinse the area with a clean, damp cloth to remove any detergent residue, followed by drying with another soft cloth. This step ensures that no cleaning solution remains on the wall, which could attract dust or lead to a patchy appearance once dry.
6. Stainless Steel: Dish Soap and Water
The first step in this cleaning regimen involves creating the right mixture. A few drops of dish soap in warm water create a mild, soapy solution that’s tough on stains but gentle on stainless steel’s delicate surface. The warmth of the water helps to break down grease and grime more effectively than cold water, making it easier to wipe away any blemishes.
Selecting the appropriate cloth is crucial. A soft, non-abrasive cloth is ideal for this task to prevent any micro-scratches on the surface of your appliances. Microfiber cloths are particularly suitable due to their ability to trap dirt and moisture without leaving behind lint or scratching the surface.
When wiping the stainless steel surface, it’s important to follow the direction of the grain. Stainless steel has a brushed finish with tiny grooves that may not be immediately visible. By wiping parallel to these lines, you can ensure a more thorough clean, allowing the soap solution to lift grime from the grooves without depositing particles that could later become embedded and cause damage.
After cleaning the stain with the soapy water, rinsing becomes the next critical step. Using clean, warm water, rinse the cloth before wiping the stainless steel surface to remove any soap residue. Leaving soap on the surface can lead to a dull finish and may attract more dirt and grime. It’s essential to thoroughly but gently rinse the entire area you’ve cleaned.
Drying is as important as the cleaning process itself. Immediately after rinsing, use a fresh, dry, soft cloth to wipe down the stainless steel surface. This not only removes any remaining moisture, which could lead to water spots or streaking but also polishes the surface, restoring its natural shine. Drying in the direction of the grain further enhances the appearance, leaving your stainless steel appliances looking as good as new.
7. Leather: Simple Soap Solution and Conditioning
Caring for leather, whether it be furniture, jackets, or accessories, requires a thoughtful approach to both cleaning and maintenance. This natural material is durable yet susceptible to damage if not treated properly. Using a simple soap solution for cleaning and following up with conditioning is a balanced method that cleans effectively while preserving the leather’s integrity. Let’s delve into a more detailed explanation of this process to ensure your leather items remain in pristine condition.
Creating the cleaning solution involves mixing a few drops of mild, pH-balanced soap with lukewarm water. The soap should be gentle enough not to strip the natural oils from the leather, which are crucial for maintaining its flexibility and preventing cracks. A small amount of soap goes a long way, ensuring the solution is effective without being too harsh.
When preparing to clean the leather, choosing the right cloth is essential. A soft, lint-free cloth is ideal, minimizing the risk of scratching or leaving residues on the leather surface. Dipping the cloth into the soap solution and then wringing it out well ensures the cloth is damp but not wet. Excess moisture can penetrate the leather, leading to potential damage or water stains.
Gently wiping the leather surface with the damp cloth allows the mild soap solution to lift away dirt and stains without saturating the material. It’s important to clean with gentle motions and avoid scrubbing, which can harm the leather’s surface. Pay special attention to seams and crevices where dirt can accumulate.
After cleaning, using another clean, dry cloth to wipe down the leather removes any moisture or residue from the cleaning process. This step is critical to prevent water marks and prepare the leather for conditioning. The leather should be left to air dry completely before moving on to the conditioning step. Avoid placing leather items in direct sunlight or near heat sources to dry, as this can cause the leather to become brittle and crack.
Applying a leather conditioner is the final step in this care routine. Leather conditioner replenishes the natural oils that keep the leather supple and prevent cracking. It should be applied sparingly with a soft cloth, massaging it into the leather in a circular motion. This not only ensures even coverage but also helps to work the conditioner into the material. Allowing the conditioner to absorb and wiping away any excess ensures that the leather is not left greasy or slippery.
Conditioning is not just about maintaining the leather’s appearance; it also adds a layer of protection against future stains and damage. It’s recommended to condition leather items every three to six months, depending on the frequency of use and the environment they are kept in.

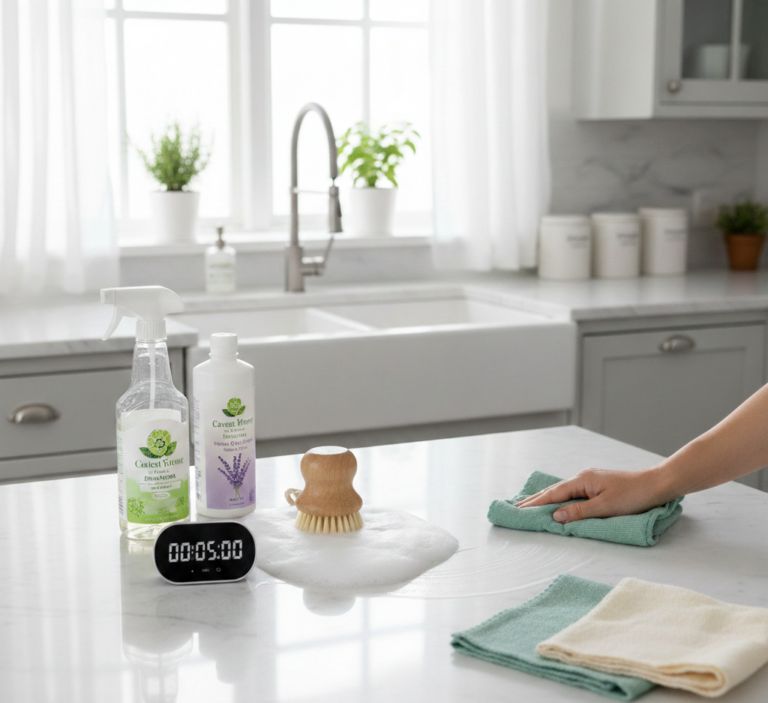
Water-Based Stains All Cleaned!
Dealing with water-based stains swiftly and selecting the appropriate cleaning technique for each surface are fundamental steps in maintaining the cleanliness and aesthetics of your home. The strategies outlined here, ranging from tackling stains on delicate upholstery to addressing marks on durable stainless steel surfaces, provide a robust foundation for effective home care. However, it’s also essential to recognize when a situation might require professional attention. This is particularly true for stubborn stains or on surfaces that demand specialized treatment, where the expertise and equipment of a professional cleaning service can make a significant difference.
In such instances, Toronto Shine Cleaning offers an invaluable service, equipped with the knowledge and tools necessary to address a wide array of cleaning challenges, including those pesky water-based stains that might seem daunting. Their team of experienced professionals understands the nuances of different materials and surfaces, ensuring that your home receives the gentle yet effective care it deserves. Whether it’s reviving your living room’s upholstery, refreshing the hardwood floors, or restoring the shine to your kitchen tiles, Toronto Shine Cleaning can help you maintain a spotless and inviting home without the hassle.
Opting for professional cleaning services like Toronto Shine Cleaning not only saves you time and energy but also ensures that your home is cared for with the highest standards in mind. Their comprehensive cleaning solutions, tailored to tackle everything from everyday spills to the most challenging stains, mean you can enjoy a pristine home environment without lifting a finger. So, when water-based stains prove to be too stubborn or you simply wish to ensure your home is in the best hands, consider reaching out to Toronto Shine Cleaning.