5 Toxic Cleaning Products You Should Stop Buying Today
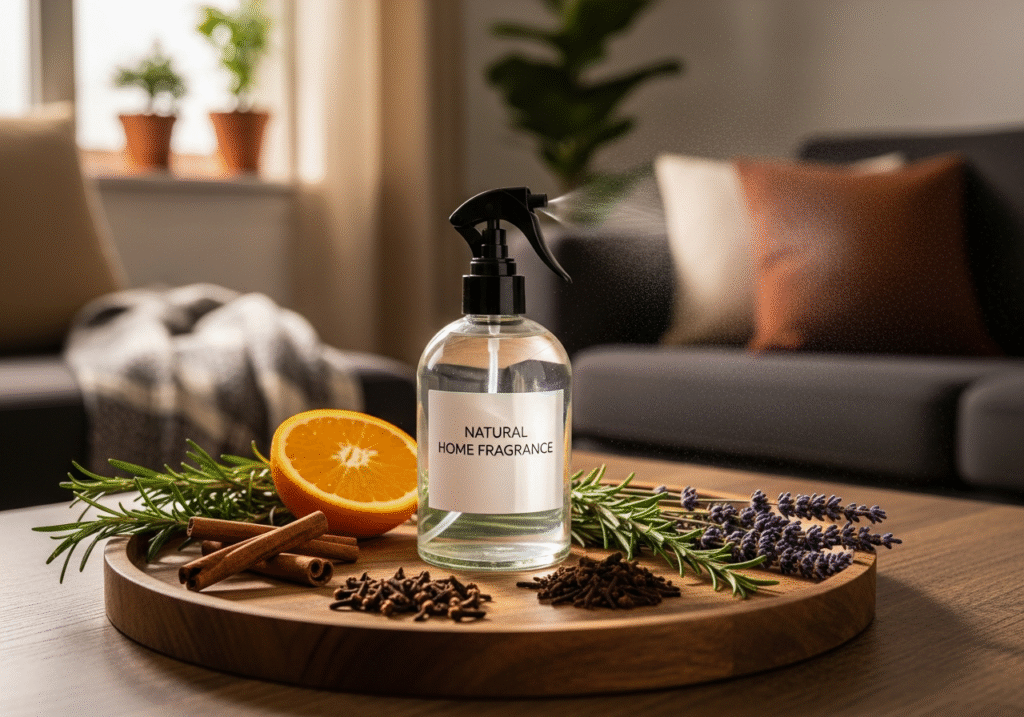
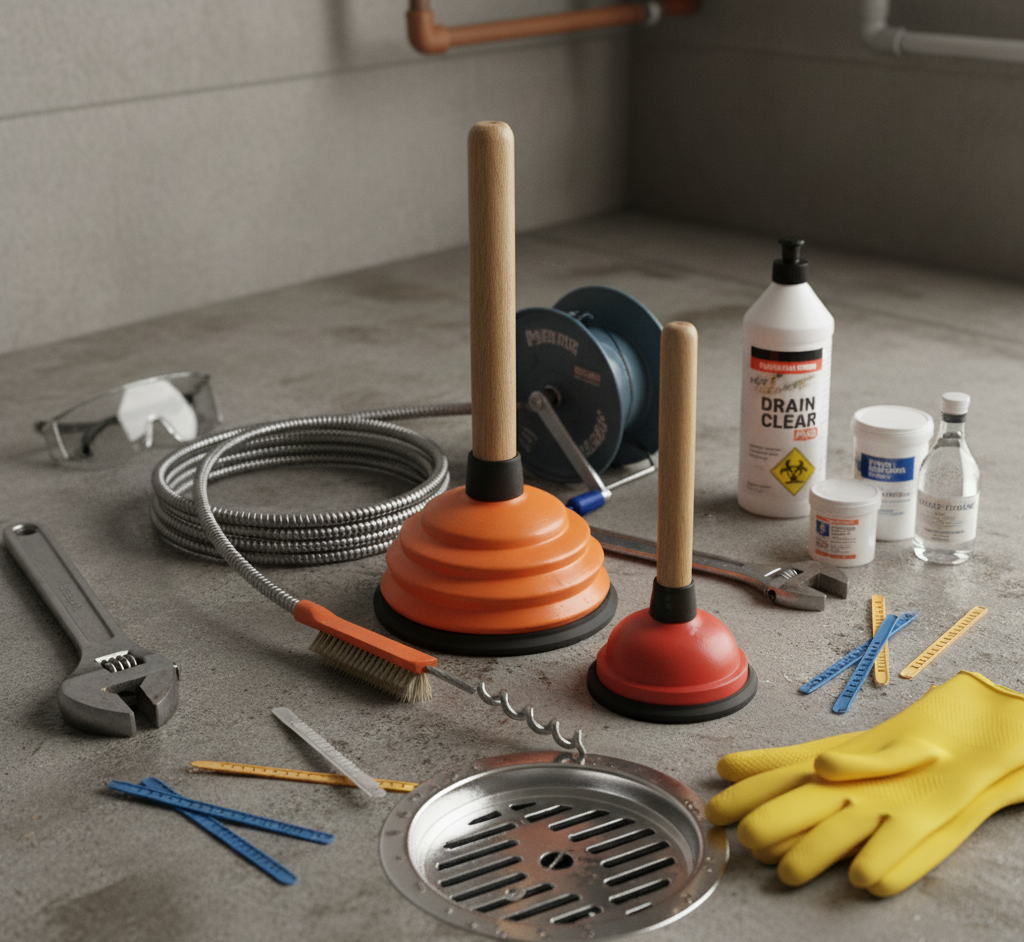
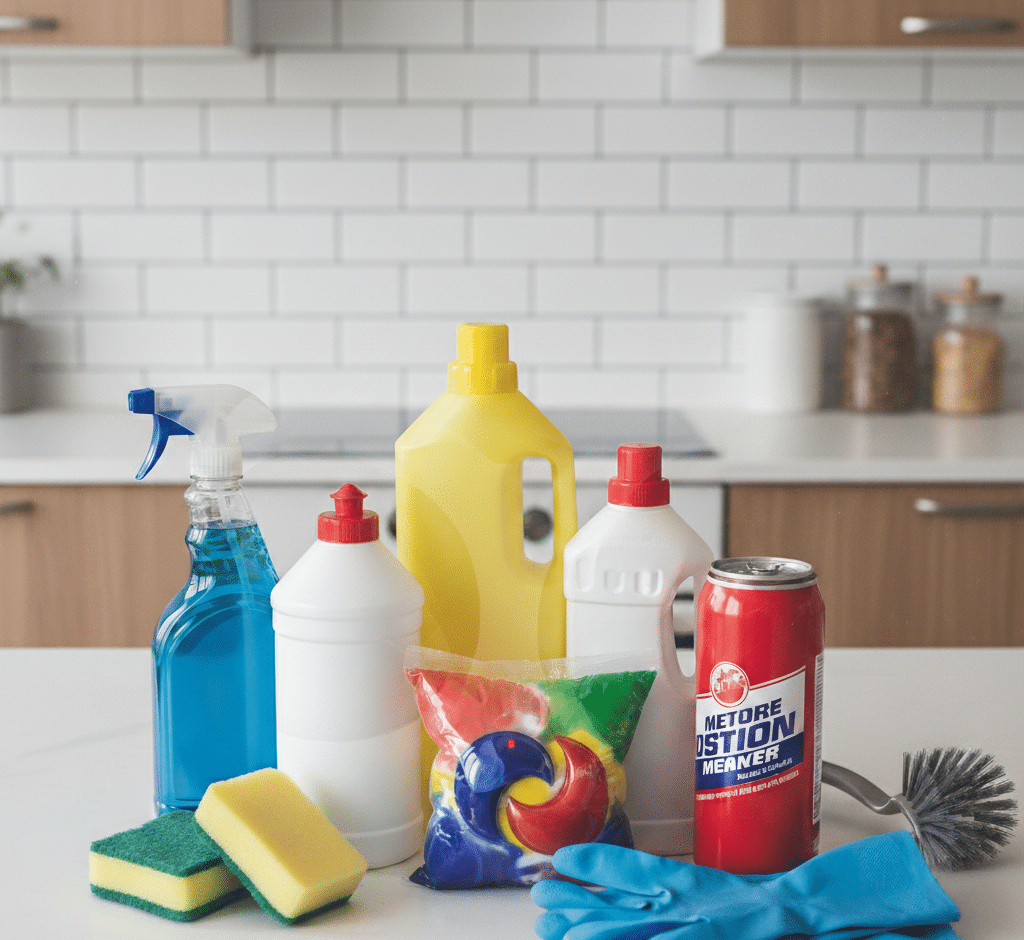
Do you know which products are toxic? In the quest for a clean and healthy home, a paradox often arises. We scrub, spray, and sanitize with the intention of creating a safe environment, yet the very products we use can introduce a host of hazardous chemicals into our living spaces. The brightly colored liquids lining the supermarket aisles often contain aggressive, industrial-strength compounds that, while effective at removing grime, can pose significant risks to our respiratory systems, our skin, and the overall air quality of our homes. Making informed choices about what we bring across our thresholds is not about succumbing to fear, but about embracing a more mindful and effective approach to cleaning, one where true cleanliness is not achieved at the expense of our well-being. Bleach One of the most ubiquitous and misunderstood products in the conventional cleaning arsenal is chlorine bleach. Marketed as the ultimate disinfectant and whitener, its power comes from its highly reactive nature. This reactivity is precisely what makes it so dangerous. The most immediate risk lies in its potential for accidental mixture. When chlorine bleach is combined with ammonia—a common ingredient in many glass and all-purpose cleaners—it creates toxic chloramine gas, which can cause severe respiratory distress. When mixed with an acid, such as a toilet bowl cleaner or even vinegar, it produces chlorine gas, a chemical weapon infamous for its devastating effects on the lungs. Even when used on its own in a poorly ventilated area, the fumes from bleach can be a powerful irritant to the eyes, throat, and lungs, particularly for individuals with asthma or other respiratory sensitivities. For a safer approach to disinfecting, a solution of white vinegar and water can handle most household germs. For whitening laundry and treating stubborn stains on white surfaces, hydrogen peroxide or oxygen-based bleach powders are excellent alternatives that break down into harmless water and oxygen. Ammonia Ammonia itself, even when not mixed with bleach, is another chemical to handle with extreme caution. It is the active ingredient in many popular window and glass cleaners, prized for its streak-free finish. However, ammonia is a potent respiratory irritant. Its sharp, pungent odor is a clear warning sign from our bodies that we are inhaling something harmful. The fumes can cause coughing and irritation in the throat and lungs, and can be particularly aggravating for people with chronic respiratory conditions. A far safer, cheaper, and equally effective alternative for cleaning glass and mirrors is a simple solution of equal parts white vinegar and water in a spray bottle. The mild acidity of the vinegar cuts through smudges and films effortlessly, and wiping with a clean microfiber cloth ensures a perfectly clear, streak-free shine without any toxic fumes. Caustic Soda Perhaps the most aggressive and overtly dangerous products found under our sinks are conventional drain cleaners. These products are designed to solve a stubborn problem by dissolving dense clogs of hair and grease deep within our plumbing. To achieve this, they rely on extremely caustic chemicals like sodium hydroxide, also known as lye. These substances are highly corrosive, designed to burn through organic matter. While they may burn through the clog, they can also cause severe chemical burns to the skin and eyes upon contact and can permanently damage older plumbing pipes. The risk is magnified when the cleaner fails to dislodge the clog, leaving a pipe full of highly toxic, standing liquid that is incredibly dangerous to deal with. A much safer approach to drain maintenance is preventative. A weekly flush with a kettle of boiling water can dissolve grease buildup before it becomes a problem. For minor clogs and odors, the classic combination of baking soda and vinegar, with its fizzing mechanical action, can loosen debris. For a true blockage, the most effective and safest solution is not chemical, but physical: a simple plastic drain snake can physically pull out the clog without any risk to your pipes or your health. Similarly caustic ingredients are found in most aerosol oven cleaners. These products are formulated to cut through thick layers of baked-on, carbonized grease, and they often contain the same lye found in drain cleaners. The aerosol spray format is particularly hazardous as it atomizes these caustic chemicals, making them easy to inhale. The fumes can cause immediate and severe respiratory irritation. The safer alternative requires a bit more time but is completely non-toxic and remarkably effective. Create a thick paste of baking soda and water and spread it liberally all over the cool interior surfaces of your oven, avoiding the heating elements. Let this paste sit overnight. The baking soda will work to soften and break down the carbonized grease. The next day, using a plastic scraper and a damp cloth, you can wipe and scrub away the paste, and the grime will come with it, all without a single toxic fume. Synthetic air Fresheners One of the most subtle but pervasive categories of harmful products is synthetic air fresheners. This includes aerosol sprays, plug-in diffusers, and scented candles made with fragrance oils. The goal of these products is not to clean, but to mask odors by releasing a continuous stream of chemicals into the air. The term “fragrance” on an ingredient list is a legal loophole that can hide a proprietary blend of hundreds of different chemicals, including phthalates and a host of volatile organic compounds (VOCs). Phthalates are endocrine disruptors that can interfere with the body’s hormonal systems, while VOCs can contribute to a wide range of health issues, from headaches and dizziness to long-term respiratory problems. True freshness comes not from masking odors, but from eliminating them. Open your windows to allow for natural ventilation. Place a small bowl of baking soda or activated charcoal in a room to absorb ambient smells. For a pleasant scent, simmer a pot of water on the stove with natural ingredients like cinnamon sticks, cloves, and citrus peels, or use a diffuser with pure, high-quality essential oils. Triclosan At the end, be wary
5 Toxic Cleaning Products You Should Stop Buying Today Read More »