The electric kettle is the unsung hero of the modern kitchen. It is an appliance of profound simplicity and efficiency, dedicated to the singular, noble task of boiling water quickly. It facilitates our morning coffee rituals, our afternoon tea breaks, and countless culinary preparations. Yet, for all its utility, the kettle is often subject to a slow, creeping form of internal decay that compromises its performance and the quality of the water it boils. This internal affliction is limescale, and dealing with it is the most critical aspect of kettle maintenance.
Understanding Limescale
If you live in an area with hard water, limescale is an inevitability. Hard water is simply water that has a high concentration of dissolved minerals, primarily calcium carbonate and magnesium. These minerals are harmless to drink, but when the water is repeatedly heated, they precipitate out of the solution and form a hard, chalky, off-white deposit on surfaces. In a kettle, this deposit builds up layer by layer on the heating element and the interior walls.
At first, this buildup might seem like a purely cosmetic issue, but it has several significant and detrimental effects:
Impaired Performance and Wasted Energy: Limescale acts as an insulator. The crusty layer on the heating element forces it to work harder and longer to transfer heat to the water. This means your kettle takes noticeably longer to reach a boil, and in doing so, consumes more electricity. A kettle caked in limescale is an inefficient kettle, wasting both time and money.
Altered Taste: The minerals in the limescale can leach back into the water, imparting a faint, chalky, or metallic taste. This can ruin the delicate flavors of a high-quality tea or coffee. You might also notice a gritty texture or floating white flakes in your cup, which are small pieces of the scale that have broken off.
Potential for Bacterial Growth: The rough, porous surface of thick limescale deposits can create a habitat for bacteria to colonize. While the boiling process will kill most active bacteria in the water, the surface of the scale itself can harbor microorganisms that you do not want in your daily beverage.
Reduced Lifespan: Forcing the heating element to consistently overheat to penetrate the limescale can cause it to burn out prematurely, shortening the functional life of your appliance.
The Deep Clean
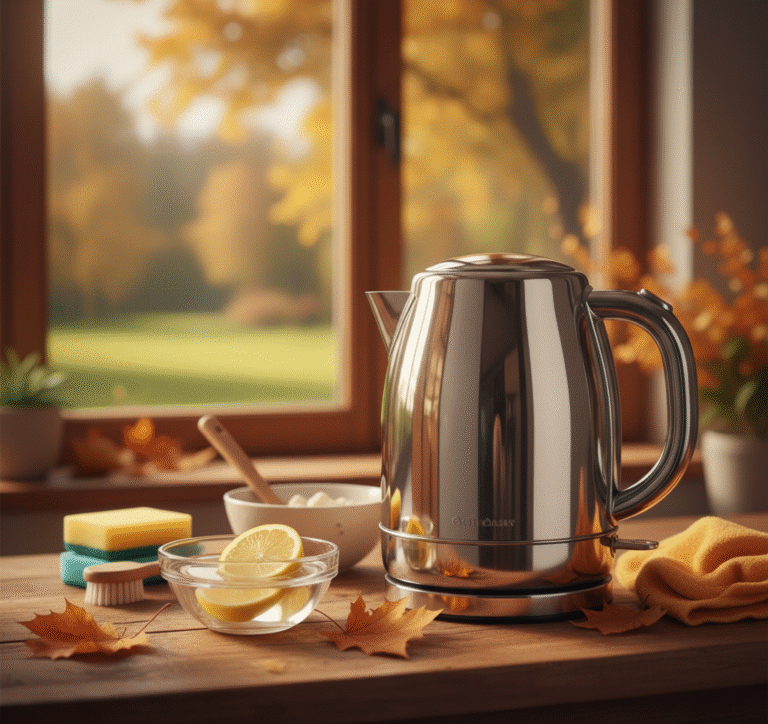
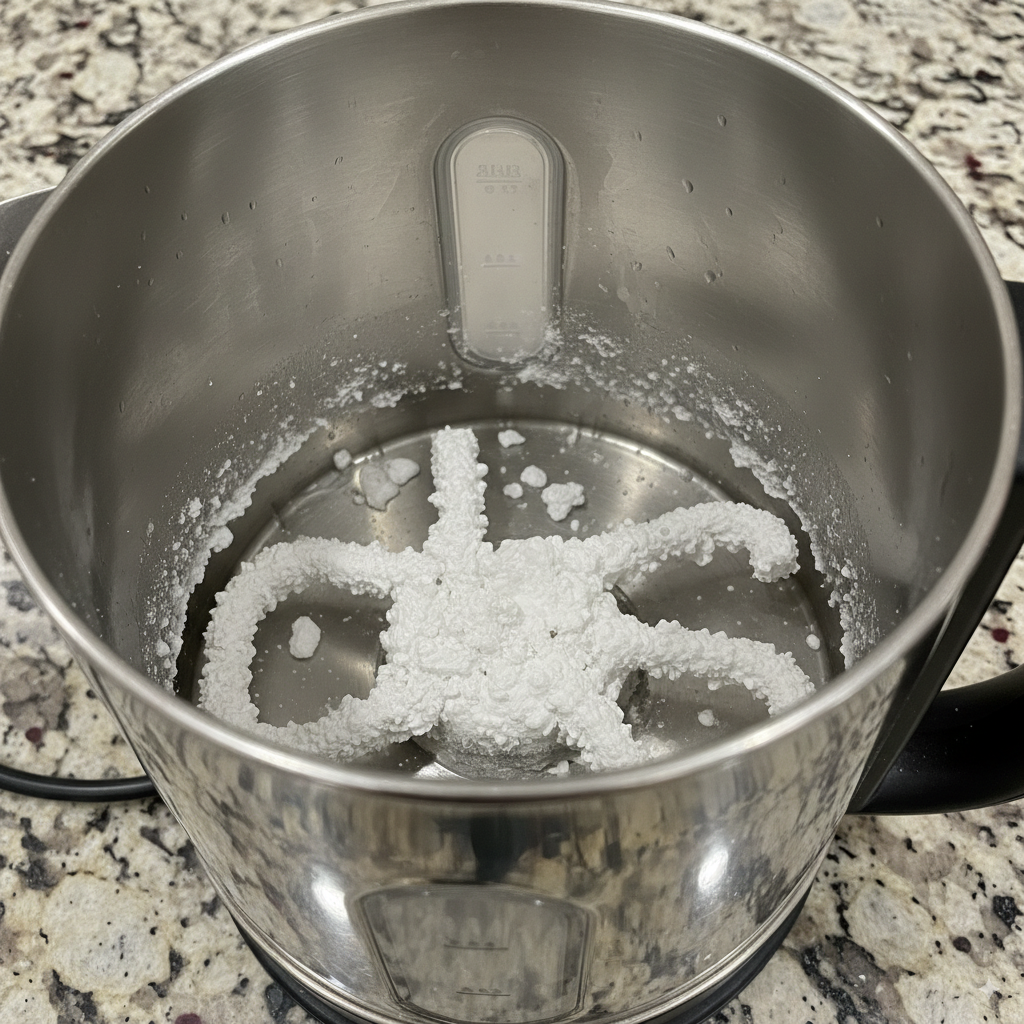
Cleaning the inside of a kettle is not about scrubbing. It is about chemistry. You need to use a mild acid to dissolve the alkaline mineral deposits. This process, known as descaling, is simple, effective, and can be done with basic household products. It should be performed regularly, anywhere from once a month to every few months, depending on the hardness of your water. The moment you see a visible white film forming on the bottom, it is time to descale.
Method 1: The White Vinegar Method
This is the classic, most effective, and cheapest way to descale a kettle.
Step 1: Create the Solution. Fill the kettle with a solution of equal parts distilled white vinegar and water. Do not fill it past the maximum fill line. A 50/50 mix is a strong and effective starting point.
Step 2: Let it Soak (Optional but Recommended). For very heavy buildup, let the solution sit in the kettle for an hour before proceeding. This gives the acetic acid in the vinegar time to begin breaking down the limescale.
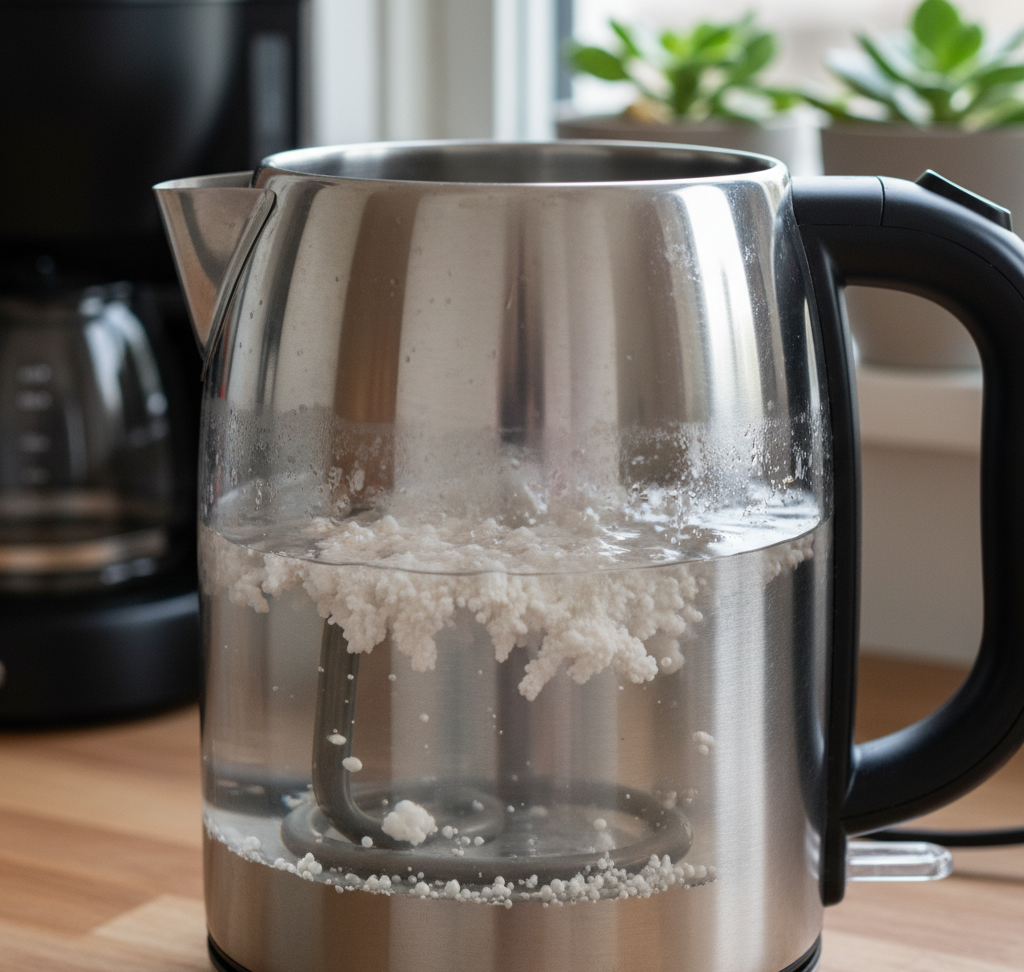
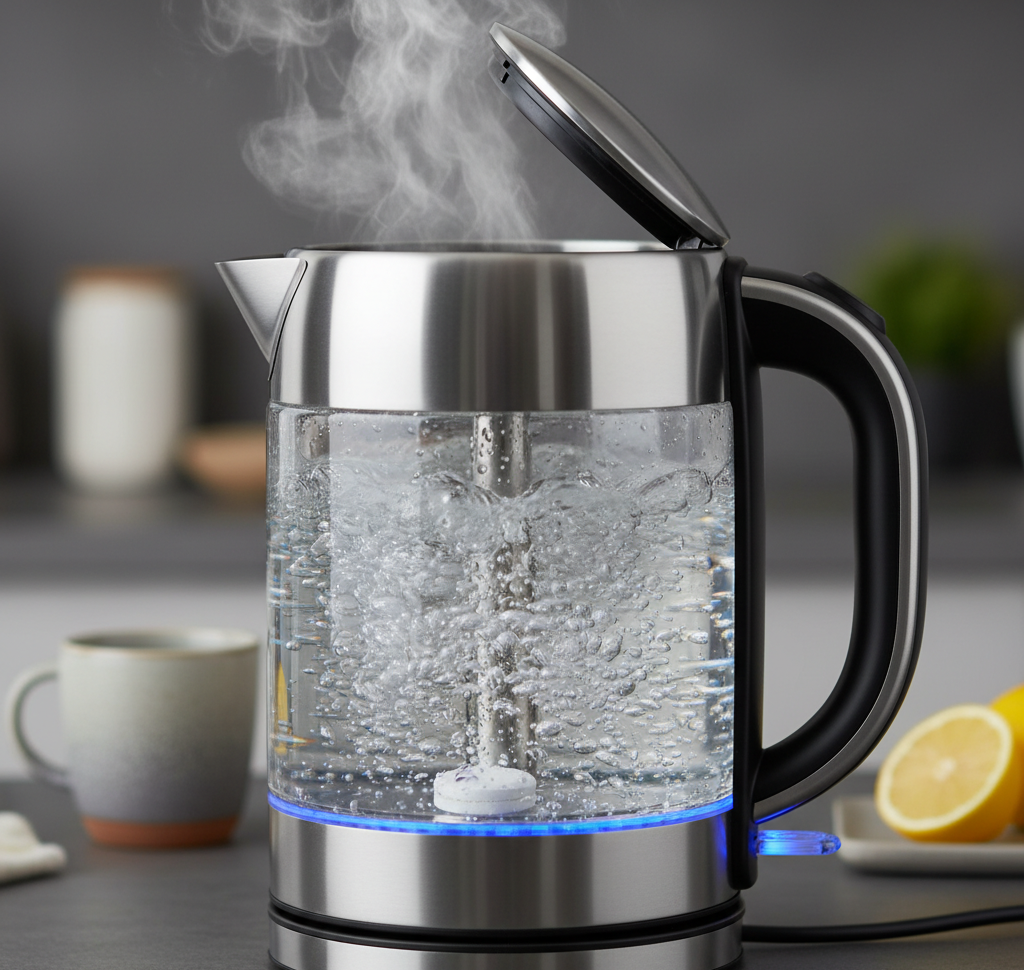
Step 3: Bring to a Boil. Turn the kettle on and let it run through a full boiling cycle. The combination of heat and acidity will accelerate the chemical reaction that dissolves the mineral deposits. As it heats up, you may see the limescale begin to fizz and flake off.
Step 4: The Big Soak. Once the kettle has boiled and switched off, leave the hot solution inside to sit for at least 20-30 minutes. For extremely stubborn scale, you can leave it for several hours or even overnight.
Step 5: Empty and Inspect. Pour the vinegar solution down the sink. You should see that most, if not all, of the limescale is gone. If some stubborn patches remain, you can use a non-abrasive sponge or cloth to wipe them away.
Step 6: Rinse Thoroughly. This is a critical step. Rinse the inside of the kettle with clean, cool water several times to remove any lingering scale and, most importantly, the smell and taste of vinegar. Fill it with fresh water, boil it again, and discard that water. This final boil will remove any final traces of the vinegar.
Method 2: The Lemon or Citric Acid Method
For those who dislike the potent smell of vinegar, lemon juice or citric acid provides a more fragrant but equally effective alternative.
Step 1: Create the Solution. You can use the juice of one or two fresh lemons or two tablespoons of citric acid powder (available in the baking or canning aisle of most grocery stores). Add this to a kettle filled with water up to the max line.
Step 2: Soak and Boil. As with the vinegar method, let the solution sit for about an hour, then bring the kettle to a full boil.
Step 3: Sit and Wait. Once boiled, let the hot solution sit for 20-30 minutes to finish its work.
Step 4: Rinse and Repeat. Empty the kettle and rinse it thoroughly. Perform a final boil with fresh water and discard it to ensure no lemony taste remains.
Cleaning the Exterior
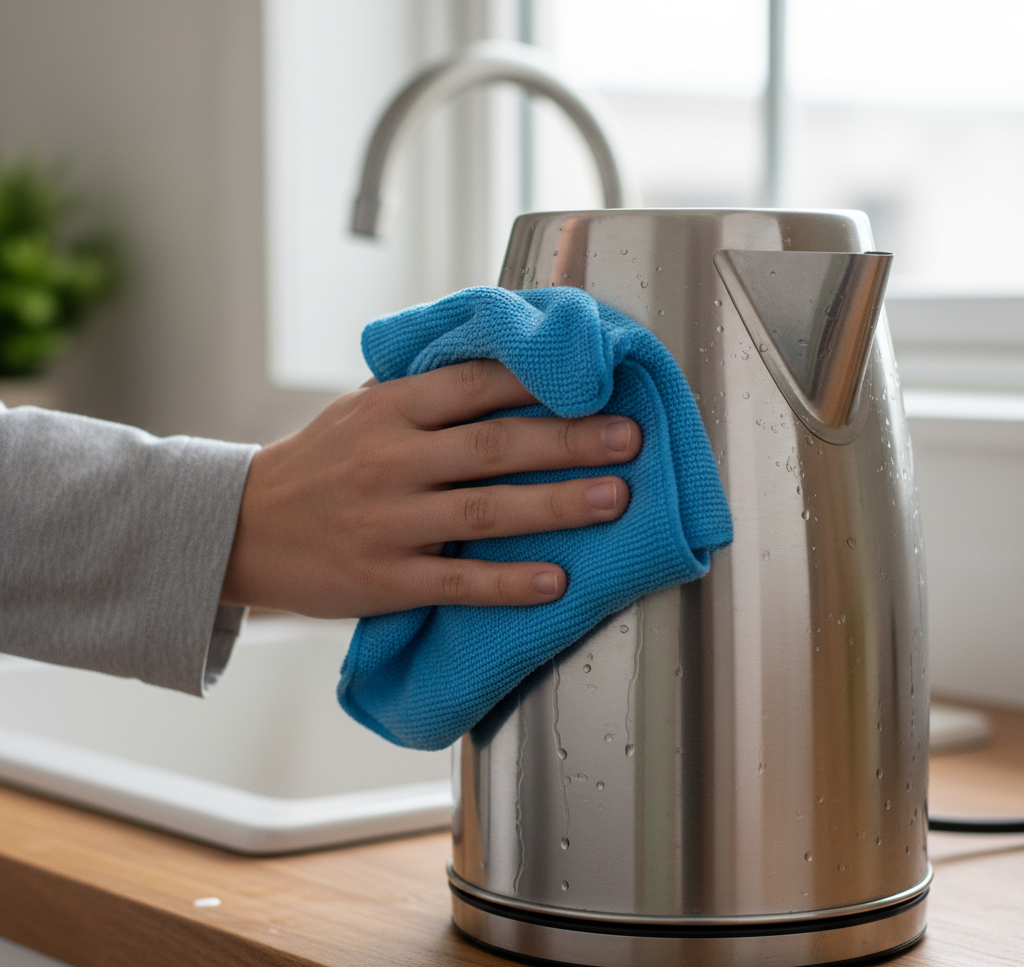
While the interior is the functional priority, the exterior also deserves attention. Always unplug the kettle before cleaning the outside.
Stainless Steel: The best way to clean a stainless steel exterior is with a damp microfiber cloth and a drop of dish soap. Wipe in the direction of the grain of the steel. To remove fingerprints and add shine, you can put a small amount of white vinegar or a dab of olive oil on a clean, dry cloth and buff the surface, again, following the grain.
Plastic: A simple wipe with a damp, soapy cloth is usually sufficient for a plastic kettle. Avoid using abrasive scrubbers, which can scratch and dull the finish.
Glass: A glass kettle can be cleaned with the same 50/50 vinegar and water solution you use for the interior. Spray it on and wipe it clean with a microfiber cloth for a streak-free finish.
Beyond Cleaning
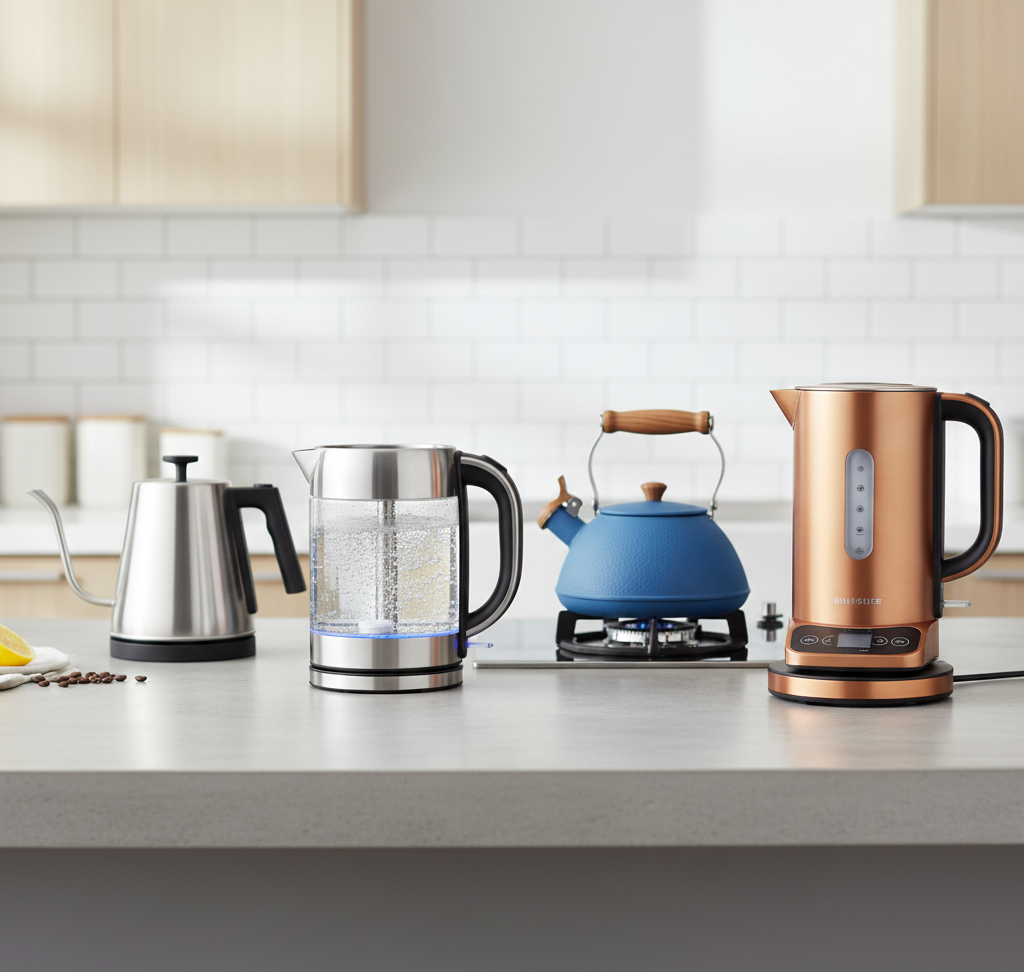
The world of kettles extends beyond a single design. Understanding the different types and materials can help you choose an appliance that fits your needs and is easy to maintain.
Types of Kettles:
Stovetop Kettle: The classic, non-electric kettle that whistles when the water is boiling. While nostalgic and simple, they are less energy-efficient and slower than electric models.
Electric Kettle: The modern standard. They are fast, feature an automatic shut-off for safety, and are generally more energy-efficient as they apply heat directly to the water.
Variable Temperature Kettle: For the tea or coffee connoisseur, these kettles are a game-changer. They allow you to heat water to a specific temperature, which is crucial as different beverages have different ideal brewing temperatures. For example, delicate green tea is best brewed around 175°F (80°C), while black coffee requires water just off the boil, around 205°F (96°C). Using the correct temperature can dramatically improve the taste of your drink.
Gooseneck Kettle: Characterized by their long, narrow spout, these kettles (both stovetop and electric) are designed for pour-over coffee. The gooseneck spout allows for a very precise, controlled, and slow pour, which is essential for proper extraction of coffee grounds.
Kettle Materials:
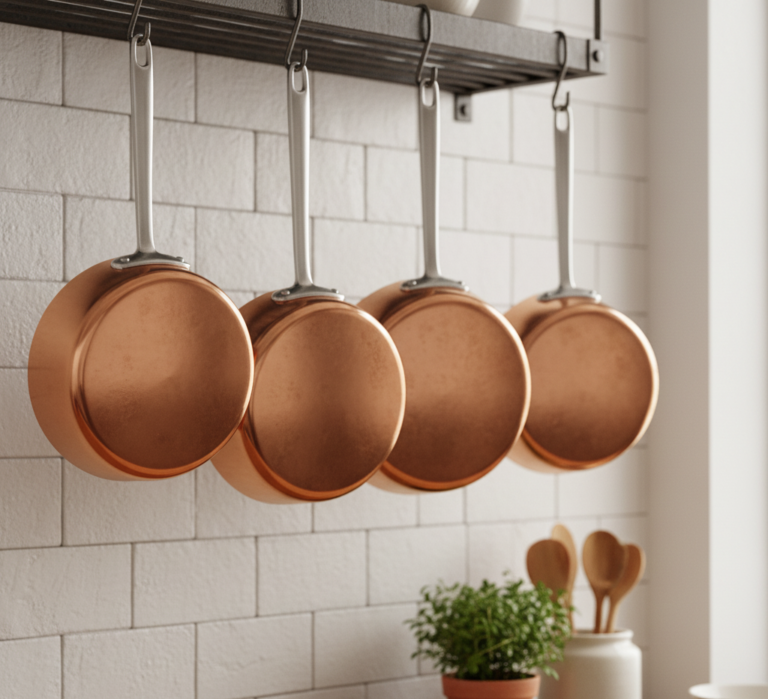
Stainless Steel: The most popular material for a reason. It is durable, relatively lightweight, does not impart any taste to the water, and is easy to clean.
Glass: Aesthetically pleasing and has the practical benefit of allowing you to see exactly how much water is inside and, more importantly, how much limescale has built up. This visual cue is a great reminder that it is time to descale.
Plastic: The most affordable option. Modern plastic kettles are generally BPA-free, but they can be more prone to staining and retaining odors than glass or steel. They are lightweight, which can be a benefit for some users.
Ceramic: These are essentially ceramic pots with an electric heating element. They are stylish and hold heat well but are the heaviest and most fragile of all the options.
Practices for a Healthy Kettle
Maintaining your kettle is not just about the occasional deep clean. A few simple daily habits can significantly reduce the rate of limescale buildup and keep your kettle in optimal condition.
Use Filtered Water: If you live in a hard water area, the single best thing you can do is use filtered water in your kettle. A simple carbon filter pitcher can remove a significant amount of the minerals that cause limescale, drastically reducing how often you need to descale.
Don’t Let Water Sit: Avoid leaving unused water in the kettle for long periods. After you have boiled water and used what you need, empty the rest. This prevents the minerals from settling and depositing on the surfaces as the water cools.
Descale Proactively: Do not wait for the limescale to become a thick, crusty shell. A quick descaling every month is much easier and faster than a heavy-duty cleaning every six months.

The kettle is a simple machine, but its care speaks volumes about the overall cleanliness of a kitchen. A clean, well-maintained kettle is a sign of a household that values not just appearance, but function, efficiency, and quality. It is a small task, but one that pays dividends with every single cup.
Just as a properly descaled kettle operates at peak efficiency and delivers a purer result, a professionally cleaned home provides a healthier and more functional living environment. Removing the built-up limescale and grime from your appliances is only the beginning. For a comprehensive deep clean that restores every surface of your home, Toronto Shine Cleaning offers the expert service needed to bring your space back to its most brilliant and efficient state.