AirBnB Cleaning

Air Quality Through Cleaning

Breathe Easy This Winter: Improving Indoor Air Quality Through Cleaning

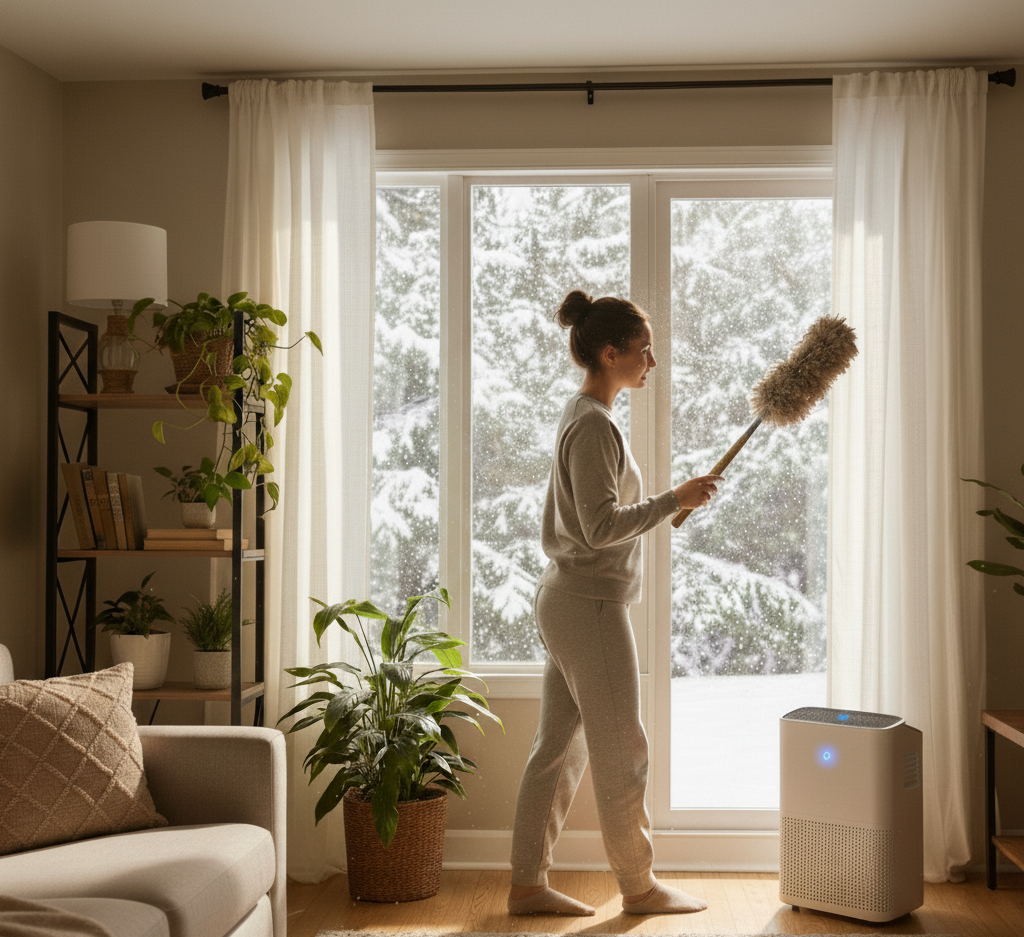
Breathe Easy Indoors: The Winter Cleaning Plan for Better Air Quality As autumn fades and the first hard frost arrives, Canadian homes instinctively seal themselves: windows shut, furnace roars, and the crisp outdoor air gets locked away. Staying warm comes with an invisible cost. With no natural ventilation, dust, allergens, pollutants, and microbes accumulate indoors until the air you breathe all winter is the stalest of the year. Health Canada’s overview of indoor air contaminants documents the range of irritants that build up in closed homes. Poor indoor air can mean dry eyes and scratchy throats at best, and triggered allergies, asthma attacks, or respiratory infections at worst. The fix is not a gadget. It is a cleaning strategy tuned to how winter houses actually work. What Winter Dust Is Really Made Of Dust is not simply dirt. It is a constantly circulating cocktail, and forced-air heating is its delivery service: every blast of warm air stirs settled particles back into your lungs’ reach. A typical winter dust load includes: Microscopic flakes of human skin Pet dander from cats, dogs, and the occasional visitor Textile fibers shed by clothing, bedding, and upholstery Outdoor pollen and pollution that infiltrated before the snow Mold spores and dust mite debris from damp corners Controlling that mix takes systematic, deliberate dusting, performed weekly rather than in heroic quarterly bursts. Dust From the Ceiling Down, Every Week Work top to bottom and gravity does half the job: dust knocked loose from high surfaces settles onto lower ones that have not been cleaned yet, instead of landing on furniture you just finished. Start at ceiling fans, light fixtures, and the tops of bookcases and wardrobes. Move to eye level: window sills, picture frames, mirrors, and television fronts. Finish with tables, desks, coffee tables, baseboards, and floor registers. A quality microfiber cloth, dry for light passes or slightly damp for a deeper grab, traps particles in its fibers rather than launching them back into the air. For electronics, which attract dust through static, use an anti-static duster or a barely damp cloth, and unplug devices first. Vents, Ducts, and the Filter That Runs Everything Your air circulation system is both the dust highway and the easiest checkpoint. Before the furnace enters overtime, vacuum and wipe every return and supply register; the hair and grit you pull off them is usually startling. During the heating season, check the furnace filter monthly and replace it every one to three months depending on filter type, pets, and dust load. A clean filter keeps airflow efficient and captures particulates before they recirculate. If you have moved into an older home with unknown duct history, finished a dusty renovation, or share the house with severe allergy or asthma sufferers or multiple pets, periodic professional air duct cleaning removes years of built-up debris and mold spores from the whole ventilation system, improving both air quality and heating performance. Vacuuming: The Deep Clean Your Floors Secretly Need Carpets and rugs act as passive air filters, trapping dust, dirt, and allergens in their fibers. Neglect them and they saturate, releasing the payload with every footstep. Vacuum all carpeted areas at least weekly, more often in high-traffic zones, homes with kids or heavy-shedding pets, or households where anyone has allergies. A vacuum with a true HEPA filter captures 99.97 percent of particles down to 0.3 microns, including dust mite waste, pollen, dander, mold spores, and some bacteria, instead of exhausting them right back into the room. Do not stop at floors: run the upholstery attachment over sofas, armchairs, and fabric headboards, where skin flakes and dander hide in plain sight. Curtains, Blinds, and the Condensation Problem Window treatments are the most overlooked dust magnets in winter. Where cold glass meets warm indoor air, condensation forms a slightly damp film that grabs airborne particles, and damp fabric can also grow mold. Health Canada’s moisture and mould guidance is blunt about the principle: fix dampness fast or it fixes you. Vacuum curtains with the upholstery attachment, wipe blinds with a damp microfiber cloth, and wash curtain fabrics according to their care labels. The room looks brighter and the air tastes lighter afterward. Humidifiers: Great for Dry Air, Dangerous If Neglected Canadian heating seasons are brutally dry, and humidifiers ease cracked skin, scratchy noses, and irritated airways. The catch is that a reservoir of stagnant water is an ideal nursery for mold and bacteria, which the unit then sprays directly into your air. Clean the humidifier every few days per the manufacturer’s instructions, use distilled water rather than tap to limit mineral deposits that can go airborne, and empty and thoroughly dry the tank whenever the unit sits idle. Health Canada’s page on household product safety flags exactly this cleaning failure with cool-mist units. Done properly, the humidifier helps; done lazily, it harms. A Honest Note About Houseplants Some plants do absorb airborne toxins, but their real-world impact in a home is overstated: the plant volume needed to measurably clean a living room would turn it into a botanical garden. Mechanical filtration and a diligent cleaning routine do more per square foot than any fern. Winter Air Quality Schedule Frequency Task Payoff Weekly Top-down dusting with microfiber Less airborne particulate Weekly (plus) HEPA vacuum carpets, rugs, upholstery Trapped allergens stay trapped Monthly Check furnace filter and registers Efficient, cleaner circulation Every few days Humidifier scrub and rinse Mold never establishes Seasonally Curtains, blinds, and vent wipe-down Resets the dust reservoir Every few years Professional duct cleaning if flagged Whole-system particulate removal Indoor Air Quality FAQ How often should I dust to actually improve air quality? Weekly, at minimum, working high to low with microfiber. Dust that sits becomes a reservoir that your furnace re-suspends on every cycle, so consistency beats intensity. Do HEPA vacuums make a measurable difference? Yes for allergy households: the filter holds 99.97 percent of particles down to 0.3 microns inside the canister instead of venting fine dust out the back of a standard vacuum.

Breathe Easy This Winter: Improving Indoor Air Quality Through Cleaning Read More »

Understanding Acetone: A Guide to the Powerful Cleaning Solvent

What Makes Acetone a Powerful Cleaning Solvent Acetone is a potent organic solvent that dissolves residues most household cleaners cannot touch: oils, greases, dried paint, varnish, lacquer, permanent ink, and stubborn adhesives. Chemically, it is a polar aprotic solvent, so it attacks both greasy, non-polar materials and many polar substances. It also evaporates very quickly, which means it can do its job and vanish, usually leaving a clean, dry, residue-free surface behind. That speed and strength are exactly why acetone demands respect: it is indiscriminate, so you need to know where it helps and where it will do damage. Top Cleaning Jobs for Acetone Paint and Finish Removal Splatters of dried latex or oil-based paint on hard, non-porous materials such as glass, tile, or bare metal are no match for acetone. It breaks down the polymer binders that hold paint together, liquefying the coating so it can be wiped away. The same chemistry makes acetone the standard choice for cleaning paint brushes, roller covers, and spray gun components used with lacquers and enamels. It can also strip varnish or polyurethane from metal hardware and lift old, yellowed lacquer from brass fixtures. Expect to apply it, give it a few minutes to work, and then scrape or wipe off the softened layers. Adhesive and Residue Removal Most nail polish removers list acetone as their active ingredient because it dissolves the tough acrylic polymers in nail lacquer. The same principle defeats cyanoacrylate, better known as super glue: a small dab, carefully applied, dissolves the bond on skin or countertops. Acetone also penetrates the gummy residue left behind by stickers, labels, and tape, cutting through the stickiness until it wipes clean. Heavier challenges such as contact cement or construction adhesive usually need several applications plus some mechanical scraping. Workshop Degreasing Before welding, painting, or powder-coating a metal part, any trace of oil or wax can ruin the bond or finish. Acetone cuts through petroleum-based grime and flashes off fast, leaving a clean substrate. Mechanics use it on automotive parts, machinery, and tools to dissolve grime and tar that would otherwise require heavy scrubbing. On a concrete garage floor, it can lift deep oil stains, but only when you pull the dissolved oil up with an absorbent material; used carelessly, acetone can drive the stain deeper into the porous concrete. Remove nail polish spills from hard surfaces. Break super glue bonds on skin and countertops. Dissolve sticker, label, and tape residue. Clean brushes and rollers after lacquer or enamel projects. Prep metal parts before painting or welding. Where Acetone Causes Damage Acetone dissolves many common plastics, including polystyrene (styrofoam), ABS found in electronics housings and car interiors, acrylic (Plexiglas), and polycarbonate. Contact can soften, warp, cloud, or fully dissolve these materials, and even brief exposure can cause solvent crazing, a web of fine surface cracks. High-density polyethylene (HDPE) and polypropylene generally resist the solvent, so they are the usual choice for acetone containers. Finished wood is another casualty: acetone strips shellac, varnish, lacquer, and polyurethane, dries out the wood fibers, and can lift veneers or damage laminates, so it should never touch wooden furniture, flooring, or cabinetry unless a full refinishing is planned. Some fabrics are equally vulnerable. Acetate, triacetate, and modacrylic fibers can literally dissolve, creating holes, while cotton, wool, and silk usually survive but may lose dye. Material Acetone reaction Safe to clean? Polystyrene, ABS, acrylic, polycarbonate Softens, warps, clouds, or dissolves No; test a hidden area first HDPE and polypropylene Resists the solvent Yes Finished wood and veneers Strips finish, dries fibers Only for refinishing Acetate, triacetate, modacrylic fabric Dissolves; can create holes No Cotton, wool, silk Usually safe; dye may run Spot-test first Acetone Safety: Flammability, Ventilation, and Gear Acetone is extremely flammable with a very low flash point, so vapors can catch fire at room temperature when they meet a spark or flame some distance away. Ignition sources include pilot lights on water heaters, the spark of a refrigerator motor kicking on, and static electricity. Work with strong ventilation: open windows and doors and use a fan to push fumes outside, or work outdoors whenever possible. Protect your skin with butyl rubber or nitrile gloves; latex gloves break down quickly, and direct contact can defat the skin, causing dryness, irritation, and cracking. Wear splash-proof goggles, and in enclosed spaces or during long sessions use a respirator with an organic vapor cartridge, since concentrated fumes can irritate the respiratory tract and cause dizziness and headaches. Health Canada’s household chemical safety tips cover flammable and corrosive products such as paint thinners, and its household products guidance explains safe use and storage around the home. How to Apply Acetone the Right Way For small stains, pour the acetone onto a clean white cloth or cotton ball instead of directly onto the surface; that controls the amount and stops it from spreading to nearby vulnerable materials. Blot the stain from the outside edge inward so it does not create a larger ring, and avoid rubbing, which can push the stain deeper or damage the surface texture. Afterward, wipe the area with a cloth dampened with water and mild detergent, rinse with a clean, damp cloth, and dry thoroughly. Test any new surface or fabric in an inconspicuous spot first, such as an inner seam. Frequently Asked Questions About Acetone Can I use acetone on plastic surfaces? Only on plastics known to resist it, such as HDPE and polypropylene. Most others, including polystyrene, ABS, acrylic, and polycarbonate, will soften, cloud, or dissolve, so always test an unseen area first. Will acetone ruin wood furniture? Yes. It strips the finish, dries out the wood fibers, and can lift veneers. Reserve it for refinishing projects where removing the old finish is the whole point. Is acetone safe on fabrics and carpets? Fabrics made of acetate, triacetate, or modacrylic fibers can dissolve, and dyes on natural fibers may bleed. Spot-test an inconspicuous area before treating any stain. Is nail polish remover the same as pure acetone?

Understanding Acetone: A Guide to the Powerful Cleaning Solvent Read More »

Cleaning Products for Your Natural Stone

Natural Stone: Choosing the Right Cleaning Products for Your Natural Stone

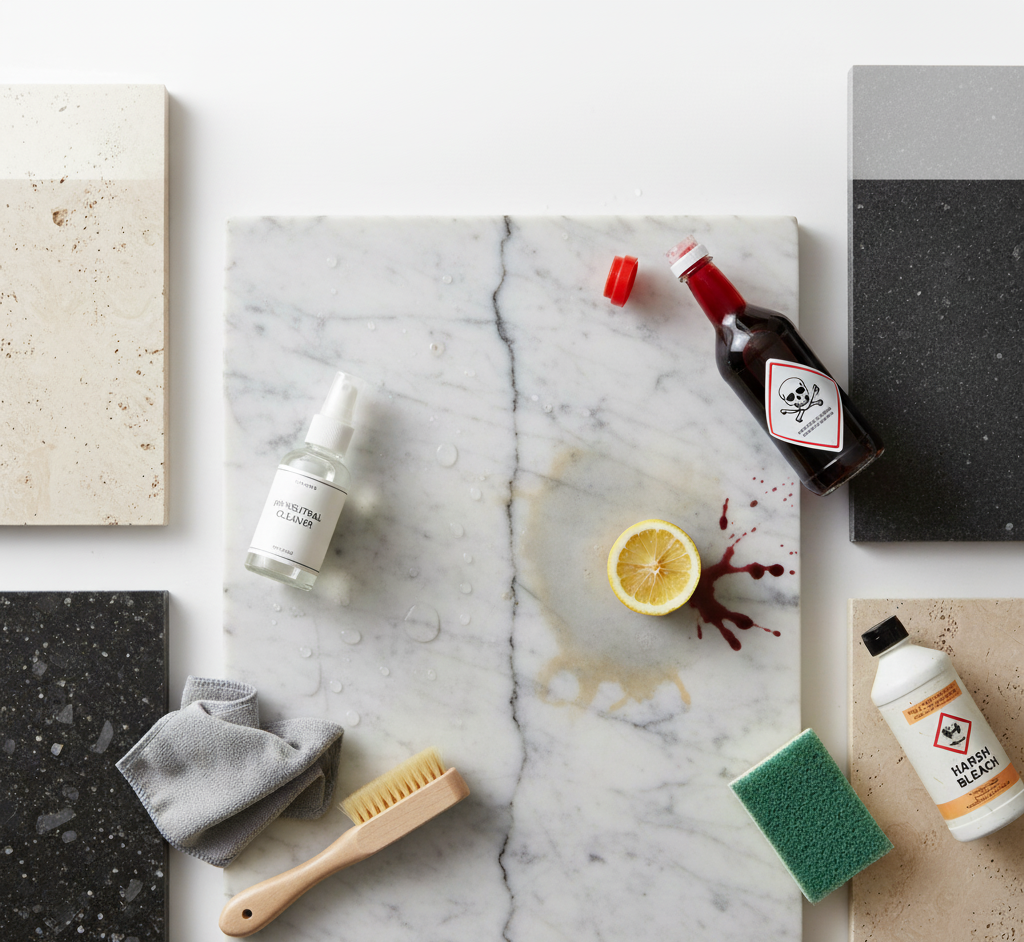
Natural stone surfaces bring an unparalleled elegance and timeless durability to any space. However, their porous nature demands a mindful approach to cleaning and maintenance. Using the wrong products can lead to irreversible damage, such as dulling, etching, and staining. Understanding the specific needs of your stone, whether it be granite, marble, travertine, or limestone, is paramount to preserving its beauty for years to come. The cornerstone of proper natural stone care is the consistent use of pH-neutral cleaners. Harsh, acidic, or alkaline chemicals can react with the minerals in the stone, compromising its integrity and finish. Simple Mixture For daily cleaning of all-natural stone surfaces, the most recommended and safest solution is a simple mixture of warm water and a few drops of mild, pH-neutral dish soap. This gentle combination is effective at removing everyday dirt, grease, and grime without harming the stone or its sealer. After wiping the surface with this solution using a soft, microfiber cloth, it is crucial to rinse the area thoroughly with clean water and dry it completely with another soft cloth. This prevents soap scum buildup, which can leave a dull film on the surface over time, and averts water spots. When a more potent cleaning is required, particularly for disinfection, a solution of equal parts water and 70% isopropyl alcohol can be used. This mixture is effective at killing bacteria and germs without being abrasive or acidic. Spray the solution onto the surface, let it sit for a few minutes, and then wipe it clean with a damp cloth before drying thoroughly. This is an excellent option for kitchen countertops where food preparation occurs. It is imperative to know which products to avoid. Acidic substances are the primary adversary of natural stone, especially calcareous stones like marble, travertine, and limestone. These stones are primarily composed of calcium carbonate, which reacts vigorously with acids, leading to etching, a chemical burn that appears as a dull spot on the surface. Common household cleaners that contain vinegar, lemon juice, or other citrus-based ingredients should never be used on these stones. Likewise, harsh chemicals such as bleach and ammonia can degrade the sealer and dull the stone’s surface over time. Abrasive powders or creams are also to be avoided as they can scratch the stone. Granite Granite, being a siliceous stone, is generally more resistant to acids than its calcareous counterparts. However, repeated exposure to acidic substances can still weaken the sealer and eventually lead to damage. Therefore, it is best to adhere to pH-neutral cleaning practices for granite as well, ensuring its longevity and lustrous appearance. Marble is particularly susceptible to damage due to its soft and porous nature. Spills, especially from acidic liquids like wine, coffee, or fruit juice, should be blotted up immediately with a soft cloth. Wiping the spill can spread it further. After blotting, clean the area with a mild soap and water solution, rinse, and dry. For tougher organic stains on light-colored marble, a poultice made from hydrogen peroxide and an absorbent material like baking soda can be effective. Travertine Travertine and limestone share a similar composition to marble and thus require comparable care. Their surfaces are often characterized by small pits and fissures, which can trap dirt. Regular dusting with a dry microfiber cloth is beneficial to prevent the accumulation of abrasive particles. When cleaning, use a pH-neutral cleaner and ensure the surface is rinsed and dried thoroughly to prevent water from settling in the pores. For deep cleaning textured travertine, an alkaline-based cleaner may be necessary to lift embedded grime. In cases of efflorescence, a white, powdery deposit that can appear on the surface, it is crucial to use a non-acidic cleaner to remove the salt residue without harming the stone. Beyond daily cleaning, the most critical aspect of natural stone care is sealing. A sealer acts as a protective barrier, penetrating the pores of the stone to inhibit the absorption of liquids and prevent staining. There are two primary types of sealers: impregnating (or penetrating) and topical. Sealants Impregnating sealers are absorbed into the stone, filling the pores from within. They do not alter the appearance of the stone and allow it to “breathe,” meaning water vapor can still escape. This is particularly important for outdoor applications or in wet environments. Topical sealers, on the other hand, form a protective film on the surface of the stone. While they can provide a glossy finish and some protection against scratches, they are more prone to wear and tear and can trap moisture, potentially leading to discoloration. For most residential applications, an impregnating sealer is the preferred choice for its durability and natural look. The frequency of sealing depends on the type of stone and its usage. A simple water test can determine if it’s time to reseal. Place a few drops of water on the surface and observe. If the water beads up, the sealer is still effective. If the water is absorbed into the stone, leaving a dark spot, it’s time to reapply the sealer. As a general guideline, highly porous and frequently used stones like marble in a busy kitchen may need to be sealed every six to twelve months. Denser stones like granite can often go one to two years or even longer between sealing. For stubborn stains that have penetrated the stone, a poultice is an effective remedy. A poultice is a paste-like substance made from an absorbent material and a chemical solvent, which is applied to the stain to draw it out. The type of poultice depends on the nature of the stain. Stains For oil-based stains, a poultice made from baking soda and acetone or a commercial degreaser is effective. Mix the ingredients to a peanut butter-like consistency, apply it to the stain in a thick layer, cover it with plastic wrap, and tape the edges. Allow it to sit for 24 to 48 hours as it dries, which is the mechanism by which it pulls the stain from the stone. For organic stains like coffee

Natural Stone: Choosing the Right Cleaning Products for Your Natural Stone Read More »

5 Reasons Why Hiring a Cleaning Service is the Best Form of Self-Care

Why hire a specialized cleaning service? The modern home is a hub of activity, a place of work, rest, and family life. Yet, maintaining its cleanliness can feel like a relentless, never-ending task. The dust settles almost as soon as it’s wiped away, the floors seem to attract dirt, and the kitchen and bathrooms demand constant attention. For many, the weekend, which should be a time for relaxation and recharging, is instead consumed by a long list of chores. This constant cycle of cleaning can become a significant source of stress and a drain on our most valuable resource: time. It is in this gap between the desire for a clean, peaceful environment and the reality of a busy life that a residential house cleaning service finds its purpose, offering not just a service, but a solution to a pervasive modern problem. 1.Quality of Life Hiring a professional cleaning service is often viewed as a luxury, but it is more accurately described as an investment in your quality of life. Consider the hours spent each week sweeping, mopping, scrubbing, and dusting. For a moderately sized home, this can easily add up to four, five, or even more hours. A professional service reclaims those hours for you, handing them back to be spent on what truly matters. This could mean more time with family, pursuing a hobby, exercising, or simply enjoying a well-deserved rest. The cumulative effect of this reclaimed time is profound, reducing burnout and allowing for a better work-life balance. It transforms the home from a place of constant obligation into a true sanctuary, a space you can enter after a long day and immediately feel at ease, rather than being confronted with a list of tasks that need doing. 2.Quality of Cleanliness Beyond the gift of time, there is the undeniable difference in the quality of the clean itself. A professional cleaner brings a level of expertise and efficiency that is difficult for the average homeowner to replicate. They are trained in the most effective methods and understand the specific needs of different surfaces. They know which products to use on natural stone versus laminate, how to clean stainless steel without leaving streaks, and the best techniques for removing stubborn soap scum from glass shower doors. This knowledge prevents costly damage that can result from using the wrong chemical or an abrasive sponge on a delicate surface. Furthermore, professional services come equipped with commercial-grade tools and supplies that are often more powerful and effective than standard consumer products. Their high-powered vacuums with HEPA filters can capture a significantly higher percentage of dust, allergens, and pet dander, leading to improved indoor air quality. This is particularly beneficial for households with allergy sufferers, asthmatics, children, or pets. The result is not just a home that looks clean, but one that feels and is, on a microscopic level, healthier. The process of a professional clean is systematic and thorough. Cleaners typically work with a detailed checklist, ensuring that no area is overlooked. They employ methodical strategies, such as cleaning from top to bottom to ensure dust and debris fall downwards before the floors are addressed, and working from one side of a room to the other. This structured approach guarantees consistency and completeness. A standard recurring clean will typically involve a comprehensive dusting of all surfaces, including furniture, shelves, and window sills; cleaning and disinfecting kitchen countertops, sinks, and appliance exteriors; scrubbing toilets, showers, tubs, and bathroom vanities; and vacuuming carpets and mopping hard floors. This regular maintenance keeps the home at a consistent level of cleanliness, preventing the deep buildup of grime. 3.Deep Cleaning For homes that have gone some time without a thorough cleaning or for clients new to a service, a deep clean is often recommended. This is a far more intensive and detailed service that addresses the areas often missed in a regular routine. A deep clean will include all the tasks of a standard clean but will go much further. It can involve washing baseboards and trim, cleaning light fixtures and ceiling fans, wiping down doors and door frames, cleaning behind and underneath furniture and appliances, scrubbing grout lines, and cleaning the interior of windows. This is the reset button for your home, tackling the accumulated dirt and dust in every nook and cranny, and establishing a new baseline of clean that makes subsequent maintenance easier. Specialized services like move-in and move-out cleanings are another critical offering. Preparing a home for sale or ensuring a new home is pristine before you unpack is an enormous task on top of the already stressful process of moving. A move-out clean is designed to leave the property in immaculate condition for the next occupants, often a requirement for retrieving a security deposit. This is the most exhaustive clean of all, performed on an empty home. Every interior surface is addressed, including the inside of all cabinets, drawers, closets, the oven, and the refrigerator. It ensures the home is presented in its best possible light, which can be a significant factor for real estate agents and potential buyers. Conversely, a move-in clean provides immense peace of mind, sanitizing the space and ensuring you are starting your new chapter in a fresh, thoroughly cleaned environment. 4.Trust and Security One of the most significant barriers for people considering a cleaning service is the idea of trust and security. Inviting someone into your personal space requires confidence in their professionalism and integrity. This is why reputable cleaning companies place such a high emphasis on their hiring and training processes. They conduct background checks on their employees and ensure they are thoroughly vetted. Furthermore, professional services are bonded and insured. Bonding provides protection against theft, while insurance covers any accidental damage that might occur to your property during the cleaning process. This comprehensive protection offers homeowners the peace of mind that they are working with a trustworthy organization that stands behind its work and its people. The relationship with a cleaning service is

5 Reasons Why Hiring a Cleaning Service is the Best Form of Self-Care Read More »

Hot Tub Cleaning: Get Perfectly Balanced Hot Tub Water Every Time

The hot tub is a unique and cherished feature of a home, a vessel of relaxation and hydrotherapy that promises to melt away the stresses of the day. It is a place of quiet solitude under the stars or a centerpiece for social gatherings with friends and family. But this luxury comes with a non-negotiable responsibility. A hot tub is not a “set it and forget it” appliance like a refrigerator or a dishwasher. It is a small, self-contained, and highly active body of water, a delicate ecosystem that requires consistent, diligent maintenance to remain a source of pleasure and not become a source of murky, unsanitary, and potentially hazardous problems. The Chemistry of Water To own a hot tub is to become a part-time water chemist. The warm, bubbling environment that is so inviting to us is also the perfect breeding ground for bacteria, algae, and other microorganisms. The key to a clean, safe, and enjoyable hot tub experience is not about performing a massive, hours-long cleaning session once a year. It is about a regular, simple, and consistent routine of testing, balancing, and sanitizing. Understanding the fundamentals of this routine is the most important aspect of hot tub ownership. The foundation of hot tub care is water chemistry, and the three most important pillars of that chemistry are alkalinity, pH, and the sanitizer level. These three elements are interconnected, and a problem with one will inevitably affect the others. The first step for any hot tub owner is to get comfortable with testing the water, which should be done at least two or three times a week, or more often with heavy use. The most common method is with test strips, which are simple, color-coded strips of paper that you dip into the water for a few seconds. The first level you should check and adjust is the total alkalinity. Alkalinity is the water’s ability to resist changes in pH. It acts as a buffer, a stabilizing force that prevents the pH level from swinging wildly. The ideal range for total alkalinity in a hot tub is typically between 80 and 120 parts per million (ppm). If your alkalinity is too low, the pH will be unstable and can drop suddenly, making the water corrosive. If it is too high, it can cause the pH to drift upward, leading to cloudy water and scale formation. You can raise the alkalinity with a product often called “Alkalinity Increaser” (sodium bicarbonate) and lower it with a pH decreaser (sodium bisulfate). Always adjust the alkalinity first, before you address the pH. Alkalinity Once your alkalinity is in the correct range, you can adjust the pH. The pH is the measure of how acidic or basic your water is, on a scale of 0 to 14. A pH of 7 is neutral. The ideal range for a hot tub is between 7.4 and 7.6. This is not an arbitrary number; it is slightly alkaline to match the natural pH of the human eye, which is why it is the most comfortable for bathers. If the pH is too low (acidic), the water can be corrosive to the hot tub’s components, like the heater and the pump seals, and it can be irritating to the skin. If the pH is too high (basic), it will cause the sanitizer to become sluggish and ineffective, lead to cloudy water, and promote the formation of scale on the shell and in the plumbing. You can raise the pH with a “pH Increaser” (sodium carbonate) and lower it with a “pH Decreaser” (sodium bisulfate). Only after both the alkalinity and pH are properly balanced can you effectively manage the sanitizer. The sanitizer is the chemical that actively kills bacteria and other harmful microorganisms in the water. The two most common types of sanitizer are chlorine and bromine. Chlorine is fast-acting and a powerful oxidizer, but it can have a stronger chemical smell and is less stable in the hot, high-pH environment of a spa. Bromine is more stable at higher temperatures and has a less noticeable odor, making it a very popular choice for hot tubs. It also has the unique ability to be reactivated by “shocking” the water. The ideal level for chlorine is between 1 and 3 ppm, and for bromine, it is between 3 and 5 ppm. You must maintain these levels at all times to ensure the water is safe for bathing. Hot Tub Filters Even with a perfectly maintained sanitizer level, the water will accumulate other unwanted waste products over time. Soaps, lotions, deodorants, and organic matter from bathers build up in the water, creating a food source for bacteria and making the water cloudy and unpleasant. To combat this, you need to “shock” your hot tub on a regular basis, typically once a week. Shocking is the practice of adding a large dose of an oxidizer to the water. This does several things: it breaks down all the organic waste, it kills any resistant bacteria, and in a bromine spa, it reactivates the used bromine ions, turning them back into effective sanitizer. Always shock the spa with the cover off and the jets running to allow it to circulate properly and to let the gasses vent. Beyond the daily and weekly chemical maintenance, the hot tub has other physical components that require regular attention. The most important of these is the filter. The filter is the kidney of your hot tub, constantly working to remove small particles, hair, and debris from the water. A dirty, clogged filter cannot do its job, which will result in cloudy water and will put a strain on your pump. The filter cartridges should be removed and rinsed with a garden hose at least once a week. The goal is to spray the debris out from between the pleats of the filter. Every few months, the filter needs a deep clean. This involves soaking it overnight in a specialized filter cleaning solution to break down

Hot Tub Cleaning: Get Perfectly Balanced Hot Tub Water Every Time Read More »

 Professional vs. The DIY Reality duct cleaning

Professional vs. DIY Duct Cleaning: What You Need to Know Before You Start

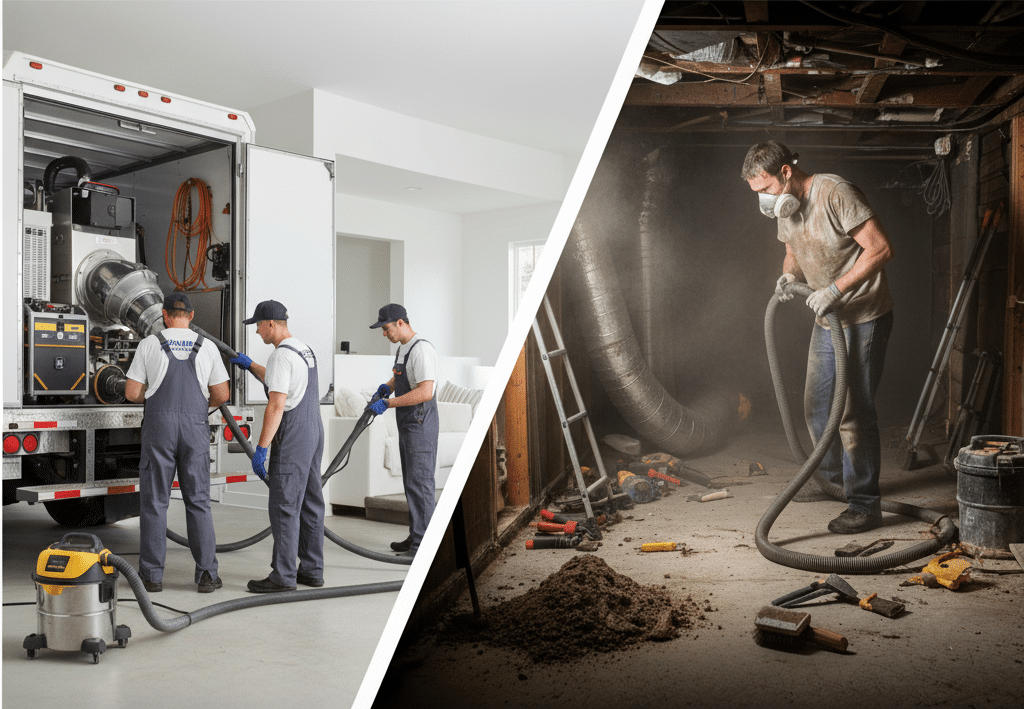
The topic of duct cleaning exists in a strange and often misunderstood corner of home maintenance. It is a service that promises cleaner air, a healthier home, and improved HVAC efficiency. It is also a task that, when you see the dust and debris that can accumulate around your floor and wall registers, seems like it should be a straightforward cleaning job. The temptation to tackle it yourself is strong. After all, how hard can it be to stick a vacuum hose down a vent? This is where a crucial distinction must be made. There is professional air duct cleaning, and then there is DIY duct cleaning. They are not the same thing. They do not use the same tools, they do not achieve the same results, and they do not have the same goals. A professional service is a whole-system decontamination. A DIY job is a surface-level dust removal. Understanding this difference is the most important step in deciding whether to attempt this project yourself. It is a task that can be done, but it must be approached with a healthy dose of realism, a clear understanding of the risks, and the right set of tools.  Professional vs. The DIY Reality Professional duct cleaning is a heavy-duty industrial process that takes place inside your home. The core of the service is the use of a massive, powerful vacuum system that connects directly to your home’s main duct lines near the furnace. This system creates a powerful negative pressure, essentially turning your entire ductwork system into a giant vacuum cleaner. While this vacuum is running, the technicians use long, flexible tools, high-pressure air whips and rotating brushes, that are inserted deep into the ductwork from each register. These tools agitate and dislodge all the caked-on dust and debris from the interior surfaces of the ducts. The negative pressure ensures that all this loosened debris is immediately sucked out of the system and into the collection unit, without being released into your home. The DIY reality is a scaled-down, simplified version of this. You do not have access to a vacuum that can create negative pressure throughout the entire system. Your primary tools will be a standard shop-vac and a long, flexible brush. This means you can only clean what you can physically reach, which is typically the first several feet of the ductwork branching off from each register. You are not cleaning the entire system; you are cleaning the endpoints. The goal is to remove the visible dust and debris that accumulates in the most accessible parts of the ducts. The Risks and Rewards of a DIY Approach Before you begin, it is essential to weigh the potential benefits against the very real risks. The Potential Rewards: Improved Airflow: By removing the clumps of dust and debris that can accumulate near the registers, you can improve the flow of air into your rooms. Reduced Visible Dust: It will certainly clean the registers themselves and the visible portion of the duct, reducing the amount of dust that gets blown out into the immediate vicinity. Cost Savings: The most obvious benefit is avoiding the cost of a professional service. The Significant Risks: Making the Problem Worse: Without the negative pressure of a professional system, there is a risk that you will simply dislodge debris that is deeper in the system and push it further down into the main trunk lines, potentially creating a blockage or simply leaving it to be blown out later. Damaging Your Ductwork: This is a major concern, especially in homes with flexible ductwork (the silver, accordion-style hoses). A spinning brush or even a sharp vacuum attachment can easily tear or puncture these ducts. If this happens inside a wall or ceiling, you have created a significant problem that will require a costly professional repair. Health Hazards: Your ducts can contain more than just dust. They can harbor mold, mildew, bacteria, and other allergens. Agitating these contaminants without a proper containment system can release them into your home’s air, potentially triggering allergic reactions or respiratory issues. Limited Effectiveness: After hours of work, you may find that you have only made a small dent in the overall dust level of the system, leading to a frustrating and unsatisfying result. DIY Duct Cleaning Toolkit If you have weighed the risks and decided to proceed, you will need more than just your household vacuum. A Powerful Shop-Vac: This is non-negotiable. A standard vacuum cleaner is not designed for this type of debris. You will need a shop-vac with a long, flexible hose. Ideally, it should be equipped with a HEPA filter to trap the fine dust particles and prevent them from being exhausted back into your air. A Dryer Vent Cleaning Kit: This is the secret weapon for a DIY job. These kits, designed for cleaning out dryer ducts, consist of a flexible, rotating brush head and a series of connectable rods that can be attached to a power drill. This is what you will use to agitate the dust inside the ducts. A Screwdriver or Power Drill: For removing the register covers (grilles). Microfiber Cloths and a Bucket of Soapy Water: For cleaning the register grilles themselves. Painter’s Tape or Cardboard: For temporarily sealing off registers. A New Furnace Filter: You must replace your filter at the end of this process. Safety Gear: This is absolutely essential. Wear a high-quality dust mask (an N95 or better is recommended) and safety glasses at all times. The Step-by-Step Guide to a Surface-Level Duct Clean This process is methodical and should be done with care and patience. Plan to dedicate several hours to the job. Preparation is Key: Go to your thermostat and turn off your HVAC system completely. This is a critical safety step to ensure the system does not kick on while you are working. Have your brand-new furnace filter ready to be installed at the very end. Seal Your Registers: To minimize the amount of dust that blows back into your home, you need to seal the registers you are not currently working on. Go to

Professional vs. DIY Duct Cleaning: What You Need to Know Before You Start Read More »

Cleaning a Glass Top Stove: The Do’s and Don’ts for a Perfect Shine

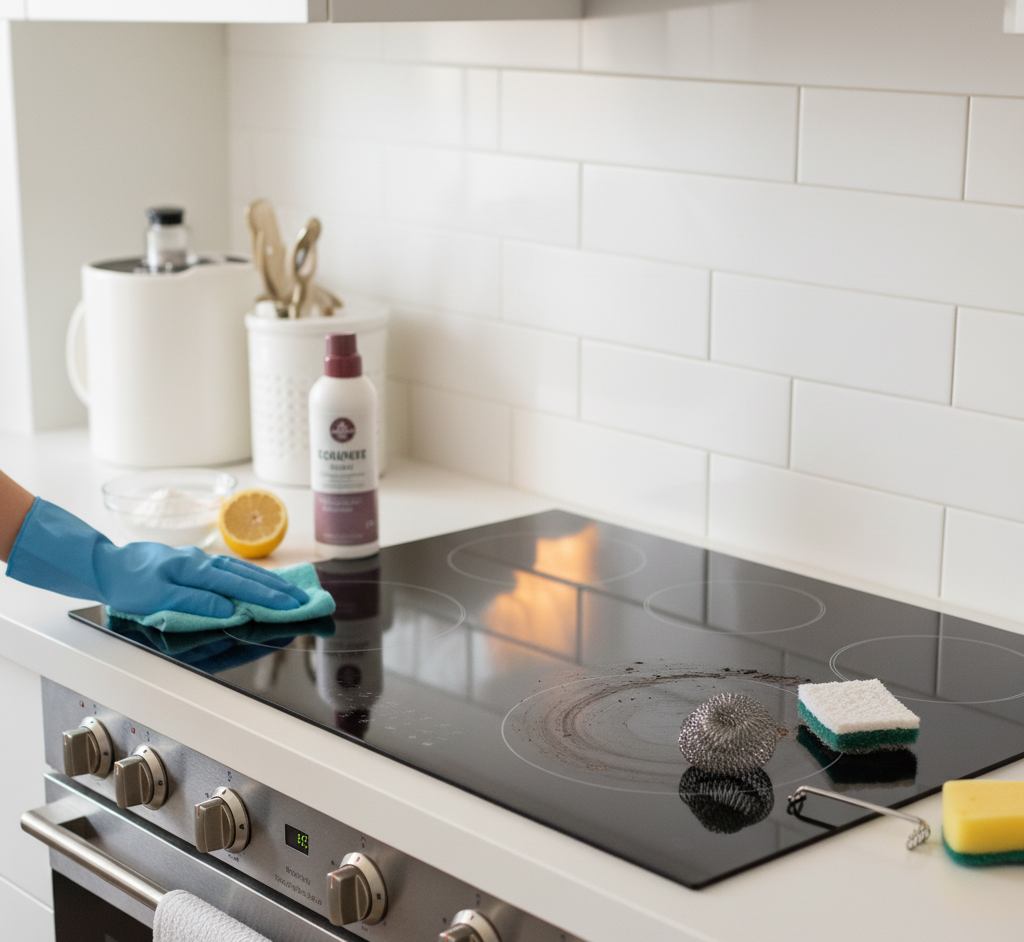
The glass top stove is the centerpiece of the modern kitchen. Its sleek, seamless surface offers a minimalist appeal that is both beautiful and functional. But for all its aesthetic charm, it is an appliance that strikes fear into the hearts of many homeowners. It looks so pristine, so delicate, that the first splatter of grease or boil-over of a sugary sauce can induce a wave of panic. We have all heard the horror stories of permanent stains, unsightly scratches, and a once-glossy surface dulled by the wrong cleaning methods. The truth is, cleaning a glass top stove is not a difficult or dangerous task. It is, however, a precise one. The glass-ceramic surface is a marvel of engineering, designed to withstand incredible temperature fluctuations, but it is not invincible. It is vulnerable to two primary enemies: scratches from improper tools and pitting from certain types of spills. The secret to keeping your glass cooktop looking brand new for years is not about using harsh chemicals or scrubbing for hours; it is about using the right tools, the right techniques, and, most importantly, a consistent routine. Understanding the Do’s and Absolute Don’ts Before we touch on how to clean, we must first establish the ground rules of what to avoid. Most damage to glass cooktops happens when well-intentioned people use the wrong products. To protect your investment, commit these rules to memory. The Absolute Don’ts: Never Use Abrasive Sponges: This is the cardinal sin of glass top stove care. Steel wool, green scouring pads, and any other abrasive sponge will create a web of fine micro-scratches on the surface. These scratches will not only dull the finish permanently but will also create tiny crevices where dirt and grime can become trapped, making future cleaning even more difficult. Never Use Abrasive Cleaners: Powdered cleansers like Comet or Ajax are designed for durable porcelain or stainless steel sinks, not for glass-ceramic. Their gritty particles will scratch the surface just as surely as an abrasive sponge. Never Use Ammonia-Based Cleaners: A standard glass cleaner like Windex might seem like a logical choice, but most contain ammonia. Ammonia is a harsh chemical that can be too strong for the cooktop’s surface, potentially causing discoloration or streaks that are difficult to remove. Never Use a Knife or Sharp Kitchen Utensil to Scrape: When faced with a stubborn, burnt-on piece of food, it is tempting to grab a butter knife to pry it off. This is a fast track to a deep, irreversible scratch. There is only one tool that is safe for scraping, which we will cover later. Never Clean While the Surface is Hot: Aside from the obvious safety risk of getting burned, applying a cool cleaning solution to a hot surface can cause thermal shock, which in extreme cases could crack the glass. Always wait for the indicator light to go off and for the surface to be cool to the touch. Never Let Sugary Spills Sit: If you are boiling jam, making candy, or a pot of sugary sauce boils over, this is the one time you must act quickly. A hot sugar spill can create a chemical bond with the glass-ceramic surface, causing permanent pitting or staining if it is left to cool completely. The Essential Toolkit  You do not need an arsenal of expensive, specialized products. A powerful and safe cleaning kit can be assembled from simple, effective household staples. Microfiber Cloths: You will need at least two-one for cleaning and one for buffing. Microfiber is soft, non-abrasive, and designed to trap dirt and absorb liquid without leaving behind lint. Baking Soda: This is your gentle but effective scrubbing agent. Its mild alkalinity helps to break down grease and food stains, and its fine particles provide just enough abrasion to lift grime without scratching. Distilled White Vinegar: This is your degreaser and polisher. The mild acid in vinegar cuts through grease and, crucially, dissolves the mineral deposits from hard water, which are a primary cause of streaks and hazy films. Keep it in a spray bottle, often diluted 50/50 with water. A Non-Abrasive Sponge or Pad: For scrubbing, you need a sponge that is safe for non-stick pans. A Cooktop Scraper: This is a specialized tool that is essential for any glass stove owner. It is a handle that holds a single-edge razor blade at a safe, low angle. When used correctly, it is the only tool that can safely remove heavy, carbonized food deposits without scratching the glass. Optional – A Commercial Cooktop Cleaner: Products like Weiman or Cerama Bryte are excellent. They are not just cleaners; they are conditioners. They often contain silicones that help to fill in microscopic imperfections and leave behind a protective film that makes future cleaning easier. This is best used as a final polishing step. Daily Maintenance and the Deep Clean Level 1: The Daily Wipe-Down The key to a perpetually clean stove is consistency. A quick, 60-second wipe-down after each use (once the stove is cool) will prevent the buildup that leads to major scrubbing sessions. Wait for it to Cool: Ensure the “Hot Surface” indicator light is off and the cooktop is cool to the touch. Remove Loose Debris: Use a dry paper towel or a microfiber cloth to wipe away any loose crumbs or food particles. Spray and Wipe: Lightly spray the surface with your 50/50 vinegar and water solution. The vinegar will immediately start to break down any light grease splatters from that meal. Buff Dry: Use a second, clean, dry microfiber cloth to wipe the surface dry. Use wide, circular motions to buff the surface to a streak-free shine. This simple routine is your best defense. If you do this every time, you will rarely need to perform a deep clean. Level 2: Burnt-On Messes This is the method for when life happens-a pot boils over, grease splatters and burns on, or the daily wipe-down has been neglected. Start with the Scraper: Once the cooktop is cool, tackle the most severe, raised deposits first. Take your cooktop scraper and, holding it at a low

Cleaning a Glass Top Stove: The Do’s and Don’ts for a Perfect Shine Read More »

Clogged Drain? 4 Tips to Fix it Without Harsh Chemicals

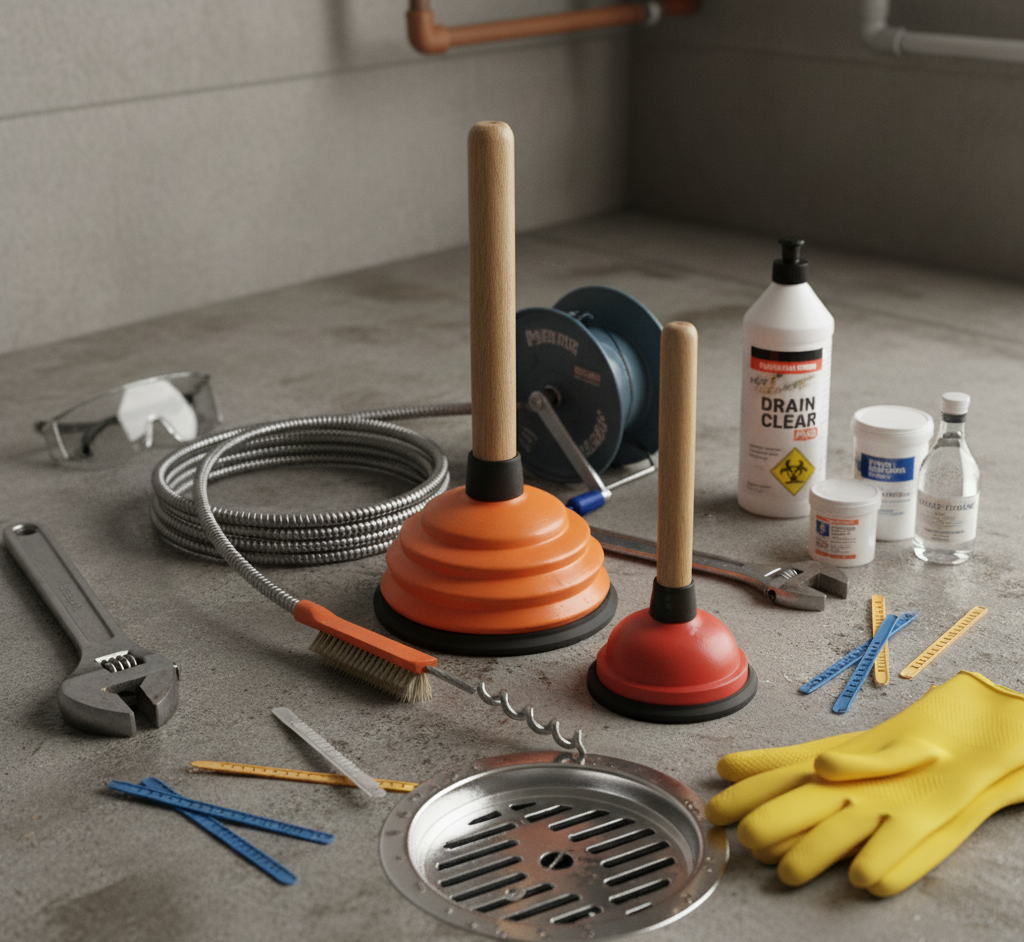
Clear a Clogged Drain the Safe Way, Without Harsh Chemicals A clogged drain rarely announces itself loudly. It starts with a gurgle, then water that takes longer to disappear, and soon you are standing in a shallow pool at the end of a shower or watching the kitchen sink back up. The instinct to grab a liquid chemical cleaner is understandable, yet it is usually the worst first move: caustic products can damage pipes and leave dangerous liquid behind if the clog survives. The smarter play is to escalate from gentle household methods to direct physical removal. Know Your Clog: Kitchen Grease Versus Bathroom Hair Drain blockages behave differently by location. The kitchen sink collects grease, fats, and oils from cooking, plus small food particles and coffee grounds. Hot grease poured down the drain travels a short distance, cools, and solidifies, coating the pipe with a sticky layer that catches debris until the flow is fully blocked. The bathroom drain battles hair: strands wash down and tangle into a net that soap scum, conditioner, and toothpaste residue cement into a dense plug. The right fix depends on which enemy you face. Why Chemical Drain Cleaners Are the Wrong First Step Most chemical uncloggers rely on sodium hydroxide, also known as lye, or sulfuric acid. These caustic substances dissolve blockages through a reaction that generates heat, which can soften PVC pipes and corrode metal pipes in older homes, leading to leaks and expensive repairs. The fumes are toxic in a poorly ventilated bathroom or kitchen, and the products kill the bacteria that septic systems need to break down waste before eventually reaching waterways. Worst of all, if the chemical fails, the pipe now holds corrosive liquid, making a later attempt with a plunger or snake a hazardous job. Health Canada’s household chemical safety guidance spells out the risks of drain cleaners and other caustic products, and its page on using household products safely is a solid reference before you buy anything else. Fix 1: Boiling Water, Then Baking Soda and Vinegar Start with the gentlest weapon, aimed squarely at grease. Boil a full kettle or pot of water and pour it down the drain in two or three stages, letting it work for a few seconds between pours so the heat melts solidified grease and flushes it through. If the water still drains slowly, pour about half a cup of baking soda down the drain, follow it with half a cup of distilled white vinegar, and immediately cover the opening with a plug or cloth so the fizzing reaction stays inside the pipe. Leave the mixture for at least an hour, or overnight for a stubborn clog, then flush with a pot of boiling water. These gentle methods are best for maintenance and slow drains. Fix 2: Plunge With the Right Tool and Technique The plunger is the tool most homes own and few use well. Know your models: the standard cup plunger suits flat surfaces such as a kitchen sink, while the flange plunger, with its smaller extension cup, seals better in a toilet and works well in bathtubs and showers. Plug the second basin of a double sink with a wet rag and block the tub or sink overflow with a damp cloth, then add enough water to cover the plunger cup, because the plunger moves water, not air. Push down gently to expel the air, then work a series of vigorous push-pull motions, emphasizing the pull, which creates the suction that dislodges the clog. After about 20 seconds, lift the plunger and test the drain, repeating as needed. Fix 3: Snake the Drain or Clean the P-Trap If plunging fails, go deeper with a drain snake, also called a hand auger. Feed the flexible cable into the drain until you feel resistance, tighten the thumbscrew, and turn the handle so the corkscrew tip breaks up the clog or latches onto it, then pull the whole mess back out. Cheap plastic zip-it strips, long barbed strips of plastic, are remarkably effective at pulling hair from bathroom drains. Still no results? The clog likely sits in the P-trap, the U-shaped pipe under the sink that holds water against sewer gas. Place a bucket underneath, unscrew the two slip nuts by hand or with channel-lock pliers, empty the trap, and scrub the gunk from inside. Check the horizontal pipe leading into the wall as well, then reassemble with the gaskets seated, hand-tighten the nuts, add a final quarter-turn with your pliers, and run water to check for leaks. Which Fix Matches Your Clog? Situation Best First Tool Escalate When Slow kitchen drain with greasy buildup Boiling water, then baking soda and vinegar Water still pools after two attempts Bathtub or shower drain full of hair Flange plunger or zip-it strip No movement after 20 seconds of plunging Sink that drains, then slowly refills Drain snake fed toward the P-trap The snake pulls nothing back Standing water beneath the sink P-trap removal with bucket and pliers Any leak after reassembly, call a plumber Prevention Is the Real Fix Never pour cooking grease, fats, or oils down the sink; collect them in a jar or can, let them solidify, and toss them in the trash. Use a mesh strainer in the kitchen sink to catch food particles and empty it into the bin. Run hot water down the drain for about a minute after washing greasy dishes. Fit the shower or tub drain with a hair-catching cover and clear it after every shower. Frequently Asked Questions Is it safe to pour boiling water down PVC pipes? For most modern plumbing, yes. The water cools quickly as it travels, and the heat is what melts the grease. If your home has very old or brittle plastic pipes, use hot tap water instead and lean on the baking soda and vinegar step. Why does my drain clog again a few weeks after I clear it? The blockage was probably pushed further down the pipe

Clogged Drain? 4 Tips to Fix it Without Harsh Chemicals Read More »

clean carpet

DIY vs. Store-Bought: What’s the Best Carpet Cleaning Solution?

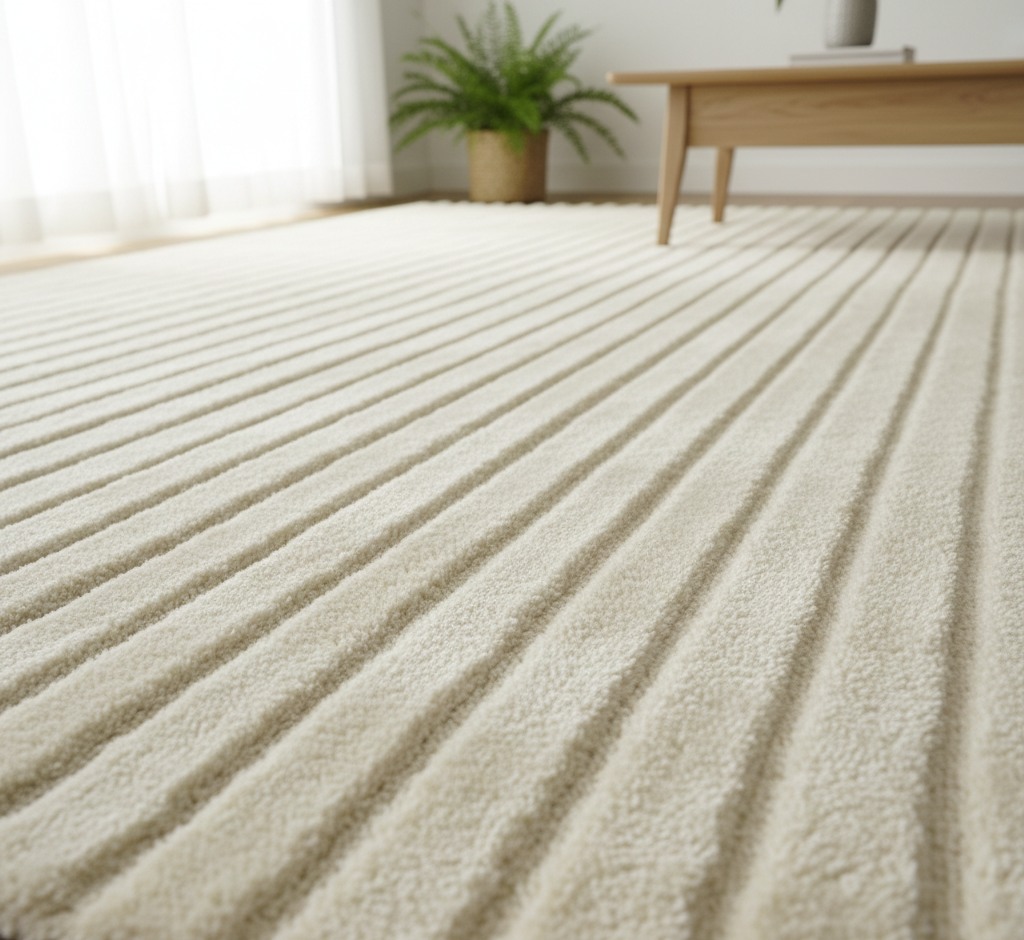
DIY vs. Store-Bought: What’s the Best Carpet Cleaning Solution? Every homeowner asks this question, and the honest answer is that no single product wins for every situation. The cleaner that lifts a pet stain may do nothing for grease, and the mixture that handles a small spill is not what you need for a full-room deep clean. The best carpet cleaning solution is the right solution for the right problem, so the real skill is knowing what each type of cleaner does and when to use it. The Chemistry Behind Carpet Cleaners Commercial and homemade carpet cleaners rely on the same few families of ingredients. Surfactants break the surface tension of water so it can penetrate fibers, latch onto greasy dirt, and hold it in suspension until it is blotted or extracted away; simple dish soap is a basic surfactant. Enzymes are proteins that break down other proteins, starches, and fats, which makes them the only real answer for organic stains like blood, grass, or urine. Solvents dissolve substances that water cannot, such as grease, oil, ink, and tar. Oxidizers release oxygen that breaks the chemical bonds of colored stains; hydrogen peroxide and sodium percarbonate, the active ingredient in OxiClean, are the most common examples. Ingredient What It Breaks Down Common Example Surfactants General dirt and light grease Clear dish soap Enzymes Proteins, starches, fats Protease, amylase, lipase cleaners Solvents Oil, ink, tar, wax Rubbing alcohol, citrus degreasers Oxidizers Colored stains like wine and coffee Hydrogen peroxide, sodium percarbonate DIY Carpet Cleaning Solutions That Work White vinegar and water is the classic first response: mix equal parts distilled white vinegar and water in a spray bottle, mist the area lightly, let it sit for 5 to 10 minutes, and blot with a clean, white cloth. Vinegar is a mild acid that dissolves grime, neutralizes alkaline messes, and deodorizes, but it can set protein-based stains like eggs or blood, so skip it there. Baking soda is a mild alkali that absorbs moisture and odors: sprinkle it dry over the carpet and leave it for several hours or overnight before vacuuming, or pile it onto a wet, greasy spill and let it form a dry crust, then scrape and vacuum. For general dirt, no more than one-quarter teaspoon of clear, simple dish soap in a cup of warm water gives extra lifting power, but overuse or poor rinsing leaves a sticky residue that attracts dirt faster than before. Hydrogen peroxide at 3 percent works on tough organic stains like blood, wine, or coffee: apply a small amount, let it bubble for 10 to 15 minutes, blot, and always test it in a hidden spot first because it can mildly bleach carpet color. When to Choose a Commercial Carpet Cleaner DIY solutions are great for everyday messes, but commercial products bring targeted chemistry for hard jobs. Enzyme-based cleaners labeled for pet stains and odors are the non-negotiable choice for urine, feces, vomit, blood, and food spills, because only enzymes truly break down the odor-causing proteins. Oxidizing cleaners are the go-to for red wine, juice, coffee, and tea. Solvent-based spotters handle grease, oil, and ink. Carpet shampoos for cleaning machines come in high-traffic, pet, and oxy formulas, and it is crucial to buy one designed for your machine so excess foam cannot damage the motor. Dry carpet cleaning powders are useful for natural fiber rugs and quick freshen-ups between deep cleans. Carpets trap dust and allergens, so a thorough clean also supports better indoor air quality. Technique Matters More Than the Product Even the best carpet cleaning solution fails when technique is wrong. Act fast, because fresh spills lift far more easily than set-in ones. Blot, never rub, working from the outside of the stain inward with a clean, white cloth. Always spot test any new product on a hidden area. Do not over-saturate, because soaking can damage the carpet backing and subfloor and invite mold and mildew growth. Rinse thoroughly by blotting with plain water after treatment, since leftover residue attracts dirt and creates dark spots over time. Around pets and children, prompt cleanup is part of everyday hygiene that keeps the whole household healthier. The Best Carpet Cleaner for Every Situation General dirt and light spills: DIY white vinegar and water solution. Pet urine and organic accidents: commercial enzyme-based cleaner. Red wine, coffee, or juice: commercial oxidizing (Oxi) cleaner. Grease or oil: absorb with baking soda, then a solvent-based spotter. Full-room deep clean: machine-compatible carpet shampoo, such as a pet formula. Frequently Asked Questions Is vinegar safe for all carpets? No. Vinegar is acidic, and it can react with and set certain protein-based stains like blood or eggs. Test it in a hidden area first, and never use it on stains you cannot identify. Can I use dish soap on carpet stains? Yes, in very small amounts: no more than one-quarter teaspoon of clear dish soap in a cup of warm water. Too much soap leaves sticky residue that attracts dirt, so rinse by blotting with plain water afterward. What removes pet urine smell from carpet? An enzyme-based cleaner is the only reliable answer. Enzymes break down the uric acid crystals and proteins that cause lingering odors, while vinegar or soap only mask them temporarily. How often should I deep clean my carpets? For a typical household, an annual professional deep cleaning is recommended, with more frequent cleanings for homes with pets, children, or heavy foot traffic. Does hydrogen peroxide bleach carpets? It can. Hydrogen peroxide is an oxidizer with a mild bleaching effect, so always test it in an inconspicuous spot, such as inside a closet, before treating a visible stain. Choosing the right carpet cleaning solution is detective work: identify the stain, understand the chemistry, and match the product to the problem. For a comprehensive professional deep clean that takes the guesswork out of the equation, Toronto Shine Cleaning uses professional-grade solutions and commercial equipment to tackle any stain on any type of carpet. Explore our deep cleaning service,

DIY vs. Store-Bought: What’s the Best Carpet Cleaning Solution? Read More »

laminate floor cleaning

Best Ways To Clean Laminate Flooring Without Damage

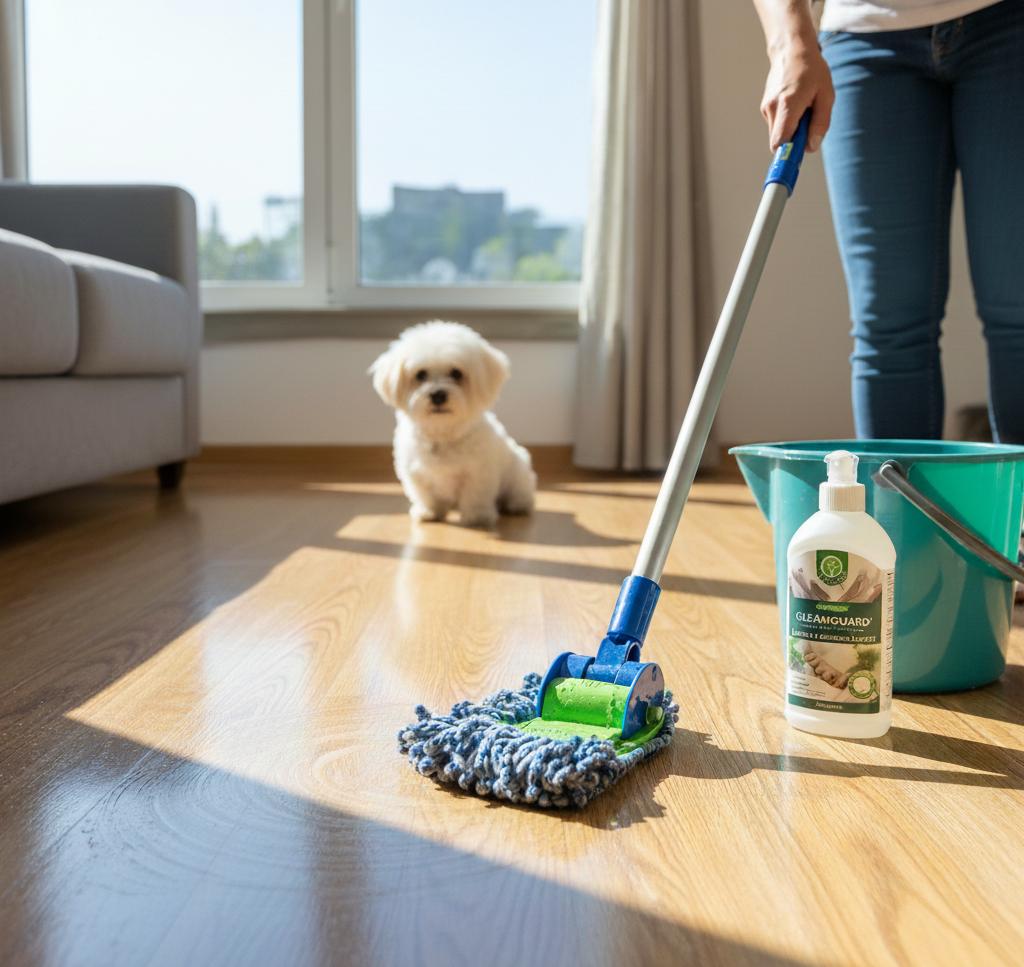
Best Ways To Clean Laminate Flooring Without Damage Laminate flooring mimics the character of hardwood, stone, or tile at a fraction of the cost and upkeep demands, and its worldwide popularity comes down to durability, versatility, and easy care. That layered engineering also comes with one strict maintenance rule: water is the enemy. The right approach swaps soaking and scrubbing for proper tools and techniques that lift dirt with the absolute minimum of liquid. This guide covers the daily routine, the weekly mop-down, stain remedies, and long-term protection habits that keep laminate looking new. How Laminate Is Built, and Why Moisture Is Its Weak Point Laminate fuses several layers together under heat and pressure. On top sits a tough, clear wear layer shielding the high-resolution printed image below. Under that, a dense fiberboard core provides stability and impact resistance, finished by a backing layer that adds moisture resistance. This construction explains both the strength and the weakness of the floor. The wear layer shrugs off water; the fiberboard core and the seams between planks do not. Moisture that seeps between boards makes the core swell, warp, and buckle, and that damage is irreparable. Dry grit is the other enemy: sand and soil grains behave like fine sandpaper underfoot, scratching microscopic lines into the finish that dull its look over time. Consistent, preventative cleaning removes both threats before harm is done. Your Essential Laminate Cleaning Toolkit A microfiber dust mop or soft-bristled broom: your first line of defense; a microfiber head beats a broom because static charge traps dust and pet hair. A vacuum with a hard floor setting: great at pulling debris from between planks, but fit a soft-bristle hard floor head or switch off the beater bar: a stiff rotating carpet brush can scratch laminate. A high-quality microfiber mop: the single most important tool for washing the floor, since its absorbent pads clean well with very little water. A pH-neutral floor cleaner or a DIY substitute: something that will not leave a hazy residue or attack the protective wear layer. Doormats at every entrance, trapping dirt, grit, and moisture before it reaches the floor. The Weekly Laminate Floor Care Routine Daily care takes minutes: a quick dust-mop or soft-broom pass is the best single defense against long-term wear. Weekly, follow this sequence. Dry clean first, then spot-treat Always remove loose dust and debris before any liquid touches the floor, by dust mopping or vacuuming with the beater bar off. Mopping a dirty floor simply pushes a slurry of abrasive grit around and causes scratches. Next, treat spots and spills individually: a damp microfiber cloth handles most marks, while rubbing alcohol dabbed on a cloth lifts stubborn scuffs or ink. Choose a safe cleaning solution Health Canada’s advice on using household products safely starts with reading and following product labels, which applies to floor cleaners too. Your options: A commercial pH-neutral, water-based laminate cleaner is often the safest bet; always follow the dilution instructions on the bottle. A DIY cleaner of one part white vinegar to ten parts warm water, decanted into a spray bottle, dissolves grime without residue; for very large floors, mix half a cup of vinegar into a gallon of water instead. A quick-drying, streak-free blend of equal parts water, isopropyl alcohol, and vinegar, decanted into a spray bottle. Never use oil-based soaps such as Murphy Oil Soap, wax, or any shine-adding product: they leave a dull, streaky film that is hard to remove and can turn dangerously slippery. The damp-mop technique Never flood laminate with water; the mop pad should be damp, not wet. With a bucket, dip the head, then wring until it feels almost dry. A spray bottle is superior: mist one small section at a time, then immediately wipe it up with a dry microfiber mop, working in manageable sections so no standing water sits over the seams. A properly damp-mopped floor air-dries in a minute or two; wipe any remaining wet areas with a clean, dry cloth to prevent water spots. For more on safe product handling, see Health Canada’s household chemical safety tips. Spill and Stain Remedy Chart Mess Remedy Liquid spills such as water, juice, or soda Blot at once with a dry, clean cloth; for sticky messes, wipe on your cleaning solution, follow with a water-rinsed cloth, then dry fully Grease and oil Gently rub with isopropyl alcohol on a clean cloth, or use the vinegar solution Ink, nail polish, or permanent marker Work the mark gently with a clean white cloth spotted with rubbing alcohol or an acetone-based polish remover, keeping the amount small, then wipe away residue using a damp cloth Black scuff marks from shoes Buff them off with a dry tennis ball or a standard pencil eraser Long-Term Protection for Laminate Floors Attach felt pads to every furniture leg, chair, table, sofa, and cabinet, checking and replacing them as they wear; this is the single most important anti-scratch step. Lift furniture completely when moving it and never drag heavy items across the floor. Keep pet nails trimmed so they do not scratch the surface. Avoid stiletto heels, which concentrate enormous pressure on a tiny point and can dent the planks. Manage sunlight: laminate, especially older varieties, can fade under prolonged direct exposure, so close curtains or blinds during the brightest hours. When a home needs a top-to-bottom reset, the crew at our deep cleaning service cares for every surface from the floors up, and weekly upkeep fits neatly into a regular maid plan. Moving out with scratched or stained floors? End-of-tenancy details sit on our move in and out cleaning page. Frequently Asked Questions About Cleaning Laminate Flooring Can I use a regular string mop and bucket on laminate? Only if you wring the mop until it feels almost dry. A damp mop is acceptable; a wet one lets water into the seams, where the core swells, warps, and buckles beyond repair. A spray bottle with a microfiber mop is safer because you mist

Best Ways To Clean Laminate Flooring Without Damage Read More »