Fall Cleaning

woman giving her friend a cleaning gift card

Cleaning Gift: The Most Thoughtful Thanksgiving Gift You Can Give

The Hostess Gift Nobody Expects but Everybody Needs Thanksgiving revolves around gathering: a packed table, handed-down recipes, and a room full of people worth being grateful for. Menus get planned, turkeys get brined, and side dishes get assigned. What rarely gets assigned is the enormous job hiding underneath all that cheer. The host of the dinner almost always absorbs the pre-holiday clean alone, and it is the one task nobody thanks them for. You have watched a friend do it. The week before guests arrive turns into a sprint of scrubbing and dusting, fueled by the quiet pressure to present a home that looks effortless. It is hours on hands and knees wiping baseboards and floors, stolen from pie-testing and quiet breaths before the happy chaos starts. This year, skip the bottle of wine and the third scented candle. Offer something that actually lightens the load: the gift of a clean home. It sounds unconventional, but a pre-Thanksgiving clean is one of the most practical and emotionally generous presents you can hand a host. It is not really about dirt. It is a transfer of time, calm, and support. Reason One: You Are Handing Back a Whole Day A genuine guest-ready clean is not a quick counter wipe. When you add up the real scope, a proper pre-hosting deep clean easily takes five to eight hours of hard physical work in an average home: Dusting: not just the coffee table but door frames, ceiling fan blades, baseboards, and window sills, easily an hour or more. Kitchen: stovetop scrubbed, appliance fronts wiped, microwave cleaned, countertops disinfected, sink shining. A solid hour of focused work at minimum. Guest bathroom: toilet, sink and faucet, streak-free mirror, washed floor. Floors: every hard surface swept and mopped, every carpet vacuumed with furniture moved, another hour or two depending on home size. Final touches: entryway glass, clutter sweeps, one last polish everywhere. A cleaning gift gives that block of hours back. Your friend can finalize the menu, bake without rushing, sit on the couch with their kids, or simply rest before hosting. You are not saving them a chore. You are giving them space to enjoy the process. Reason Two: You Are Quietening the Mental Checklist The physical labor is only half of it. Hosting anxiety runs as a loop in the background: did I dust the lampshades, is the guest bathroom presentable, does the house smell fresh? Every smudge can start to feel like a personal failing right before people arrive. There is a real well-being cost to running a home event in that headspace, and public health resources on mental health and everyday stress make the same point most of us learn the hard way: relief comes from removing burdens, not from positive thinking about them. A professionally cleaned house silences that inner monologue. Your friend walks in a day or two before Thanksgiving and the work is simply done: floors gleaming, kitchen sanitized, bathroom sparkling. Their energy shifts from presentation to purpose, from worrying about baseboard dust to being a relaxed, present host. Reason Three: It Sets Up the Whole Season Thanksgiving is the opening bell for everything that follows. A home deep-cleaned for the long weekend starts December from a clean baseline. Holiday decorating stops needing a heroic dust-and-vacuum session beforehand. Surprise drinks with friends feel easy because the house is already welcoming. One gift quietly supports months of gatherings, which is rare value for a single gesture. Two Ways to Give a Clean Home Choose based on your budget and how close you are to the host. Both routes land the same message: I see how hard you are working for everyone else, and I want to make it easier. If you want ammunition for the kitchen leg of either plan, the CDC’s guide to cleaning and disinfecting your home is a one-page refresher on doing surfaces right. Gifting approach What it looks like Best when DIY cleaning bee A few friends descend the weekend before with supplies and a playlist, splitting rooms and turning labor into a hangout Your friend would welcome company and you want a heartfelt, low-cost option Professional service A gift certificate or a coordinated booking, so the host leaves the house and returns to a spotless result You want a fully hands-off gift with zero awkwardness Professionals bring the right tools, products, and training to deep clean in a fraction of amateur time, and a booked service removes the slight weirdness of friends rummaging through your bathroom cabinets. If you go this route, a service like our deep cleaning timed for the weekend before Thanksgiving is the sweet spot, and our recurring cleaning plans make an even bigger statement: a tidy home that keeps going through December. Browse options at our pricing page, and when you are deciding who to trust, past clients say it best on our reviews page. Ready to surprise someone? Call us at (647) 424-0355 and we will help you arrange a gift that gets remembered long after the candles burn down. Frequently Asked Questions Is a cleaning service really an appropriate gift? Yes, and it keeps growing in popularity because it respects the recipient more than objects do. A cleaning gift asks for no storage space, creates no clutter, and lands at the exact moment a host needs help. Most people are genuinely touched when someone notices how hard hosting is and removes a five-to-eight-hour task from their list. When should I schedule the cleaning for the best effect? Aim for one or two days before Thanksgiving. That timing lets your friend enjoy a spotless house during the cooking marathon without risking a third-party visit on the big day itself. Book early, because the pre-holiday window fills up quickly. What if my friend is embarrassed about the state of their home? Frame it as support, not inspection. Send a message like “I want your week to be easier” rather than anything about cleanliness. Professional crews also work without judgment; a

Cleaning Gift: The Most Thoughtful Thanksgiving Gift You Can Give Read More »
doormat

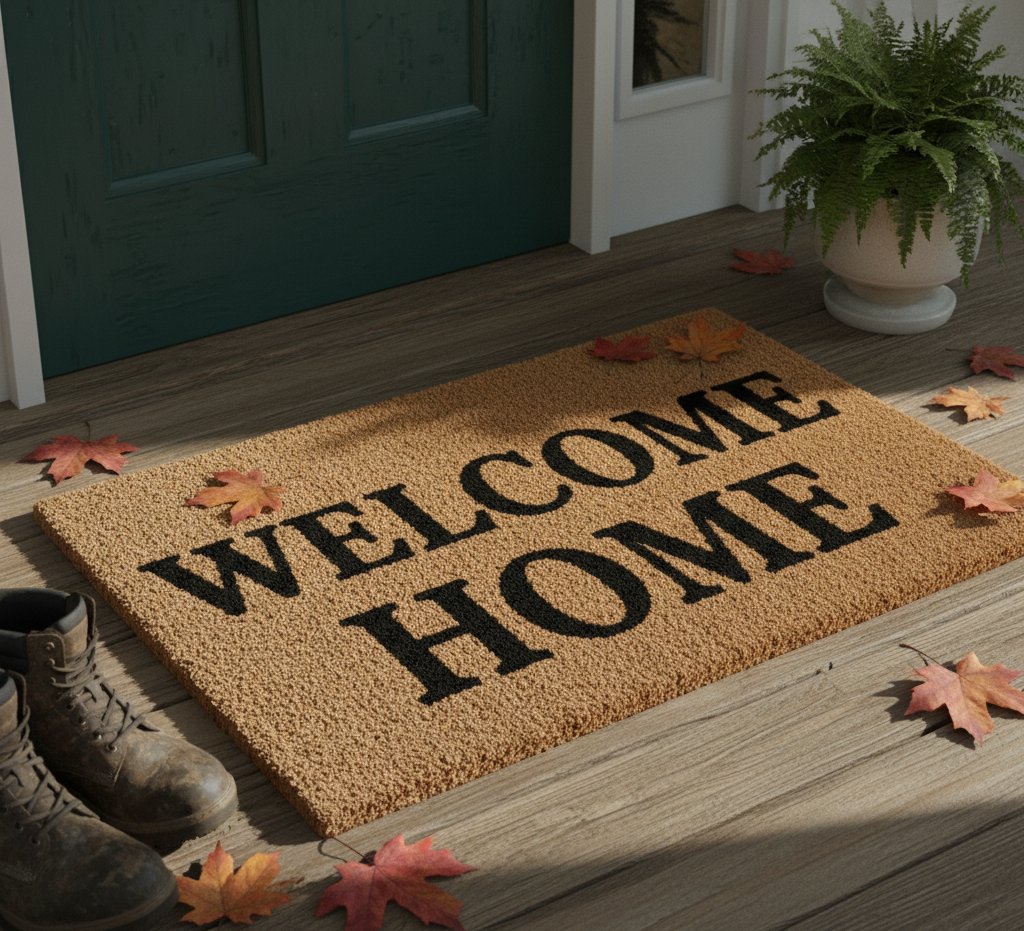
5 Reasons Your Doormat Is Your Most Important Cleaning Tool

The Humble Rectangle That Guards Your Whole House The doormat is the least glamorous tool in the cleaning kit and arguably the most effective. It waits at the threshold and catches the mess before it ever reaches your floors, working around the clock at no extra cost. Most homes ignore one until it is saturated and useless. Here is what a good mat actually stops, how to choose the right material, and how to maintain it so your entryway keeps earning its place. What Shoe Soles Really Track Inside Research conducted at the University of Arizona found the average shoe sole carrying hundreds of thousands of bacteria per square inch, E. coli among them. Soles also haul in lawn chemicals, pesticide residue, asphalt grit, mud, dust and pollen. Everything deposited on your floors gets walked deeper into the house, embeds itself in carpet fibers and eventually joins the airborne dust you breathe. The CDC guidance on cleaning and disinfecting your home treats high-traffic floors as genuine hygiene surfaces for exactly this reason: what arrives on shoes rarely stays at the door. A Working Mat Has Two Jobs Scraping. A coarse surface with stiff bristles or deep texture digs into shoe treads and strips off mud, sand, gravel, snow and ice before they can ride further inside. Absorbing. A thirsty layer traps rainwater and snowmelt, removing both the slip hazard and the moisture that stains carpet and dulls hardwood. A soft decorative mat with a cheerful greeting does neither well. Real effectiveness is engineering: fiber stiffness, tread geometry and the capacity to hold dirt and moisture without surrendering either back to the next footstep. Match the Material to the Mission Material Strengths Limits Best placed Coir (coconut husk) Classic coarse scraper; tough; naturally resistant to mold and mildew Sheds fibers; absorbs little; waterlogs in open rain Covered outdoor entry Rubber Heavy so it stays put; deep grooves trap debris; weatherproof; hoses off in seconds Not absorbent at all Outdoor scraping layer Polypropylene and other synthetics Scrapes and absorbs; resists stains, fading, mold; dries fast; bi-level designs sink dirt below the surface Fine pile can mat down under heavy grit Indoor or outdoor, both roles Cotton or microfiber Champion absorption; soft underfoot; usually machine washable Saturates outdoors; dries slowly Just inside the door Cast or wrought iron Ruthless mud and snow scraper; lasts a lifetime Zero absorption; needs a partner mat Outdoor scraping layer The Two-Mat System Beats Any Single Mat Because scraping and absorbing pull in opposite directions, the strongest entryway uses a specialist for each stage. Outside sits a coarse coir, rubber or heavy-duty synthetic mat built to take the direct hits from mud and snow. Just inside the door sits an absorbent cotton, microfiber or softer synthetic mat that soaks up the remaining damp and fine dust while giving everyone a clean, dry spot to stand. By the time a foot reaches actual flooring, it has passed a two-stage cleaning process, and the volume of tracked-in grime collapses. Size and Placement Decide the Outcome A mat that is too small simply gets stepped over, which defeats the purchase. Match or exceed the width of the doorway, then go as deep as the space allows, because more surface means more footfalls contacting the mat. A sound rule of thumb is enough room for one full step with each foot before real flooring begins. Keep the mat directly in the natural walking path with no easy bypass, make sure it lies flat, and insist on non-slip backing, especially for rubber-backed mats on tile or hardwood, so your defense never becomes a trip hazard. A Saturated Mat Becomes a Dirt Source Once a mat cannot trap more soil or release more water, it starts depositing what it holds back onto your shoes and floors. Keep the maintenance cycle short: Daily: give the outdoor mat a vigorous shake to dislodge loose, dry grit. Weekly: vacuum both mats with a strong machine to pull out embedded dirt that shaking cannot reach. As needed: deep clean by material. Scrub coir and synthetics with mild detergent and a stiff brush, then hose down and sun-dry completely. Rubber and iron mats need only a spray from the garden hose. Cotton and microfiber mats are usually machine washable; follow the care label and return them to the floor only when fully dry. Damp material parked over a subfloor can grow mildew, and the CDC overview of mold and health is a fair reminder that trapped moisture plus organic debris is the recipe mold prefers. Doormat Questions, Answered How often should a doormat be washed? Shake it daily, vacuum weekly and deep clean whenever it looks loaded or smells damp, roughly monthly in heavy use. The right rhythm depends on weather and foot traffic; a salty winter slush mat needs far more attention than a covered summer porch. Is one large mat enough at the front door? One mat handles one job well, which leaves the other job undone. A coarse scraper outside plus an absorbent layer inside removes dramatically more soil and water than any single oversized mat, and the pair costs less than one carpet cleaning. Do mats matter if everyone removes shoes indoors? They matter more, not less. A shoe-free house still needs the indoor layer to catch the grit already sitting on the entry floor and the moisture on every bare foot that comes in from a bath or laundry. The outdoor mat keeps the shoe pile itself from turning into a mud pit. What if my entryway is tiny? Even a narrow run of matting helps. Place the longest scraper your space allows directly in the first step inside the door, and let a small absorbent mat handle the last footfall before the flooring starts. Prevention First, then a Professional Finish A good mat system shrinks the dirt load your floors live under, but it cannot touch the grime already ground into baseboards, grout and carpet transition zones. Toronto Shine Cleaning pairs regular

5 Reasons Your Doormat Is Your Most Important Cleaning Tool Read More »

Kettle Maintenance: A Step-by-Step Cleaning Guide Get Your Kettle Sparkling Clean for the Autumn Season

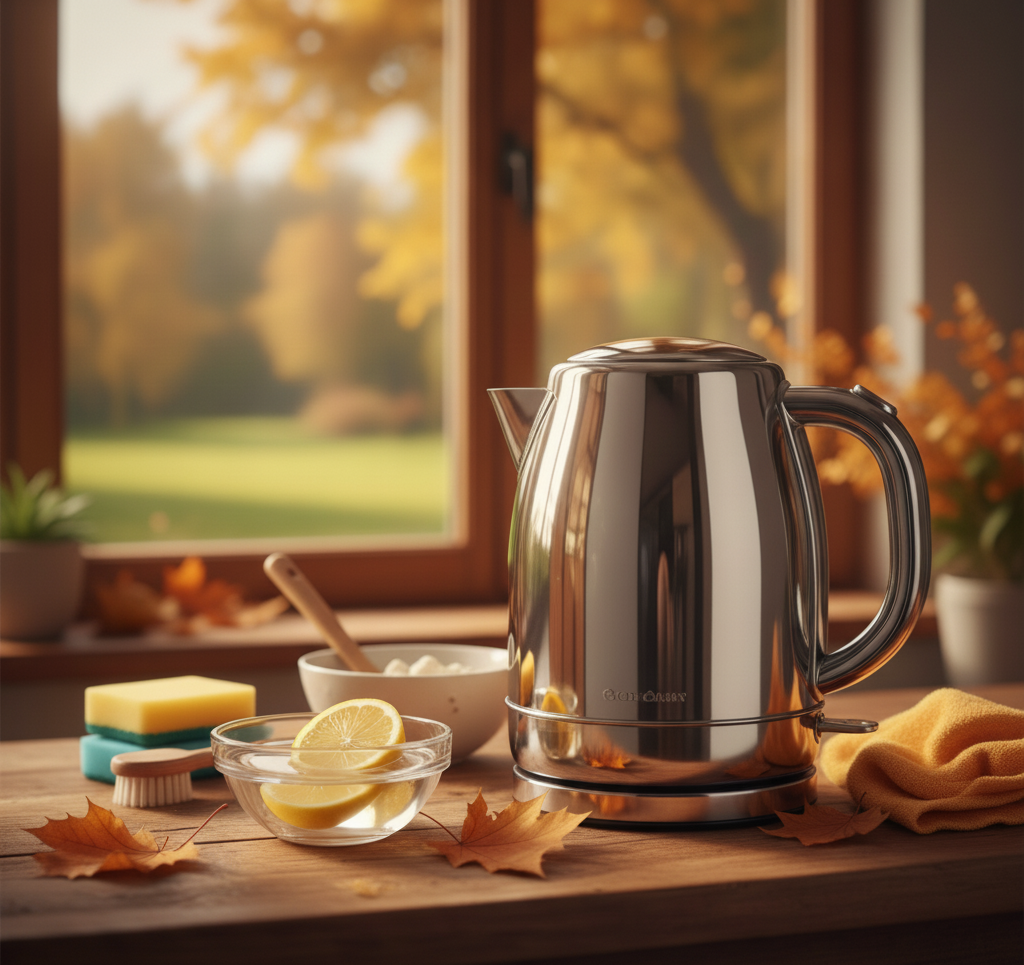
Why Your Kettle Needs a Proper Clean This Autumn The electric kettle is one of the hardest-working appliances in any kitchen, boiling water for coffee, tea, and cooking without complaint. Yet most kettles quietly suffer a creeping internal problem: limescale. Left alone, mineral crust builds up inside, slowing the boil, wasting electricity, dulling the taste of your water, and shortening the appliance’s life. The fix is simple chemistry, not hard scrubbing: a few minutes of attention each month keeps your kettle performing like new all autumn. What Limescale Is and Why It Matters In hard-water country, limescale is not a question of if but when. Hard water carries a high concentration of dissolved minerals, mainly calcium carbonate and magnesium. Those minerals are harmless to drink, but each time the water is heated they precipitate out and form a hard, chalky, off-white crust on the heating element and interior walls. Four consequences make the buildup more than cosmetic: Wasted energy and time. Scale insulates the element, forcing it to work harder and longer. A scaly kettle boils noticeably slower and burns more electricity doing it. Altered taste. Minerals leach back into fresh water with a chalky or metallic note that can ruin good tea or coffee, and broken-off flakes add grit and white floaters to your cup. Bacterial habitat. Thick deposits are rough and porous, letting microorganisms colonize the surface. Boiling kills most active bacteria in the water, but the scale itself is a separate concern for your daily cup. Shortened lifespan. An element repeatedly overheating through an insulating crust can burn out early. How to Descale a Kettle with White Vinegar Descaling works because a mild acid dissolves the alkaline crust, and the classic vinegar method is the cheapest and most effective. Fill the kettle with a half-vinegar, half-water mix of distilled white vinegar and plain water, never past the maximum fill line. For heavy buildup, let the solution sit an hour before heating so the acetic acid starts working. Bring it to a full boil: heat plus acidity accelerates the reaction, and you may watch the scale fizz and flake. After it switches off, leave the hot solution inside for at least 20 to 30 minutes, or several hours or even overnight for extremely stubborn crust. Pour it out and inspect. Most of the scale should be gone, and a non-abrasive sponge handles any patches. Finish with several cool rinses, then fill with fresh water, boil, and discard that batch to clear every trace of vinegar taste and smell. Descaling with Lemon or Citric Acid If the vinegar smell puts you off, lemon is a fragrant, equally effective alternative. Squeeze up the juice from one or two fresh lemons into the kettle, or add two tablespoons of citric acid powder from the baking or canning aisle, then fill to the max line with water. Let it sit about an hour, bring it to a full boil, and leave the hot solution for another 20 to 30 minutes. Empty, rinse thoroughly, and run one final clean-water boil, discarding it so no lemony taste lingers. Put either method on a recurring calendar slot, spaced from monthly to quarterly based on your water’s hardness. The moment a visible white film coats the bottom, start. Cleaning the Outside of the Kettle The interior is the functional priority, but the exterior deserves care, and safety comes first: always unplug before wiping. For stainless steel, use a damp microfiber cloth with a drop of dish soap, wiping along the steel’s grain; to clear fingerprints and add shine, buff with a dry cloth carrying a little white vinegar or a dab of olive oil. Plastic bodies need only a soapy damp cloth, and abrasive scrubbers will scratch and dull them. Glass cleans well with the same 50/50 vinegar solution, sprayed on and wiped with microfiber until streak-free. These are ordinary cleaning chemicals, so Health Canada’s checklist for using household chemicals safely and its broader guide to household product safety are quick, worthwhile reads. Choosing a Kettle That Stays Clean Different designs suit different routines, and maintenance effort varies by type and material. Kettle type or material What to know Stovetop The classic whistle kettle: nostalgic and simple, but slower and less energy-efficient than electric. Electric The modern standard: fast, automatic shut-off for safety, and efficient because heat applies directly to the water. Variable temperature Heats to a set point, which matters for brewing: green tea is best around 175 F (80 C), while black coffee wants water just off the boil near 205 F (96 C). Gooseneck The long, narrow spout gives the slow, controlled pour that proper coffee extraction requires; made for pour-over. Stainless body Durable, relatively light, taste-free, and easy to clean. The most popular choice, for good reason. Glass body Shows the water level and the scale buildup: a handy visual reminder to descale. Plastic body Most affordable and lightweight; generally BPA-free, but stains and holds odors more than glass or steel. Ceramic body Stylish and heat-retaining, but the heaviest and most fragile option. Daily Habits That Prevent Scale Small habits slow the crust dramatically. In hard-water areas, use filtered water: a basic carbon filter pitcher removes a significant share of the minerals that cause scale, so you descale far less often. Do not let unused water sit; empty leftovers after each use so minerals cannot settle as the water cools. And descale proactively: a quick monthly treatment beats fighting a thick shell every six months. If you would rather have every appliance and limescale-prone surface handled in one visit, Toronto Shine Cleaning’s deep cleaning service resets the whole kitchen, and a regular cleaner keeps appliances on schedule between visits. Kettle Cleaning FAQ How often should I descale my kettle? Between once a month and every few months, depending on water hardness. Start the moment you see a white film or the boil time stretches. Is water from a limescale-covered kettle safe to drink? The minerals are not harmful, but scale flavors

Kettle Maintenance: A Step-by-Step Cleaning Guide Get Your Kettle Sparkling Clean for the Autumn Season Read More »

laminate floor cleaning

Best Ways To Clean Laminate Flooring Without Damage

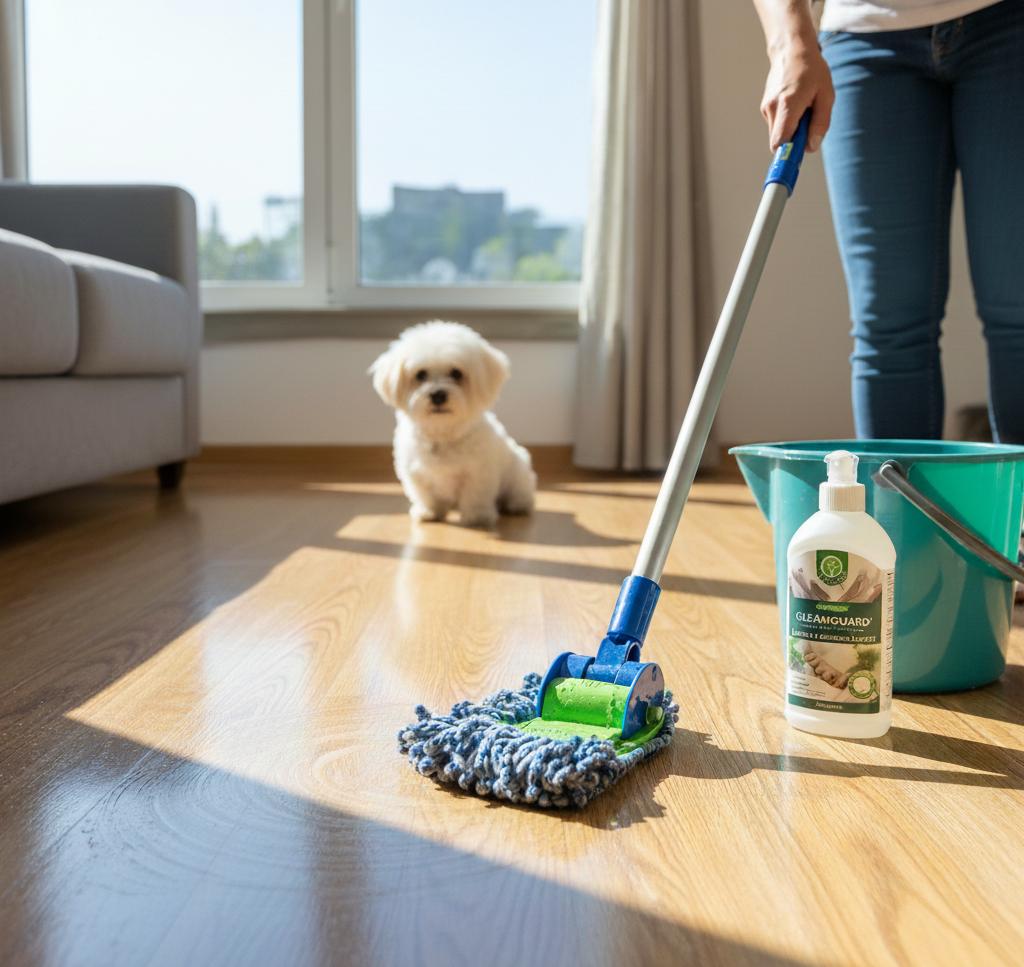
Best Ways To Clean Laminate Flooring Without Damage Laminate flooring mimics the character of hardwood, stone, or tile at a fraction of the cost and upkeep demands, and its worldwide popularity comes down to durability, versatility, and easy care. That layered engineering also comes with one strict maintenance rule: water is the enemy. The right approach swaps soaking and scrubbing for proper tools and techniques that lift dirt with the absolute minimum of liquid. This guide covers the daily routine, the weekly mop-down, stain remedies, and long-term protection habits that keep laminate looking new. How Laminate Is Built, and Why Moisture Is Its Weak Point Laminate fuses several layers together under heat and pressure. On top sits a tough, clear wear layer shielding the high-resolution printed image below. Under that, a dense fiberboard core provides stability and impact resistance, finished by a backing layer that adds moisture resistance. This construction explains both the strength and the weakness of the floor. The wear layer shrugs off water; the fiberboard core and the seams between planks do not. Moisture that seeps between boards makes the core swell, warp, and buckle, and that damage is irreparable. Dry grit is the other enemy: sand and soil grains behave like fine sandpaper underfoot, scratching microscopic lines into the finish that dull its look over time. Consistent, preventative cleaning removes both threats before harm is done. Your Essential Laminate Cleaning Toolkit A microfiber dust mop or soft-bristled broom: your first line of defense; a microfiber head beats a broom because static charge traps dust and pet hair. A vacuum with a hard floor setting: great at pulling debris from between planks, but fit a soft-bristle hard floor head or switch off the beater bar: a stiff rotating carpet brush can scratch laminate. A high-quality microfiber mop: the single most important tool for washing the floor, since its absorbent pads clean well with very little water. A pH-neutral floor cleaner or a DIY substitute: something that will not leave a hazy residue or attack the protective wear layer. Doormats at every entrance, trapping dirt, grit, and moisture before it reaches the floor. The Weekly Laminate Floor Care Routine Daily care takes minutes: a quick dust-mop or soft-broom pass is the best single defense against long-term wear. Weekly, follow this sequence. Dry clean first, then spot-treat Always remove loose dust and debris before any liquid touches the floor, by dust mopping or vacuuming with the beater bar off. Mopping a dirty floor simply pushes a slurry of abrasive grit around and causes scratches. Next, treat spots and spills individually: a damp microfiber cloth handles most marks, while rubbing alcohol dabbed on a cloth lifts stubborn scuffs or ink. Choose a safe cleaning solution Health Canada’s advice on using household products safely starts with reading and following product labels, which applies to floor cleaners too. Your options: A commercial pH-neutral, water-based laminate cleaner is often the safest bet; always follow the dilution instructions on the bottle. A DIY cleaner of one part white vinegar to ten parts warm water, decanted into a spray bottle, dissolves grime without residue; for very large floors, mix half a cup of vinegar into a gallon of water instead. A quick-drying, streak-free blend of equal parts water, isopropyl alcohol, and vinegar, decanted into a spray bottle. Never use oil-based soaps such as Murphy Oil Soap, wax, or any shine-adding product: they leave a dull, streaky film that is hard to remove and can turn dangerously slippery. The damp-mop technique Never flood laminate with water; the mop pad should be damp, not wet. With a bucket, dip the head, then wring until it feels almost dry. A spray bottle is superior: mist one small section at a time, then immediately wipe it up with a dry microfiber mop, working in manageable sections so no standing water sits over the seams. A properly damp-mopped floor air-dries in a minute or two; wipe any remaining wet areas with a clean, dry cloth to prevent water spots. For more on safe product handling, see Health Canada’s household chemical safety tips. Spill and Stain Remedy Chart Mess Remedy Liquid spills such as water, juice, or soda Blot at once with a dry, clean cloth; for sticky messes, wipe on your cleaning solution, follow with a water-rinsed cloth, then dry fully Grease and oil Gently rub with isopropyl alcohol on a clean cloth, or use the vinegar solution Ink, nail polish, or permanent marker Work the mark gently with a clean white cloth spotted with rubbing alcohol or an acetone-based polish remover, keeping the amount small, then wipe away residue using a damp cloth Black scuff marks from shoes Buff them off with a dry tennis ball or a standard pencil eraser Long-Term Protection for Laminate Floors Attach felt pads to every furniture leg, chair, table, sofa, and cabinet, checking and replacing them as they wear; this is the single most important anti-scratch step. Lift furniture completely when moving it and never drag heavy items across the floor. Keep pet nails trimmed so they do not scratch the surface. Avoid stiletto heels, which concentrate enormous pressure on a tiny point and can dent the planks. Manage sunlight: laminate, especially older varieties, can fade under prolonged direct exposure, so close curtains or blinds during the brightest hours. When a home needs a top-to-bottom reset, the crew at our deep cleaning service cares for every surface from the floors up, and weekly upkeep fits neatly into a regular maid plan. Moving out with scratched or stained floors? End-of-tenancy details sit on our move in and out cleaning page. Frequently Asked Questions About Cleaning Laminate Flooring Can I use a regular string mop and bucket on laminate? Only if you wring the mop until it feels almost dry. A damp mop is acceptable; a wet one lets water into the seams, where the core swells, warps, and buckles beyond repair. A spray bottle with a microfiber mop is safer because you mist

Best Ways To Clean Laminate Flooring Without Damage Read More »

5 Mistakes You Need To Stop Making When Using The Duster

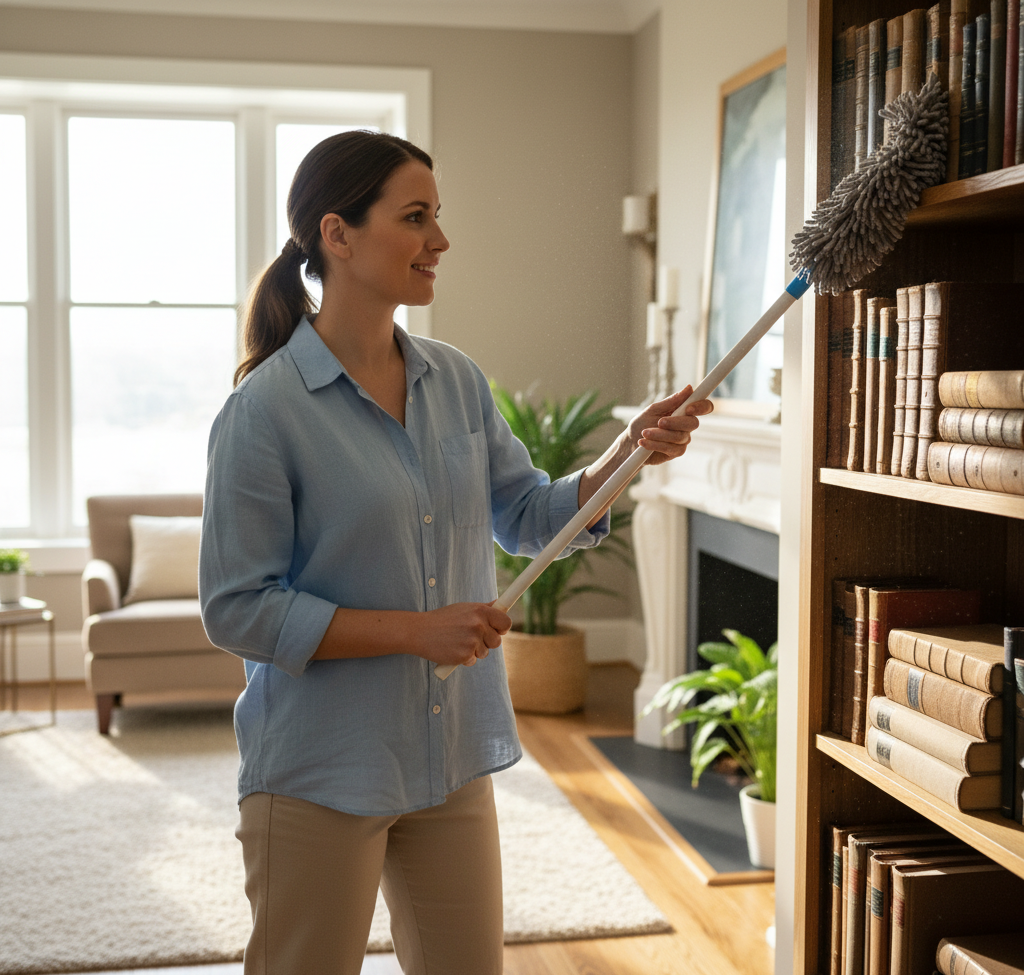
5 Mistakes You Need To Stop Making When Using The Duster Dust is an unavoidable reality of every indoor space: a shifting mix of dead skin cells, fabric fibers, pollen, pet dander, soil tracked in from outside, and even microscopic meteorite debris. It settles on every horizontal surface as a fine gray layer that dulls your home’s look and quietly degrades indoor air quality; for people with allergies or asthma it is a genuine health concern, since it harbors dust mites and other allergens. The duster is your primary weapon, but most people use it badly. The goal of effective dusting is to capture dust and remove it from the environment entirely, not to move it from one surface to another. Here are the five mistakes to stop making. Mistake 1: Trusting a Feather Duster The feather duster, usually made from ostrich, turkey, or chicken feathers on a handle, is the iconic image of dusting and the least effective tool on this list. Its feathers trap little dust; their main action is dislodging particles and sending them airborne to resettle elsewhere minutes or hours later. A high-quality ostrich feather duster performs slightly better because the fine, interlocking barbules create a minor static charge, but it still mostly displaces rather than captures. For a truly clean home, the feather duster is closer to a decorative antique than a working tool. Mistake 2: Using One Duster for Every Surface The real revolution in dusting was microfiber: a synthetic blend of polyester and polyamide (nylon) whose fibers are split into strands many times smaller than a human hair, creating enormous surface area. The split-fiber net physically traps dust, dirt, and even bacteria, and used dry, it generates a positive static charge that pulls in negatively charged dust particles. No chemical sprays are needed. The right lineup covers the whole house: Handheld microfiber dusters: the everyday workhorse for furniture, electronics, picture frames, and general surfaces, with flexible heads that bend under ceiling fan blades and on top of tall bookcases. Extendable dusters: a telescoping pole reaches ceilings, light fixtures, high corners, and cabinet tops, eliminating the stepladder and the neck and shoulder strain of overhead work. Slim or flat dusters: a long, thin profile slides under refrigerators and ovens, between cabinets, and alongside the washer and dryer, where thick layers of unseen dust and lint collect. Microfiber cloths: dry for delicate surfaces, lightly dampened for smudges and stubborn grime without streaks. Lambswool dusters: genuine sheep’s wool contains lanolin, a natural oil that together with the wool’s static charge actively attracts and holds dust instead of pushing it away, making them excellent and gentle on large flat surfaces like tables and shelves. Disposable dusters: a reusable handle with throwaway synthetic heads that trap dust by static; convenient for light, regular dusting, but less environmentally friendly and more expensive over the long term than washable microfiber. Mistake 3: Dusting in the Wrong Order Technique matters as much as the tool, and the single most important principle is to work from top to bottom, because gravity carries any dislodged dust downward. Dusting should come before anything else in a room: wipe lower surfaces and vacuum only after you finish. Start at the highest points: ceiling corners, light fixtures, and fan blades, using an extendable duster. Move down to cabinet tops, bookcases, and wall shelves, then picture frames, window sills, tables, desks, and dressers. Finish at the baseboards and only then vacuum the floor to capture whatever settled. Health Canada’s overview of indoor air contaminants and health is a good reminder that settled dust is tied to the particulates you breathe, so order and method genuinely reduce exposure. Mistake 4: Swiping Aggressively and Ignoring Tricky Surfaces Let the fibers make contact with the surface and lift the dust; aggressive swiping just sends it flying. For heavily dusted surfaces, a slow, single-direction pass works best. Then adjust by surface: Surface What to Do Instead Blinds Use a multi-pronged duster that cleans several slats at once, or close the blinds, dust the whole surface with a handheld duster, reverse the slats, and dust the other side Electronics Turn off and unplug first; TVs and computers build static fields that attract dust. Wipe screens and casings with a clean, dry microfiber cloth, blow dust from keyboards and vents with compressed air, then wipe again Delicate items A very soft, clean paintbrush or new makeup brush works as a precision duster on chandeliers, collectibles, and artificial plants, lifting dust without damage Mistake 5: Never Cleaning the Duster Itself A duster saturated with dust cannot pick up more; it simply spreads the old load around. Cleaning the tool is part of the routine, not an afterthought. The CDC’s guidance on when and how to clean and disinfect your home makes the same point about surfaces: cleaning first is what makes everything else work. Microfiber wins here, since most duster heads are removable and machine washable: wash with regular detergent but no fabric softener, which clogs the microscopic fibers and destroys the static-trapping ability, then air-dry or tumble on low heat. For a lambswool duster, spin it outdoors between your hands to release loose dust, then hand-wash in lukewarm water with mild detergent, rinse thoroughly, and air-dry. How Often Should You Dust? Dusting is continuous maintenance, not a one-time task. For most homes, thorough dusting once a week keeps levels under control. Homes with pets or allergy sufferers, neighborhoods with high pollen counts, and areas near construction need more frequent passes. A consistent routine removes the allergens and particles that affect well-being, not just the visible film. For a comprehensive clean that catches dust from crown corners to the tightest crevices, our regular maid service builds systematic dusting into every visit, and a seasonal deep cleaning clears the accumulated layers. Frequently Asked Questions About Dusting What is the best duster for allergies? A microfiber duster, used dry. Its split fibers and static charge capture dust, dander, and even bacteria rather than displacing them

5 Mistakes You Need To Stop Making When Using The Duster Read More »

Autumn Allergy

Autumn Allergy: 4 Essential Cleaning Plan For a Healthy Home

Autumn Allergy: A Four-Part Cleaning Plan for a Healthier Home September brings a stunning display of autumn colour, but the seasonal shift also kicks off misery for allergy sufferers: sneezing, itchy eyes, and respiratory discomfort. While the fall beauty is enjoyed outdoors, an invisible battle begins inside. The season’s chief offenders are ragweed pollen, which drifts in on winds from hundreds of kilometers away, and mold spores thriving in early fall’s damp, decaying debris. Both infiltrate homes, settle on surfaces, embed in fabrics, and circulate through the air you breathe. Creating a healthy indoor environment is the most effective relief strategy, and that takes a targeted plan, not a simple tidy-up. Here are the four zones to tackle. Zone 1: The Bedroom You spend roughly a third of your life in the bedroom, which makes it the most critical allergy zone in the house. Bedding collects a nightly deposit of dust mites and their waste, pet dander, and pollen carried in on hair and clothes, so wash sheets, pillowcases, and duvet covers weekly in hot water of at least 130 F (54 C), the temperature required to kill dust mites. For delicate fabrics, use a warm wash followed by at least 15 minutes in a hot dryer for a similar result, and launder the pillows and duvets themselves every few months. Allergen-proof covers on the mattress and pillows create an impermeable barrier against triggers. Curtains act like large filters trapping airborne dust and pollen, so take them down and launder them each fall; for non-washable blinds, wipe every slat with a damp microfiber cloth to remove settled pollen that would otherwise aggravate symptoms each time you open or close them. Finally, vacuum the entire mattress surface with your cleaner’s upholstery attachment. Dust mites number in the millions inside the average mattress, a year-round issue that worsens any autumn allergy. Zone 2: Floors and Air Quality Carpets and rugs can trap dust, dirt, and allergens equal to eight times their own weight, so your cleaning method matters. The single most important tool is a vacuum with a genuine HEPA filter. Standard vacuums often stir up fine particles like pollen and make symptoms worse, while a HEPA filter is designed to capture 99.97 percent of tiny particles, trapping allergens and removing them from your home. That is non-negotiable with a severe autumn allergy, and Health Canada’s page on air contaminants and health explains why particles in indoor air deserve this attention. Technique counts too: move slowly and methodically with multiple overlapping passes so the vacuum pulls allergens from deep within the fibers, and vacuum high-traffic areas at least twice a week during peak season. Zone 3: Moisture Control and Mold Elimination Mold is a major autumn allergy trigger, and its growth tracks moisture directly, which makes the cooler, damper weather of early fall ideal conditions for it. In bathrooms, run the exhaust fan during every shower and for at least 20 minutes afterward to vent moisture outside, and clean tile grout regularly with a vinegar and water mixture to kill emerging spores. In basements and crawl spaces, which are naturally prone to dampness, run a dehumidifier to keep humidity below 50 percent; a musty basement smell is a clear sign of a problem that can significantly worsen symptoms. In kitchens, always use the stove’s exhaust fan when cooking and check under the sink and around the dishwasher for leaks. Health Canada’s guidance on reducing humidity, moisture, and mould is the authoritative reference for keeping growth from starting. Zone 4: Whole-Home Habits for Allergy Relief Pollen and dust settle on every surface, so round out the plan with the areas people overlook: Dust with a damp cloth. Dry dusting merely displaces allergens into the air you breathe, so wipe surfaces with a damp microfiber cloth that traps particles, always working from the top of the room downward. Service the HVAC before heating season. Replace the furnace filter before the first run of fall, and consider a high-efficiency filter built to capture small particles like pollen and mold spores. Vacuum upholstery weekly. Sofas and armchairs collect allergens just like carpets do, so go over them with the upholstery attachment. Use this chart to match triggers to tactics: Trigger Where it hides Removal tactic Ragweed pollen Curtains, blinds, windowsills, carpets Launder curtains each fall, damp-wipe slats and sills, HEPA-vacuum high-traffic areas twice weekly Dust mites Mattresses, pillows, bedding, upholstered furniture Weekly hot wash at 130 F (54 C) minimum, allergen-proof covers, vacuum the mattress and sofas Mold spores Bathroom grout, basements, crawl spaces, under-sink leaks Run exhaust fans during showers plus 20 minutes, keep humidity below 50 percent, fix leaks promptly Frequently Asked Questions About Autumn Allergies and Cleaning What temperature kills dust mites in laundry? At least 130 F (54 C). If the fabric cannot take hot water, wash warm and then tumble dry hot for at least 15 minutes, which achieves a similar result for bedding. Is a HEPA vacuum really necessary for allergy relief? Yes, if symptoms are significant. Ordinary vacuums can exhaust fine pollen and dust back into the room air, while a HEPA filter captures 99.97 percent of tiny particles so allergens leave the house instead of recirculating. When should I change my furnace filter for fall? Before the first run of the season, so summer’s dust and pollen are not blown through the house the moment heating starts. A high-efficiency filter rated for pollen and mold spores is worth the upgrade during allergy season. Does feather or dry dusting help allergy sufferers? No. Dry dusting knocks allergens into the air where you inhale them. Wipe with a damp microfiber cloth, working top to bottom, and vacuum or mop the floor last. Allergy-Season Help from Toronto Shine Cleaning If pollen season overwhelms your weekend routine, our team can take over: textile washing, HEPA-quality vacuuming, and moisture-zone scrubbing are core parts of every deep cleaning we perform, and weekly or biweekly visits through our regular maid service keep triggers from

Autumn Allergy: 4 Essential Cleaning Plan For a Healthy Home Read More »

Back to School and Home Clean

Back to School: 7 Effective Ways to Keep Your Home From Turning Into Chaos

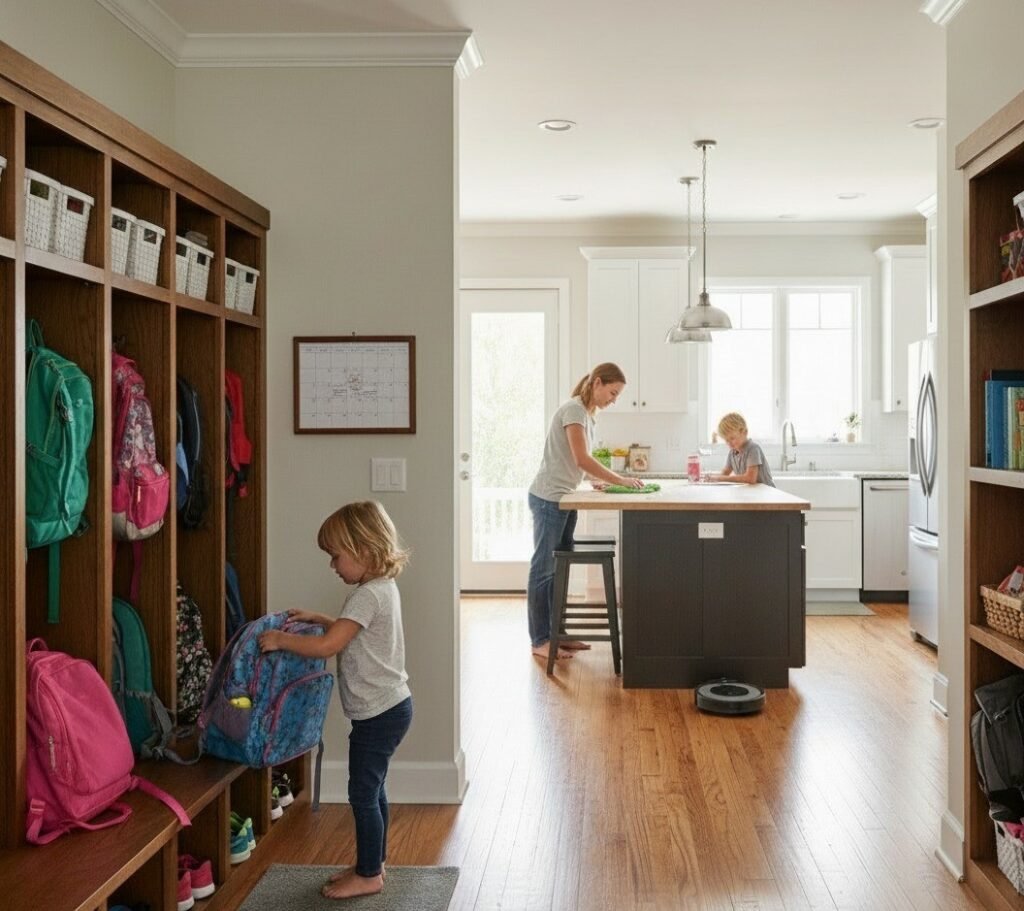
Back to School Is a Cleaning Reset, Not Just a Calendar Event September in Canada runs on crisp air, changing leaves, and a surge of household energy. Mornings get hurried, evenings fill with homework and extracurriculars, and the constant flow of backpacks, lunchboxes, and outdoor shoes can turn an organized home into chaos within a week. Surviving the season takes more than fresh supplies; it takes adapted routines. These seven approaches keep the house a calm, clean base for the whole family. 1. Focus on the Zones the School Year Touches Direct your effort where the new traffic lands. Entrances and mudrooms are the first line of defense: put up hooks so coats and backpacks hang instead of piling, give shoes a tray or shelf, sweep or vacuum that area daily because shoes track in a great deal of grit as the weather turns in cities across Canada, and wipe doorknobs and other frequently touched surfaces with a disinfectant during germ season. The kitchen shifts from relaxed summer meals to lunchbox headquarters. Dedicate one cupboard or shelf to lunchboxes and water bottles, wash them right after use and let them dry, disinfect countertops after every snack prep, keep the refrigerator tidy with immediate spill clean-up, and push for dishes washed or loaded as soon as meals end. Study areas stay usable when they stay simple: a minimalist desk reduces distraction, organizers and drawers hold pens, papers, and books, and children put materials away after each session. Bedrooms hold order on two habits alone: making the bed each morning and keeping a hamper in every room, plus a 5 to 10 minute tidy before bedtime. Bathrooms need extra passes now that school germs come home: a quick daily wipe of sink and toilet, disinfecting knobs, faucets, and switches several times a week, and fresh face and hand towels daily or every other day. Zone Daily habit Weekly habit Entrance or mudroom Sweep or vacuum; backpacks on hooks Disinfect knobs and railings; sort lost pile Kitchen Wash lunchboxes; wipe counters after snacks Clear the fridge; run a hot dishwasher cycle Study areas Materials back in drawers after homework Dust desks and shelves; purge loose papers Bedrooms Make the bed; hamper only, no floor piles 5 to 10 minute family tidy in each room Bathrooms Wipe sink and toilet; fresh hand towel Disinfect fixtures; scrub shower surfaces 2. Install Routines Before the Month Runs Away From You Order in this season comes from habits, not heroic weekends. End each day with a 15 to 20 minute family “power clean” before everyone settles down: one person tidies the living room, another puts away dishes, another wipes counters, so mornings start from a relatively organized home. Instead of attacking the whole house in one day, divide it into zones and give one zone a real clean each week. And make it a team sport: age-appropriate chores spread the load and teach children the value of a shared, cared-for space. 3. Fight Back-to-School Germs Deliberately Classrooms circulate viruses and bacteria, and children carry them home. Disinfect high-touch surfaces regularly: doorknobs, light switches, remote controls, and cell phones. Reinforce handwashing the moment everyone walks in the door, before meals, and after the bathroom, and keep sanitizer in strategic spots. The CDC’s handwashing guidance is a standard the whole family can match. Wash lunchboxes and water bottles daily with hot, soapy water, using a bottle brush for interiors and lids. Give school clothes a regular washing routine, ideally with a separate hamper, to clear germs and allergens. 4. Declutter Summer Out Before the New Season Piles In September is the natural moment for a summer sweep. Store the clothes that will not be worn again and reorganize closets for autumn and winter, donating what no longer fits. Do the same with toys and seasonal equipment: keep what is useful, donate the rest. Then set up the new school materials and a simple paper system that sorts what to keep, what needs attention, and what can be recycled, so artwork and permission slips stop colonizing the kitchen table. For broader tidying strategy, our breakdown of top-to-bottom cleaning systems shows how pros work room by room. 5. Protect Heads and Hearts, Not Just Floors A clean, organized home goes beyond appearance; it nurtures the mind. During a high-demand season, an orderly space reduces visual stress and the anxiety of hunting for the lost gym bag, and children focus better when their environment is not competing for attention. For parents, a tidy house is one less worry on an already long list, which frees energy for the family adjustment the season actually asks for. 6. Keep the Right Tools Within Reach Microfiber cloths for dusting and wiping without scratching. A vacuum with a HEPA filter, which pulls up dust, pet hair, and allergens in homes with children. An all-purpose disinfectant for high-touch surfaces, plus a glass cleaner for windows and mirrors. A bathroom cleaner for toilets, showers, and sinks, and a floor cleaner matched to your flooring. Scrubbing brushes for grout and tight spots, rubber gloves to protect hands, and laundry baskets and organizers to keep clutter contained. 7. Book a Professional Reset When September Bites Even perfect routines bend under work, school, and activities. If summer dust and allergens have accumulated beyond what weekend wipes can handle, if carpets need steam cleaning after a season of heavy traffic, or if your family simply wants to start the school year on the right foot, a professional deep clean is a smart investment. The CDC’s overview of cleaning and disinfecting at home makes a useful checklist to hand any crew. Toronto Shine Cleaning handles the back-to-school deep clean so you can focus on homework and bedtime instead of baseboards, with ongoing regular visits available to hold the line all year. Call (647) 424-0355 and start the school season from a clean slate. Back-to-School Cleaning Questions How long does a back-to-school reset take? The zone-by-zone routines above fit into daily habits of

Back to School: 7 Effective Ways to Keep Your Home From Turning Into Chaos Read More »

getting ready for fall cleaning

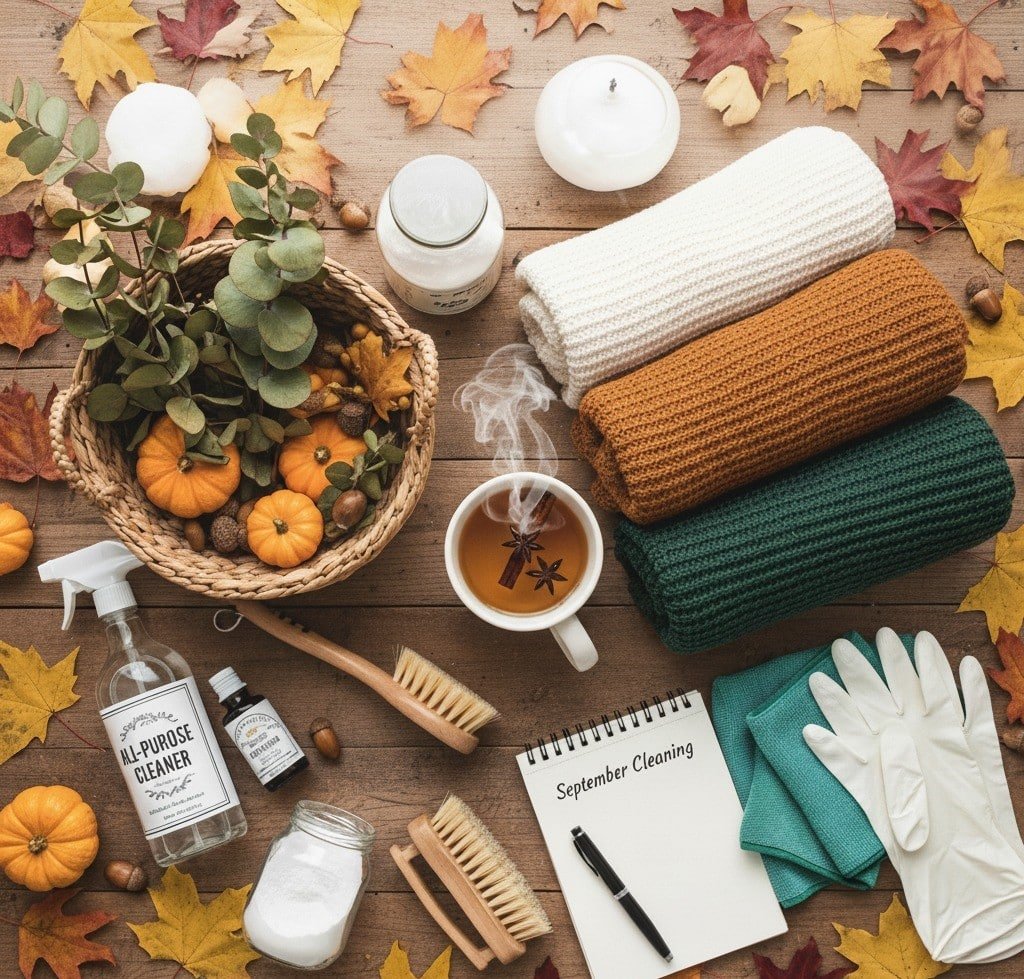
September Cleaning: 7 Quick And Easy Steps To Get Ready For Fall

Why September Is the Month to Reset Your Home In Canada, September closes out summer and opens the long indoor season. The house needs more than a dust-off: it needs a cleanout that removes the clutter and grime of the warm months and readies every room for the weeks when windows stay shut and family time moves inside. A systematic September cleaning pays off twice, once in a healthier, calmer home right away and again in easier living all winter. Work in order, from planning and decluttering through room-by-room detail, and the whole project becomes manageable instead of overwhelming. Plan the Project Before You Spray Anything Start by scheduling time blocks for each area or task type, which turns a mountain into a list of afternoon-sized steps. Then take inventory of your supplies so you are never hunting for a bottle mid-task. Microfiber cloths, a vacuum with attachments, a mop, buckets, and protective gloves All-purpose cleaner, disinfectant, glass cleaner, bathroom cleaner, and floor cleaner Eco-friendly, non-toxic products if children, pets, or allergy sufferers live in the house Declutter First With the Three-Box Method Every room gets sorted before any cleaning starts, using three boxes: keep and organize, donate or sell, and trash or recycling. Begin with summer gear, so beach equipment, garden decorations, and warm-weather clothes get packed away. Work through clothing, toys, books, and stationery; clear the pantry and refrigerator of expired food and regroup what stays; gather papers and magazines into categories; and rotate the wardrobe so autumn layers sit at the front. Fewer objects means less dust to chase and fewer surfaces to wipe. When you finish, deliver the donation box the same week so it does not become clutter again. Kitchen Deep Clean for the Season The kitchen earns the most attention because it feeds everyone. Clean the oven interior and its grease and residue, wash the microwave inside and out, and empty the refrigerator fully, wiping shelves and drawers with mild soap and water. Run the dishwasher on a vinegar cycle to clear deposits and odours. Wipe cabinets and drawers inside and out, scrub countertops and backsplashes, disinfect the sink and faucets, and freshen the garbage disposal. Finish by mopping or steaming the floor. Bathrooms, Bedrooms, and Living Areas Bathrooms Scrub toilets, showers, and tubs, and attack the tile grout where mold and mildew settle. Wash or replace the shower curtain and liner, clean mirrors and light fixtures, disinfect every contact point from faucets to doorknobs and switches, then wash and disinfect the floor. Toss expired products from the medicine cabinet while you are in there. Excess moisture is what invites bathroom mold in the first place, and Health Canada’s advice on reducing humidity, moisture, and mould is worth applying to every damp room before winter closes the house up. Bedrooms Launder all sheets, duvets, and blankets along with the curtains. Vacuum the mattress and flip or rotate it to extend its life. Dust furniture, light fixtures, and ceiling fans, vacuum or mop including under the bed, and rebuild the closets with the seasonal clothing swap you prepped during decluttering. Living spaces Dust every piece of furniture, electronic, and decorative item, vacuum or shampoo the upholstery, clean the windows and the blinds or curtains covering them, and refresh the floors. Give extra passes to remote controls, light switches, and doorknobs, the surfaces everyone touches and nobody cleans. Entryways, Laundry Room, and the Spots Everyone Forgets Hallways and entryways take the first hit from outdoors, so clear shoe racks and coat hooks, wipe scuff marks off the walls, and vacuum or mop deeply to lift tracked-in mud and debris. In the laundry room, wipe the washer and dryer exteriors, scrub the dryer lint trap thoroughly for efficiency and fire safety, wash the utility sink, and organize detergents. Then walk the house for the overlooked list: Area September task Why it matters before winter Windows Clean inside and out Maximizes the weak natural light of the darker months HVAC filters Clean or replace Indoor air quality suffers once windows stay closed, and Health Canada’s overview of indoor air contaminants explains the health stakes Walls, baseboards, doors, and frames Wash away marks and dust Trapped grime ages fast under winter heating Light fixtures and ceiling fans Dust and wash Dull fixtures dim every room Trash cans and small appliances Disinfect bins; wash toaster, coffee maker, kettle Odours build quickly in closed-up houses Patio furniture, barbecue, bikes, garden tools Clean, then store Protects equipment through freeze-thaw weather Carpets and rugs Deep clean Removes summer grit before winter traffic grinds it in Maintenance: Keep the Reset From Slipping The September clean buys you a fresh baseline; daily habits defend it. Reinforce quick mini-cleaning sessions after dinner, hold a weekly schedule that rotates deeper tasks room by room, and do a seasonal check-in each quarter to adjust for what the new weather demands. Smart storage solutions protect your organization gains, and delegating tasks among household members keeps the workload shared instead of dumped on one person. September Cleaning FAQ How long does a full September cleanup take? Most homes need several sessions across one or two weekends once you plan, declutter, and clean room by room. Time-blocking the rooms in advance keeps any single day from feeling impossible. Should carpets really be cleaned in the fall? Yes. Summer drags in dirt and allergens that settle deep into pile, and a clean carpet improves indoor air for the months when windows barely open and foot traffic moves indoors. What is the one step people skip most? Replacing heating and air conditioning filters. It is quick, cheap, and it does more for winter air quality than any surface scrub. When should I outsource the whole project? If the season’s cleanout lands in one packed weekend, a professional deep clean handles the rooms and details while you handle everything else. Pair it with a move-in or move-out service if the fall also brings a lease change. Treat the September reset as an investment

September Cleaning: 7 Quick And Easy Steps To Get Ready For Fall Read More »

Home Clean and Organized

Home Clean and Organized: 5 Tips From Cleaning Experts For a Stunning Home

A Clean, Organized Home Is a Habit, Not an Event Keeping a home clean and organized takes more than heroic weekend sessions. It works best as a set of small habits wired into daily life, because the physical environment shapes how the mind feels: an orderly space lowers stress, sharpens focus, and builds a sense of control that carries into everything else. When surfaces are clear and objects have homes, there are fewer distractions and less to clean later. The strategies below turn upkeep into an automatic routine instead of a recurring crisis. Build the Daily Habits That Do the Heavy Lifting The one-minute rule: if a task takes under a minute, do it on the spot. Hang the book, wipe the spill, put the mug away. Tiny actions stop small messes from combining into an overwhelming one. The daily reset: spend 10-15 minutes at day’s end tidying the kitchen and living room. Wash dishes, wipe counters, straighten cushions. Waking up to a tidy space sets the tone for the next day. Shared responsibility: assign roles to every household member. When the load is distributed, upkeep stops being one person’s burden. A place for everything: give each item a designated spot, and the habit of returning it removes the drift that forces giant tidying sessions. Room-by-Room Routines That Actually Stick Room Daily habit Weekly habit Kitchen Wash dishes or load the dishwasher after each meal, wipe countertops, quick sweep of the floor Clean the microwave inside and out, scrub the stovetop and oven front, freshen the sink and faucets, wipe appliance exteriors including the fridge, empty and scrub the trash can Bathrooms Wipe sink, mirror, and counter; quick scrub of the toilet bowl Disinfect the toilet inside and out, clean shower or tub before mold and mildew take hold, wash the floor, launder towels and the shower curtain Living room and bedrooms Arrange cushions, fold blankets, return remotes and magazines; make the bed every morning; clothes into hamper or drawers Vacuum or sweep all floors, dust furniture, shelves, and electronics with a microfiber cloth, clean mirrors and glass Entryway and hallways Shoes, coats, and bags go to their designated spot on arrival Sweep or vacuum frequently, since these paths carry the outdoors inside Decluttering Rules That Keep the Clutter Out Organization is the other half of cleanliness, and it starts with honest culling. The “one in, one out” principle keeps volume constant: every new item bought means a similar old one gets donated, sold, or recycled. Inside the cupboards, group similar objects together and contain them with boxes, baskets, drawer dividers, and organizers. Think vertically with shelves, wall racks, and hooks to free up surfaces. Labels look trivial but work: everyone in the house can see where each thing belongs, so things go back without negotiation. Do not ignore the digital clutter either, because a clear inbox, organized files, and deleted apps lighten the mind the same way a clear counter does. The CDC’s basics on when and how to clean and disinfect your home make a good pairing with these habits: clean visibly dirty surfaces first, then disinfect the high-touch ones. Use the Right Tools, Top to Bottom Technique decides how much effort a clean costs. Always dust from the highest surfaces downward so falling dirt gets collected in the final pass instead of landing on freshly wiped shelves. Microfiber cloths trap dust and polish without lint; a vacuum with attachments, a proper mop, brushes, and sponges round out the kit. Stock the five essential products (all-purpose cleaner, glass cleaner, disinfectant, floor cleaner, bathroom cleaner) and check labels carefully, since the surface dictates what is safe. Never put abrasive products on marble or sealed wood. Wear gloves and open a window whenever chemicals are out; Health Canada’s tips for using household chemicals safely are worth a skim before stocking a cleaning caddy. If children, pets, or allergies share the house, lean toward eco-friendly, non-toxic formulas. Adapting to Real Life Every household has its own friction points, and each has a workaround. Pets: vacuum often for hair, keep lint rollers and upholstery tools handy, store supplies neatly, and wash food and water bowls daily. Children: define play zones, use toy boxes and low shelves kids can reach, and invite them to tidy early so responsibility becomes normal. Packed schedules: never try to clean everything at once. A focused 15-20 minute block per day in one area prevents buildup and keeps cleaning un-intimidating. Dust and allergies: dust with microfiber, vacuum with a HEPA filter, and change heating and air conditioning filters on schedule. Staying Motivated, and Knowing When to Delegate Motivation is a system too. Set realistic goals, since no home is perfect daily; celebrate small wins; break large tasks into steps; reward yourself after big jobs; and take before-and-after photos for proof of progress. Music or a podcast makes the time pass differently. A steady routine eventually runs on autopilot, which is the point. For the heavy categories, professionals are the smart shortcut: steam carpet cleaning, exterior window washing, and post-renovation dust demand equipment most homes lack, and life events such as moving, a big party, or a newborn make outside help an investment in sanity rather than a luxury. A scheduled regular cleaning visit locks in the maintenance, and a periodic deep clean resets whatever winter piled up. Home Organization FAQ What is the fastest way to start if my home feels chaotic? Stop trying to fix everything at once. Pick the kitchen counter and the entryway first, apply the one-minute rule for one week, and add a 10-minute daily reset once those stick. How often should a whole house be really cleaned? Daily habits handle surfaces, weekly sessions handle floors and bathrooms, and a thorough room-by-room deep clean belongs on the calendar a few times a year or whenever the reset is due. Does decluttering really reduce cleaning time? Directly. Every object on a surface is a pause while dusting, every pile is a place dirt hides.

Home Clean and Organized: 5 Tips From Cleaning Experts For a Stunning Home Read More »

Airbnb Cleaning Service

How to Choose The Best Airbnb Cleaning Services in Toronto: 5 Key Factors

Airbnb Cleaning Services in Toronto: 5 Key Factors for a Five-Star Turnover A successful short-term rental lives or dies by one process: the turnover. This is not a simple tidy-up; it is a complete, systematic reset of the guest experience. In a world-class city the standards are exceptionally high, and the smallest oversight, a stray hair or a sticky spot on the counter, can compromise an entire stay. If you are choosing between companies offering Airbnb cleaning services in Toronto, here are the five factors that separate a professional reset from a rushed wipe-down. Factor 1: A Systematic Process That Starts at Checkout The moment a guest departs, the clock begins. The first action is ventilation: all windows and balcony doors open to flush out stale air and lingering odors from cooking or fragrances, creating a neutral, fresh canvas while the space airs out. During this window, a professional crew runs a preliminary walkthrough for assessment, not cleaning, scanning each room for new damage such as scuffs on walls, carpet stains, or broken items. Issues are documented immediately with clear, time-stamped photographs and reported to the host, standard operating procedure for any reliable service. Beds are stripped completely, and all towels, bathmats, and kitchen cloths go into laundry bags to prevent cross-contamination. Factor 2: Bedroom and Bathroom Detail Work The bedroom is a guest’s sanctuary, and its cleanliness must be absolute. After the linens come off, the mattress protector and pillows are inspected for staining and laundered or replaced as needed, and the mattress itself is vacuumed with an upholstery attachment to lift dust, allergens, and skin cells. Fresh linens go back on with intent: taut sheets, hotel-style corners, and a wrinkle-free duvet, because the bed is a presentation. Headboards, nightstands, and dressers are wiped down, drawers and closets are opened and checked for items left behind, and picture frames, lamps, and window sills are dusted before the floor is vacuumed under the bed and behind furniture. Nowhere is cleanliness scrutinized more intensely than the bathroom. A quality disinfectant goes on the shower, bathtub, toilet, and sink, then sits for several minutes to dissolve soap scum, grime, and bacteria, following the CDC’s logic for cleaning and disinfecting surfaces at home. The shower and tub are scrubbed wall to wall with special brushes for grout lines and drains, and glass doors are squeegeed to a streak-free finish. The toilet is disinfected inside and out, from bowl and seat to tank and the entire base down to the floor. Once sanitized, the space is restocked: ample toilet paper, fresh hand soap, full shampoo, conditioner, and body wash bottles, and three freshly laundered towels per guest, a bath towel, hand towel, and washcloth, folded neatly. The floor is mopped last, and light switches, door handles, and the exhaust fan cover get a final wipe. Factor 3: Kitchen Disinfection and Restocking The kitchen is where guest trust is won or lost. Turnover cleaning starts by emptying the refrigerator and freezer of any food left behind, then wiping every interior shelf, drawer, and door seal with a food-safe disinfectant. Appliance exteriors and handles are polished, the microwave is cleared of splatters, the oven is inspected for spills, and the stovetop is degreased until it shines. Countertop items like the coffee maker and toaster are lifted so the surfaces underneath can be fully sanitized. The sink is scoured, the faucet polished, and cupboards and drawers spot-checked, with all provided dinnerware, glassware, and cutlery inspected. When it is a DIY job, follow Health Canada’s advice on using household chemicals safely; a professional crew handles those products for you. Restocking is part of the service: fresh paper towels, a new sponge, dish soap, dishwasher pods, a cleaned and full coffee station, and bins emptied, wiped, and relined before the floor is swept and mopped. Factor 4: Living Areas and the Extra-Mile Details The living room is where first impressions form, so every surface from coffee tables to the television stand and bookshelves is dusted. Upholstery is vacuumed with cushions removed to clean the frame beneath, cushions are fluffed and arranged, and throw blankets are folded. Books and magazines are organized, rugs are straightened and vacuumed, and the floor is finished with attention to corners and baseboards. Then come the details that elevate a clean from standard to exceptional: Baseboards wiped down to remove scuffs and dust. Door frames, doorknobs, and light switches sanitized as high-touch points. Interior windows checked for fingerprints and smudges. Every light bulb checked so none are burnt out for the arriving guest. Factor 5: The Final Walkthrough and Handoff The last step is quality control with fresh eyes: a supervisor or the cleaner tours the property as a newly arriving guest would, checking that pillows are perfectly arranged, the welcome mat is straight, and the air smells neutrally clean. The thermostat is set to a comfortable temperature, blinds are adjusted to a uniform position, and only then is the property securely locked and a confirmation message sent to the host. For hosts aiming for Superhost status, this level of turnover is not a luxury; it is a strategic necessity. Toronto Shine Cleaning serves properties across the city and the GTA, which you can confirm on our locations page. The Turnover at a Glance Area Reset essentials Restocking and checks Bedroom Vacuumed mattress, hotel-style bed-making, wiped surfaces Fresh linens, lost-item sweep of drawers Bathroom Disinfected and scrubbed tub, shower, toilet; squeegeed glass Three fresh towels per guest, soap and TP stocked Kitchen Disinfected fridge, degreased stove, scoured sink Coffee station, dish supplies, relined bins Living areas Dusted surfaces, vacuumed upholstery, finished floors Bulbs, blinds, thermostat, final walkthrough Airbnb Cleaning FAQs How quickly can a turnover crew reset my unit? Professional crews work from a fixed checklist and arrive fully equipped, built around tight turnover windows between late checkouts and evening arrivals. Book a company that treats those windows as non-negotiable and confirms completion after every visit. Do Airbnb cleaners handle laundry as well? A

How to Choose The Best Airbnb Cleaning Services in Toronto: 5 Key Factors Read More »