Cleaning with Hose your patio clean is essential for creating an inviting outdoor space, especially during the warm months when you want to enjoy your backyard to the fullest. One of the simplest and most effective ways to maintain your patio is by cleaning with a hose. Here’s a step-by-step guide to make your patio sparkle:
1. Clear the Patio
To kick off your patio cleaning session, it’s essential to start with a clear space. Begin by removing all furniture and accessories. This includes chairs, tables, potted plants, and any decorative items that might be adorning your patio. Clearing the area not only gives you full access to every nook and cranny of your patio but also prevents any accidental damage to your belongings while cleaning with a hose. By taking a few extra minutes to move everything out of the way, you set the stage for a thorough and efficient cleaning process.
Once your patio is cleared, the next step is to address the loose debris. Grab a broom and start sweeping away any leaves, dirt, or small branches that have accumulated. This step is crucial because it removes the bulk of the dry debris that could otherwise turn into a muddy mess when water is introduced. A clean sweep ensures that when you start cleaning with a hose, the water can work directly on the surface dirt and grime without being hindered by loose particles. It might seem like a simple step, but thorough sweeping makes a significant difference in the overall cleanliness of your patio.
Cleaning with a hose becomes much more effective once the patio is free from loose debris. Without small twigs and leaves getting in the way, the water can flow smoothly across the surface, targeting stubborn dirt and stains more directly. This preparatory step not only makes the hosing down process more efficient but also reduces the amount of time and effort required for scrubbing later on. So, taking a few minutes to clear and sweep your patio sets a strong foundation for a successful and satisfying cleaning session.
2. Pre-Treat Stains
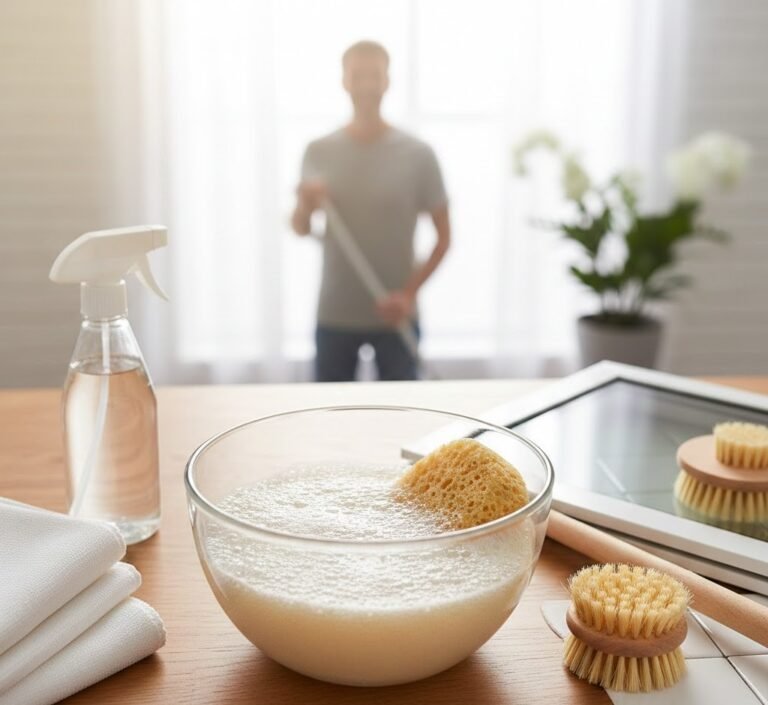
Before diving into the main cleaning with a hose, it’s essential to identify and pre-treat any stubborn stains on your patio. These stains might come from various sources such as spilled drinks, food, or natural elements like moss and algae that have taken hold over time. Thoroughly inspecting your patio and pinpointing these problem areas is the first step. Once identified, use a suitable cleaning solution to tackle these stains. A popular and effective choice is a mixture of baking soda and water, which is both gentle on surfaces and tough on stains. Apply this solution generously to the stained areas and allow it to sit for about 10-15 minutes to break down the grime.
After giving the cleaning solution enough time to penetrate and loosen the stains, it’s time to roll up your sleeves and scrub. Use a scrub brush with stiff bristles to gently work on the stained areas. The key here is to scrub gently but thoroughly, ensuring you do not damage the surface of your patio while effectively lifting the stains. This preparatory scrubbing is crucial because it helps to break down the most stubborn spots, making them much easier to rinse away later when you start cleaning with a hose. The effort you put into pre-treating and scrubbing the stains will significantly enhance the overall cleanliness of your patio.
Cleaning with a hose after pre-treating stains is much more effective. The combination of a high-pressure water stream and the pre-treated areas ensures that even the toughest grime and stains are washed away. By addressing stains beforehand, you ensure that your patio will look uniformly clean and refreshed once the entire cleaning process is complete. This method not only saves you time in the long run but also guarantees a more polished and professional finish, making your patio a pleasant and welcoming outdoor space.
3. Start Hosing Down
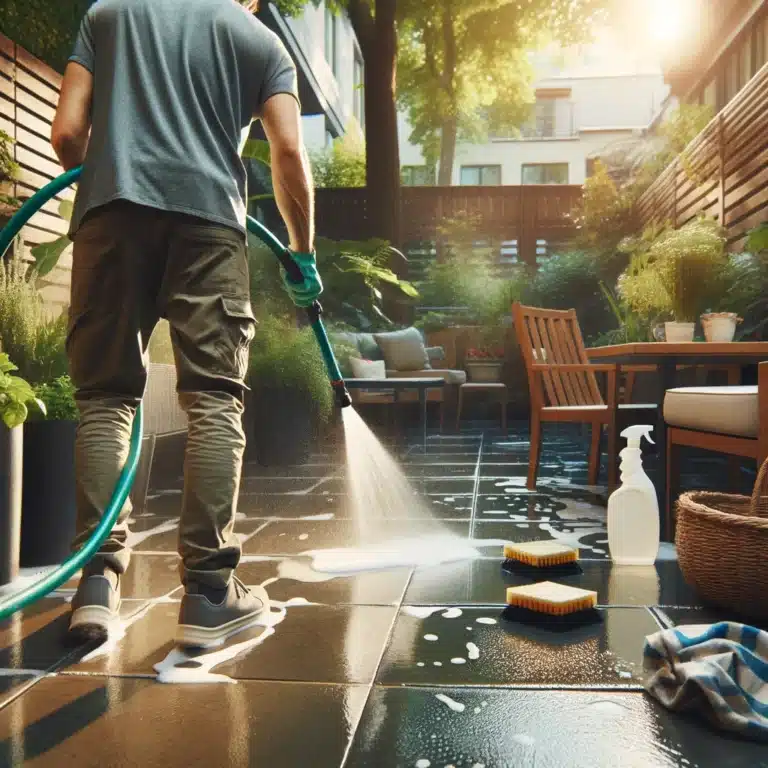
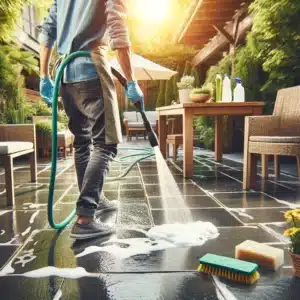
Now that your patio is prepped and ready, it’s time to begin the main cleaning process. Start by attaching a nozzle to your hose. This small but crucial step allows you to control the water pressure, making your cleaning with a hose more efficient and effective. High-pressure settings are excellent for dislodging embedded dirt and grime, which can accumulate over time and become quite stubborn. Conversely, a gentle setting is ideal for rinsing away loose debris and ensuring that the surface remains intact without causing any damage.
With the nozzle attached and adjusted to the appropriate setting, begin spraying the entire patio. This initial rinse helps to loosen any remaining dirt and debris, making it easier to clean the surface thoroughly. Start from one end of the patio and work your way systematically to the other, ensuring that every inch is covered. This methodical approach ensures that no area is missed and that the water pressure can effectively reach all the dirty spots. For areas that are particularly dirty or have more stubborn stains, you may need to go over them a few times. This repetition helps to ensure that all the grime is adequately loosened and ready to be washed away.
Cleaning with a hose can be quite satisfying as you see the immediate impact of your efforts. As you spray, watch for areas where the dirt is particularly stubborn and adjust your water pressure accordingly. A high-pressure blast can break up tough dirt, while a gentle spray can be used to rinse off the loosened debris. This combination of techniques ensures a thorough cleaning. As you continue to work your way across the patio, the transformation will become evident, leaving you with a cleaner and more inviting outdoor space.
4. Apply a Cleaning Solution
With the initial hosing down complete, it’s time to apply a cleaning solution tailored to your patio’s material. The choice of cleaning solution is crucial for achieving the best results without damaging your patio. For concrete and stone surfaces, a commercial patio cleaner often works wonders, effectively breaking down tough stains and grime. However, if you prefer a more natural approach, a DIY mix using household items like dish soap and water can be just as effective. For wooden patios, ensure you use a wood-friendly cleaner to preserve the integrity of the material.
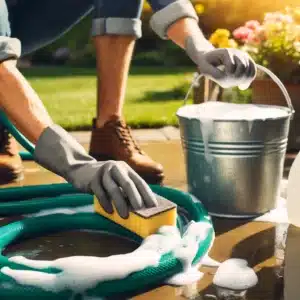
Once you’ve mixed your cleaning solution, the next step is to apply it evenly across the entire patio. This can be done using a garden sprayer for a more controlled application or a bucket and a brush for manual spreading. The key is to ensure the solution covers all areas thoroughly, reaching every corner and crevice where dirt might be hiding. By spraying the solution generously, you allow it to penetrate the surface and start breaking down the embedded dirt and grime. Let the solution sit for a few minutes; this dwell time is crucial as it loosens the dirt, making the subsequent cleaning with a hose more effective.
As the cleaning solution works its magic, you’ll notice the dirt and stains beginning to lift. This is a critical phase in the cleaning process, as it sets the stage for a more thorough rinse. The solution needs time to break down the grime, so be patient and give it a few minutes to do its job. This waiting period is essential, especially for heavily soiled patios, as it ensures that the cleaning agents can penetrate deep into the surface, tackling dirt that hosing down alone couldn’t reach. Once the solution has had enough time to act, your patio is ready for the final rinse, which will wash away all the loosened dirt, leaving your patio clean and refreshed.
By applying the cleaning solution properly and giving it time to work, you enhance the effectiveness of cleaning with a hose. The combination of a targeted cleaning solution and high-pressure water ensures that even the toughest dirt is removed, restoring your patio to its original glory. This step is a game-changer in maintaining a pristine outdoor space, making your patio not just clean, but inviting and ready for any gathering or relaxation.
5. Rinse and Dry
After allowing the cleaning solution to work its magic on your patio, the next step is to rinse thoroughly. This is where cleaning with a hose truly shines. Start by using your hose to spray down the entire patio, ensuring that all areas covered with the cleaning solution are addressed. It’s crucial to remove all soap residue, as any leftover soap can create a slippery surface, posing a safety hazard, and potentially attracting more dirt in the future. Use a steady, sweeping motion with the hose, working from one end of the patio to the other to ensure even rinsing.
As you rinse, pay close attention to corners and crevices where soap residue can easily accumulate. Adjust the water pressure on your hose as needed to effectively wash away the cleaning solution without damaging the patio surface. For particularly stubborn areas where dirt and soap might cling, a higher pressure setting can be useful. Remember, the goal is to leave your patio free of any cleaning agents, ensuring a clean, safe, and attractive outdoor space. Thorough rinsing is the key to achieving this, and cleaning with a hose provides the flexibility and power needed to get the job done right.
Once your patio is free of soap and debris, the final step is to allow it to dry completely. Air drying is the simplest method, requiring nothing more than time and a bit of patience. However, if you’re pressed for time or if the weather conditions are not ideal, there are a few tricks to expedite the process. Using a squeegee can help remove excess water quickly, particularly on flat surfaces. For a faster drying process, a leaf blower can be very effective, pushing water off the surface and speeding up evaporation. Ensuring your patio is thoroughly dry not only prevents slip hazards but also helps maintain the cleanliness achieved from your hard work.
Properly rinsing and drying your patio completes the cleaning process, leaving you with a pristine outdoor space ready for use. Cleaning with a hose makes this final stage efficient, ensuring that all residues are washed away and the surface is left clean and safe. Regular maintenance through such thorough cleaning not only keeps your patio looking its best but also prolongs its lifespan, making your outdoor area a welcoming place for relaxation and entertainment.
Cleaning with Hose and Toronto Shine Cleaning
Cleaning with a hose is a straightforward and effective method to keep your patio looking fresh and inviting. By following these steps, you can easily remove dirt, stains, and debris, ensuring your outdoor space is ready for relaxation or entertaining guests. Regular maintenance not only enhances the appearance of your patio but also extends its lifespan, preventing long-term damage and costly repairs. Whether you’re preparing for a summer barbecue or just enjoying a quiet evening outdoors, a clean patio makes all the difference in creating a pleasant atmosphere.
However, keeping up with regular patio maintenance can be time-consuming and sometimes challenging, especially if you have a busy schedule or lack the necessary equipment. That’s where Toronto Shine Cleaning comes in. Our professional cleaning services are designed to take the hassle out of maintaining your outdoor spaces. We use top-quality equipment and environmentally friendly cleaning solutions to ensure your patio and other outdoor areas are spotless. Our team of experts is trained to handle all types of surfaces, from concrete to wood, delivering outstanding results every time.
For more tips on maintaining your outdoor spaces or to schedule a professional cleaning service, check out our services page or contact us directly. At Toronto Shine Cleaning, we are committed to providing top-notch cleaning services that keep your home and outdoor areas looking their best. Let us take care of the cleaning so you can enjoy your beautiful, clean patio without any stress. Happy cleaning!


